Introduction
Internet Recovery has a number of useful applications. This guide will show you how to use Internet Recovery to install a fresh copy of macOS to a blank or corrupted SSD.
Internet Recovery is only available on Apple computers made after 2009. If your computer was released in 2010 or 2011, you may need to update to the latest version of macOS to enable Internet Recovery.
-
-
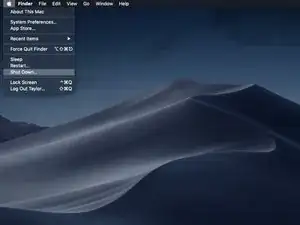
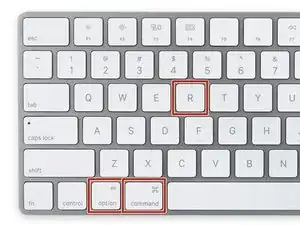
Once the computer is completely shut down, press the power button, then immediately press and hold the key combination cmd + option + R.
-
-
-
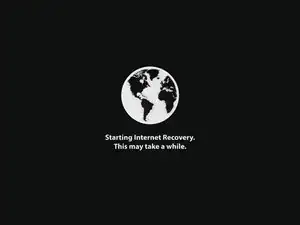
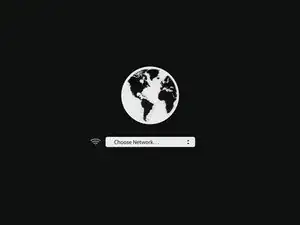
When the spinning globe animation appears, you can release the keys.
-
The globe will spin while Internet Recovery starts up. If you are not using a wired internet connection, a choose network prompt will appear. Use this menu to connect the computer to a WiFi network.
-
-
-
Once a network connection has been established, a progress bar will appear underneath the spinning globe.
-
-
-
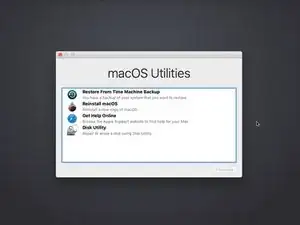
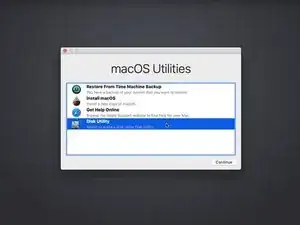
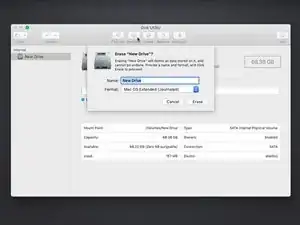
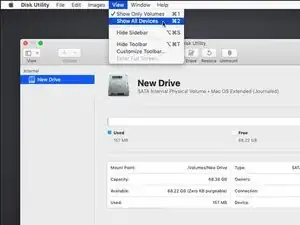
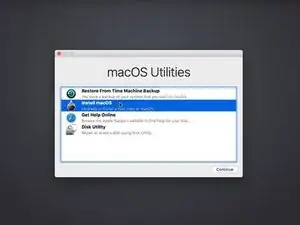
Open Disk Utility from the recovery menu, select your drive, and click the Erase button toward the top of the Disk Utility window.
-
Make up a name for your drive, and make sure the format is set to Mac OS Extended (Journaled) or APFS. If there is a "Scheme" option, set it to GUID Partition Map.
-
Once the new drive is formatted, press Command + Q to exit Disk Utility and return to the recovery menu.
-
-
-
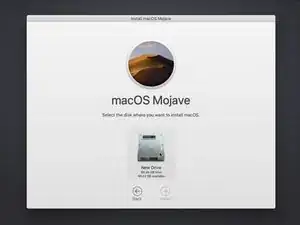
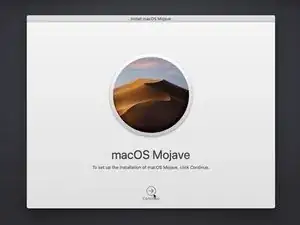
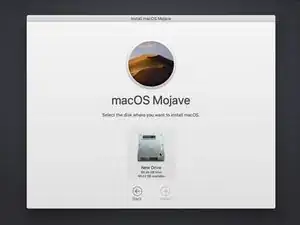
Follow the prompts to install macOS, selecting the newly formatted disk as the target for the installation.
-
Your computer may restart several times during the installation of macOS. Once the installation is complete, you can use Migration Assistant to transfer data from your old drive to the new one.
40 comments
Perfect, it is soooooo easy
Cheers
Michael
Hi there, will this work when upgrading an Early 2011 Macbook Pro with a new SSD and RAM? I don’t want to keep or clone any data that I currently have on the computer. I just want to do a clean install of MacOS without transferring over any old files. Thank you!
Fiona B. -
Fiona, the Early 2011 MacBook Pros didn’t ship with internet recovery, but as long as it had a recent-ish version of MacOS before the SSD upgrade the firmware should have updated, which enables internet recovery! This is a great method for installing a fresh copy of MacOS to a new SSD.
Hello. Thank you for the article Taylor. I use a MBP 9,2 and wish to replace my ageing 500GB HDD with 500GB SSD and undergo a clean install of macOS. I’ll follow this article and install by the Internet Recovery method. I have a Time Machine backup, from which I want to restore only certain files and folders pertaining to my studies and work. I also want to restore only Keychain. Can you advise me regarding these or direct me by providing helpful links? Thank you.


I thought this guide is for a completely new SSD, but in this example MacOS appears to already be running. Is the target SSD connected internally via SATA or is this guide for a USB based second SSD that will also run the OS?
In the latter case, is the intent to run internet recovery on the new SSD and then open the machine up and connect it directly, replacing the old disk?
orun bhuiyan -
Sorry for the confusion, Orun! The new SSD guide shares a few steps with the general “boot to internet recovery mode” guide. If you’re installing MacOS to a new drive, you can skip this step. :)
Taylor Dixon -
Just to clarify, I have a late 2009 MacBook 6,1 running El Capitan and will be upgrading to a new SSD. Will Internet recovery work with this computer? The article states “after 2009”. Also I want to upgrade to High Sierra at the same time is there an option to select which OS or how does it decide?
nathan davis -
My current hard drive won’t read. I don’t care about saving anything on the computer at all and had planned on starting fresh. Can i just install the drive then do internet recovery mode or do i still have to have a backup usb with the os preinstaled?
J H -
Hi all,
I recently purchased a Mac mini so that I could have iMessages on my Android phone. It was petty and so that my lesser than iPhone user people could stop complaining about the lack of blue messages.
I ended up updating from the OEM hard drive to an SSD. I obtained a copy of Yosemite from the link below and installed an update to make sure it worked on the original drive.
I had trouble with my Bluetooth keyboard so instead of going through all of that, I ran the installer again but selected my new drive and install the iOS onto the external drive without any issue. I then installed the SSD and it is working so far. Knocking on wood.
Hope this is helpful and I haven't done anything wrong or caused anyone any issues.
nick peloquin -