Introduction

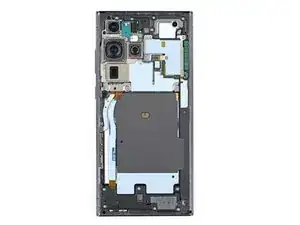
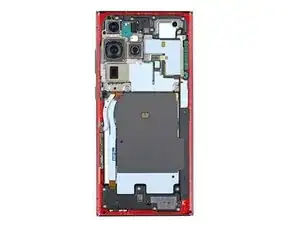
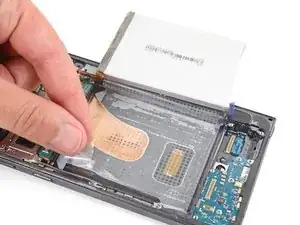
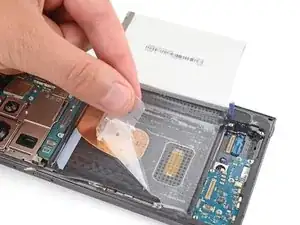
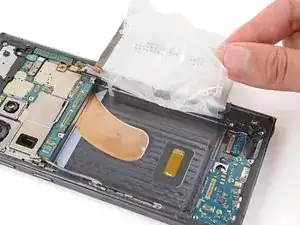
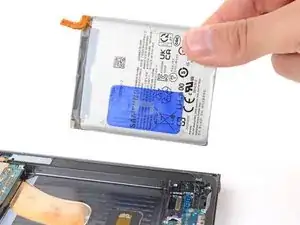
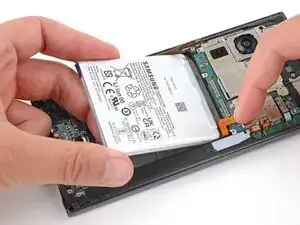
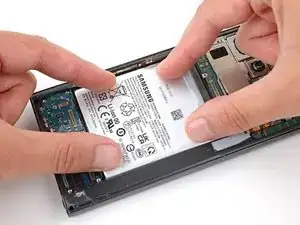
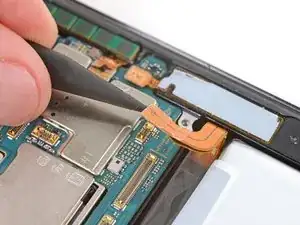
Follow this guide to replace a dead or worn-out battery in your Samsung Galaxy S23 Ultra.

If you need to replace the screen and battery assembly (the frame, screen, and battery together as one piece), follow this guide.

Your phone's lithium-ion battery has a limited lifespan. If your phone dies quickly and doesn't hold a charge, it may be time to replace the battery.

Note: Retaining water resistance after the repair will depend on how well you reapply the adhesive, but your device will lose its IP (Ingress Protection) rating.

  1. 2JNZmrfOLdplj1FI
    • Let your phone's battery drain below 25% before starting this repair. A charged lithium‑ion battery may catch fire if damaged.

    • Unplug all cables from your phone and completely power it down.

  2. gNkOBiPPpophUDNr
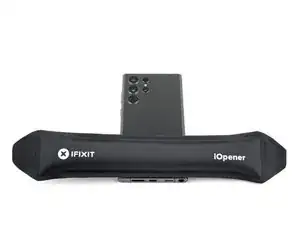
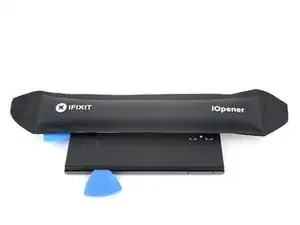
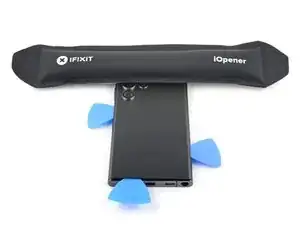
    • Heat an iOpener and apply it to the right edge of the back cover for two minutes.

    • A hair dryer, heat gun, or hot plate may also be used, but be careful not to overheat the phone—the display and internal battery are susceptible to heat damage.

  3. IuCMlKZJGZi1ZVaC
    IuCMlKZJGZi1ZVaC
    KNAxXgUOFSBnu5Tl
    • While you wait for the adhesive to soften, note the following:

    • There's adhesive securing the back cover around the perimeter of the frame.

    • The adhesive is strongest in the bottom right and top left corners.

  4. vMQmqEcgrXmLtjLt
    vMQmqEcgrXmLtjLt
    xv4POooYFbuFFQaL
    1ew2vBskdRhjA1oc
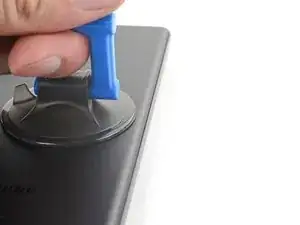
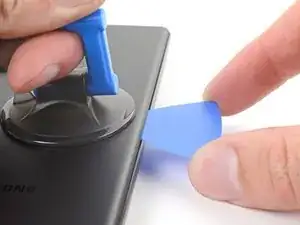
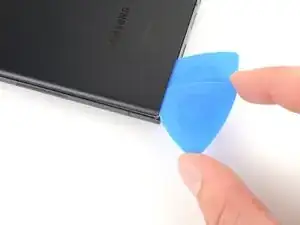
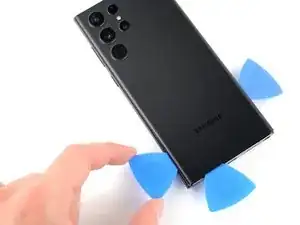
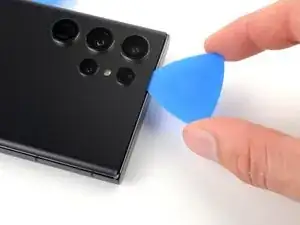
    • Apply a suction handle to the back cover, as close to the center of the right edge as possible.

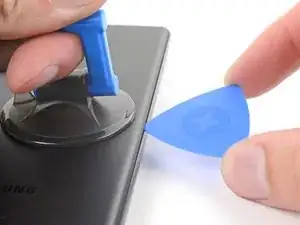
    • Pull up on the suction handle with strong, steady force to create a gap between the cover and the frame.

    • If you have trouble creating a gap, apply more heat to further soften the adhesive. Follow the iOpener instructions to avoid overheating.

    • Insert an opening pick into the gap.

  5. epeLbFTQBXjV2jZW
    epeLbFTQBXjV2jZW
    m6ugW1SmIVnKgjbL
    JxOIJfnD5MqPsSIZ
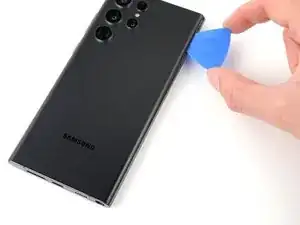
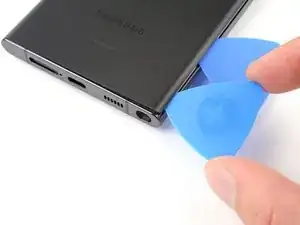
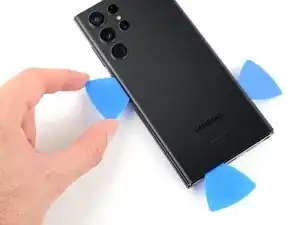
    • Slide the pick back and forth along the right edge to separate the adhesive.

    • Leave the pick inserted near the bottom right corner to prevent the adhesive from resealing.

  6. KFdNe44w3fG4TbWI
    • Apply a heated iOpener to the bottom edge of the back cover for two minutes.

  7. EL5XPENpDlhIiOyA
    EL5XPENpDlhIiOyA
    wRhFidJoSdjeGULV
    WUD33WamJEQHTyHI
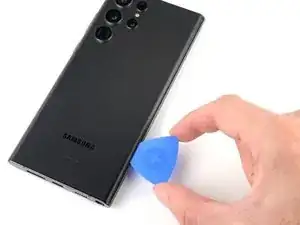
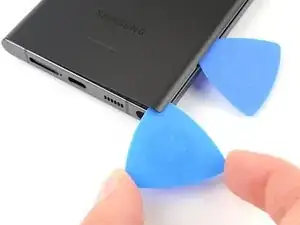
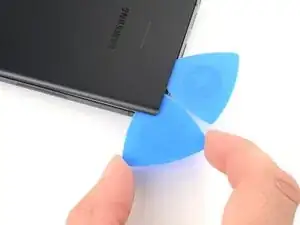
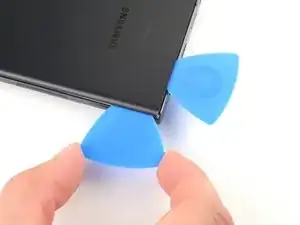
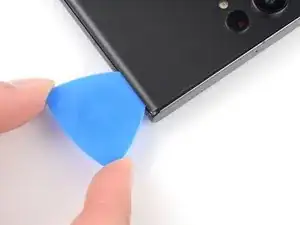
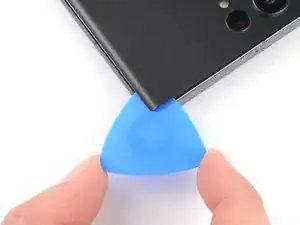
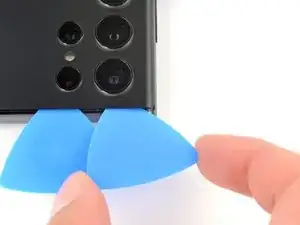
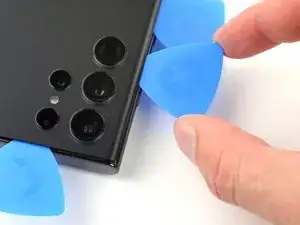
    • Insert a second opening pick at the bottom right corner.

    • Angle the pick upward to match the curved edge and rotate it around the bottom right corner.

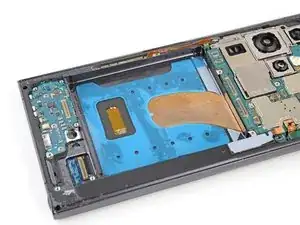
    • Be careful while working around the corners, as the glass is very fragile here. Work slowly to avoid cracking the glass.

  8. cty2RNPr1Xsulgpr
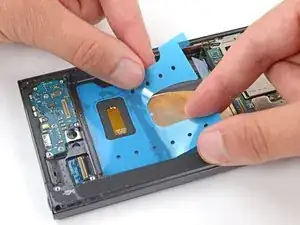
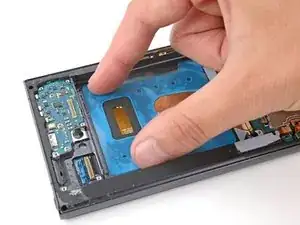
    cty2RNPr1Xsulgpr
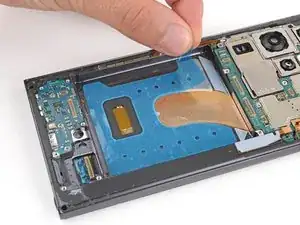
    nXBxWO6bjwLC6cnM
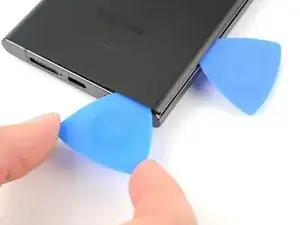
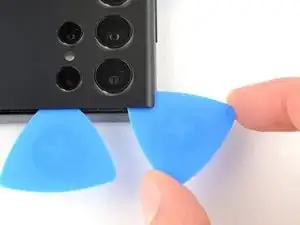
    • Slide your opening pick to the bottom left corner to separate the adhesive.

    • Leave the pick in the bottom left corner to prevent the adhesive from resealing.

  9. IEXDLNdqR3xFYkmP
    • Apply a heated iOpener to the left edge of the back cover for two minutes.

  10. mxXPBGcWiCJfJ3BS
    mxXPBGcWiCJfJ3BS
    olFGEuhIxCIMJcdh
    Arf4HwrTgVSrTFcF
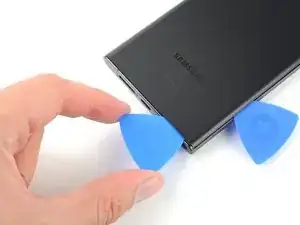
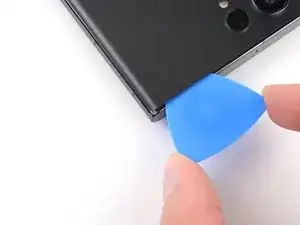
    • Insert a third opening pick at the bottom left corner.

    • Angle the pick upward to match the curved edge and rotate it around the bottom left corner.

    • Be careful while working around the corners, as the glass is very fragile here. Work slowly to avoid cracking the glass.

  11. WQmptomBoBQeKuJX
    WQmptomBoBQeKuJX
    4xUwuDfsngL1cFlA
    lkBfZG4mnYPnx1Sb
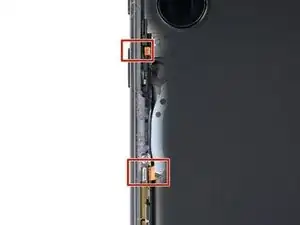
    • Slide your opening pick along the left edge to separate the adhesive, stopping when you reach the power button.

    • Only insert the pick up to 5 mm, as you may damage the antenna flex cable or the power button cable.

    • Leave the pick in the left edge to prevent the adhesive from resealing.

  12. YMTlXG5toWQfJoLs
    • Heat an iOpener and apply it to the top edge of the back cover for two minutes.

  13. XfPcTdZECHnXRILb
    XfPcTdZECHnXRILb
    MGUhrVwiAaWJfCKS
    tFFB6IAGHuBb5NvR
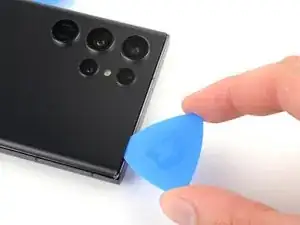
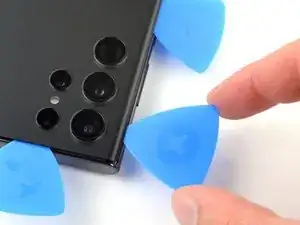
    • Insert an opening pick in the gap at the top right edge.

    • Angle the pick upward to match the curved edge and rotate it around the top right corner.

    • Be careful while working around the corners, as the glass is very fragile here. Work slowly to avoid cracking the glass.

  14. AuYJOFYpAYcxqteY
    AuYJOFYpAYcxqteY
    oxPnH3tCjYANEWsu
    • Slide the pick to the top left corner to separate the adhesive.

    • Only insert the pick up to 4 mm, as you may damage the cameras or sensors.

    • Leave the pick in to prevent the adhesive from resealing.

  15. ypnYS5EupERNUwVm
    ypnYS5EupERNUwVm
    GceGlFTsFRUWDKiq
    • Insert an opening pick in the gap at the top left edge.

    • Only insert the pick up to 4 mm, as you may damage the cameras.

    • Angle the pick upward to match the curved edge and rotate it around the top left corner.

  16. NaNGOKtwpRwEUZYI
    NaNGOKtwpRwEUZYI
    RSCerWvIrEVKfxol
    • Slide the pick toward the bottom camera to separate through the remaining adhesive, stopping before you reach the power button.

    • Only insert the pick up to 4 mm, as you may damage the cameras.

  17. emFCoW1YANLRMfkZ
    emFCoW1YANLRMfkZ
    jSwV1tlpdJtaiXwY
    eKODttjYVLjUWKnA
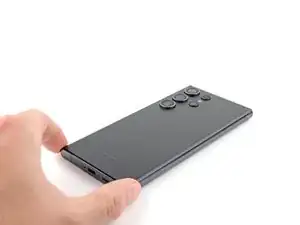
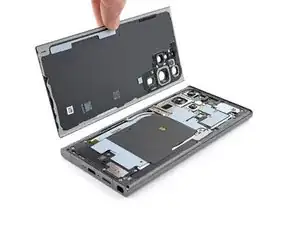
    • Grab and remove the back cover.

    • If your cover is still sticking to the frame, slide an opening pick around the perimeter until the cover completely separates.

    • During reassembly:

    • This is a good point to power on your phone and test all functions before sealing it up. Be sure to power your phone back down completely before you continue working.

    • Remove any adhesive chunks with a pair of tweezers or your fingers. Apply heat if you're having trouble separating the adhesive.

    • If you're using custom-cut adhesives, follow this guide.

    • If you're using double-sided tape, follow this guide.

  18. Mpv2PsbCdI1iW6Wb
    Mpv2PsbCdI1iW6Wb
    oj5xEmMeYhOpTSBr
    qfgottJDieSAVxSq
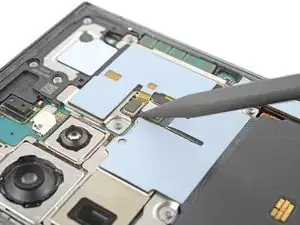
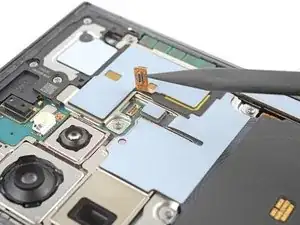
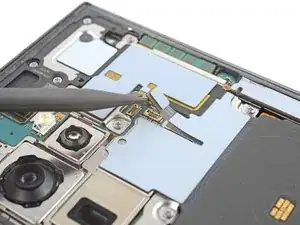
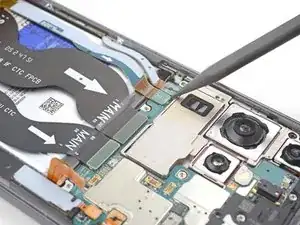
    • Use the pointed end of a spudger to pry up and disconnect the NFC antenna press connector from the motherboard.

    • Repeat for the wireless charging coil press connector.

    • To re-attach press connectors, carefully align and press down on one side until it clicks into place, then repeat on the other side. Don't press down on the middle. If the connector is misaligned, the pins can bend and cause permanent damage.

  19. h5cMIyxpAtqjbKU4
    h5cMIyxpAtqjbKU4
    V4QoZv3VfMBsKpaU
    e3Xe11ICRIVOP6VV
    • The wireless charging coil is lightly adhered to the battery.

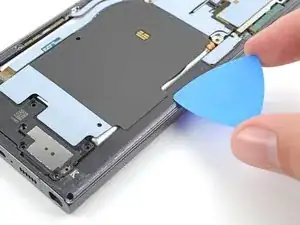
    • Insert an opening pick between the right edge of the wireless charging coil and the battery.

    • Slide the pick along the right edge to separate the adhesive.

  20. YWBGWevJudPUNtxB
    YWBGWevJudPUNtxB
    aN12mHIkZCFnugfP
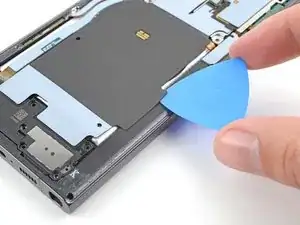
    • Insert an opening pick between the top edge of the wireless charging coil and the frame.

    • Slide the pick toward the right edge to separate the remaining adhesive.

  21. MqBoxonnnfOluifG
    • Use a Phillips screwdriver to remove the five 3.5 mm-long screws securing the NFC antenna and charging coil.

  22. A5ENg165DhNqsGVf
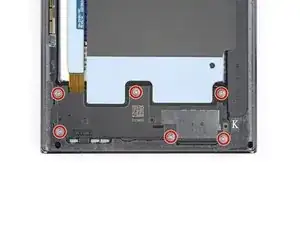
    • Use a Phillips screwdriver to remove the six 3.5 mm screws securing the loudspeaker.

  23. AUNWPUyerrpSCGAn
    AUNWPUyerrpSCGAn
    O1a6hFfuIO3JDxai
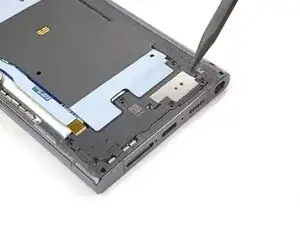
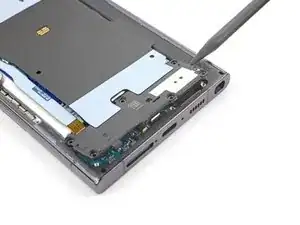
    • Insert the pointed end of your spudger between the upper right corner of the loudspeaker and the frame.

    • Pry up to unclip the loudspeaker from the frame.

    • Don't pry against the battery. Use protrusions in the frame for leverage.

    • During reassembly, press around the perimeter of the loudspeaker to clip it to the frame.

  24. 1FHZvGkxEADnOK2w
    1FHZvGkxEADnOK2w
    kOOFuS1g3BJGNd6D
    jrAtNKEbQKxi4JXe
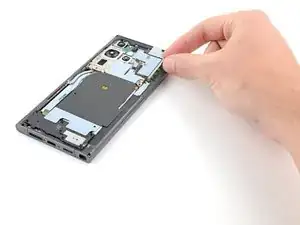
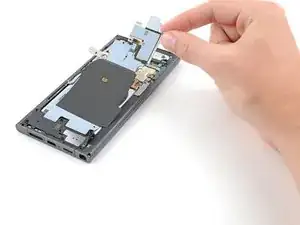
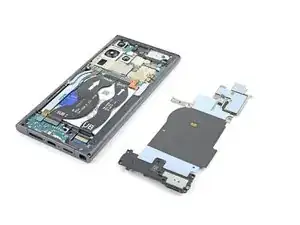
    • Grab and remove the NFC, wireless charging coil, and loudspeaker from the frame.

  25. WJL6tgiasytMwPG1
    WJL6tgiasytMwPG1
    SZ6JmRc4R2SVgBXV
    • Use your spudger to pry up and disconnect the battery press connector.

  26. XQiBjavuIQwsdbGQ
    XQiBjavuIQwsdbGQ
    yBRBmm1RwXbsnvJp
    iL5GGGZkAg6uPM1t
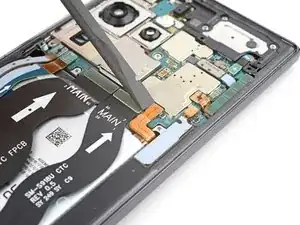
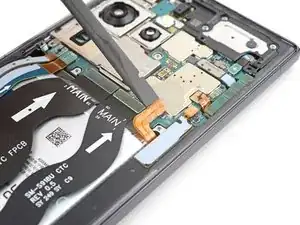
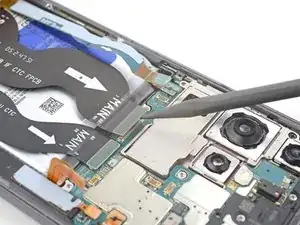
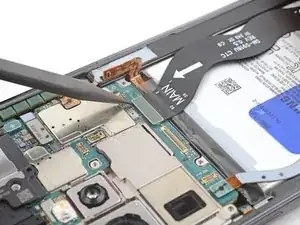
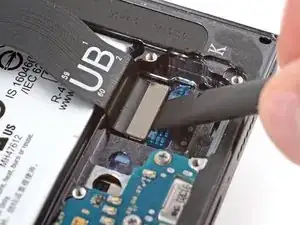
    • Use your spudger to pry up and disconnect the secondary interconnect cable press connector from the motherboard.

    • Repeat for the primary interconnect cable.

  27. sDYI4flX1KoiTYEb
    sDYI4flX1KoiTYEb
    NpWHNYcSugDSIFPk
    WHpPe2RSPDF1LHlP
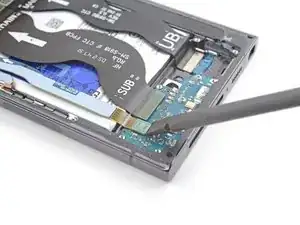
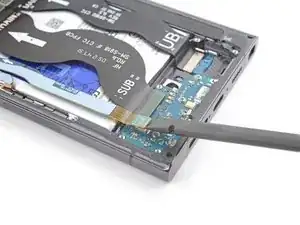
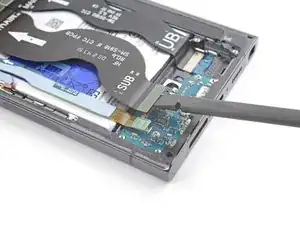
    • Use your spudger to pry up and disconnect the secondary interconnect cable press connector from the charging board.

    • Repeat for the primary interconnect cable.

  28. bbHodDhgIPvDNJFN
    bbHodDhgIPvDNJFN
    lLTakaJoqbpmld4v
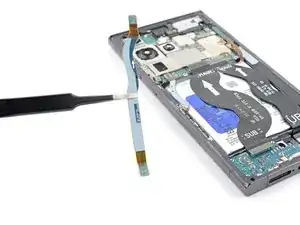
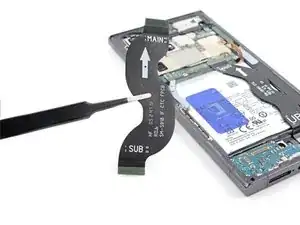
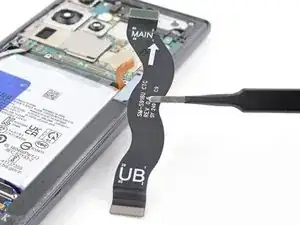
    • Grab and remove the interconnect cables from the frame.

  29. D5spL5AWRAtZXnoJ
    D5spL5AWRAtZXnoJ
    BYRtr4myTOFGsf6j
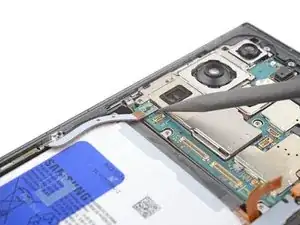
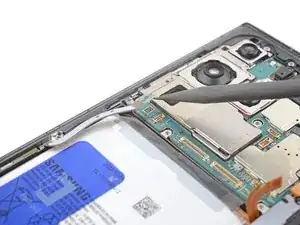
    • Use the point of your spudger to pry up and disconnect the screen press connector from the motherboard.

  30. yCqsbdVxpyhAQUXO
    yCqsbdVxpyhAQUXO
    QZZaNJdooLblNKGq
    • Use the flat end of your spudger to pry up and disconnect the screen press connector near the bottom of the phone.

  31. QftadmVN6JFSLIsl
    • Grab and remove the screen cable from the frame.

  32. 51gAHkN1tyWPZ2Zd
    51gAHkN1tyWPZ2Zd
    4EtCdEwUUXtC1WuE
    QrjZFUZlF1v2NRa6
    • Use the point of your spudger to pry up and disconnect the left 5G mmWave antenna press connector.

    • Use your finger to push the antenna cable away from the battery.

  33. yQWlLvGYdgJifZFY
    yQWlLvGYdgJifZFY
    NGSOCK4oyDETQJQV
    LLcrJKVI5rvq3Ho4
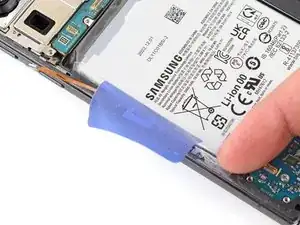
    • Be very careful not to bend, crease, or puncture the battery during the next few steps. A damaged battery can leak dangerous chemicals and catch fire.

    • Use your fingers to carefully peel the large blue battery pull tab from the left side of the battery.

  34. isdOMkWptZKWFtXB
    isdOMkWptZKWFtXB
    LKRJsORMrqpFZIxM
    p6mXbIbWGAeKlWmn
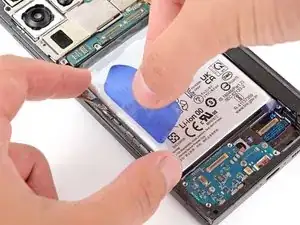
    • Use your fingers to peel the two small tabs from the top and bottom corners of the battery's left edge.

    • If these tabs aren't fully separated, you won't be able to lift the battery in the next step.

  35. qh6R1gMgvI1JfbK6
    qh6R1gMgvI1JfbK6
    jS6xLXvG2ovuWnBv
    gODXZFthCKVriZPr
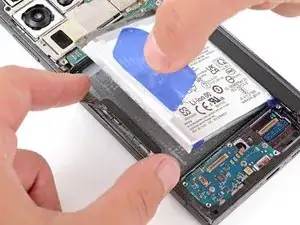
    • With one hand, fold the two upper and lower tabs out of the way of the battery and firmly hold them down against the frame.

    • If you're having trouble with the tabs, you can fold them under the phone and tape them to the screen.

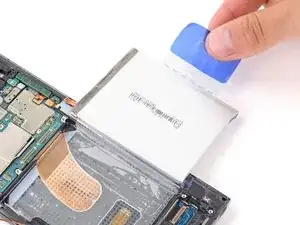
    • With your free hand, grip the blue center pull tab and pull straight up to fully separate the battery adhesive.

    • If you're having trouble, apply 2–3 drops of high-concentration (>90%) isopropyl alcohol to the left edge of the battery. Lift the left edge of your phone and wait one minute for the alcohol to soften the adhesive.

    • Lay the battery over the right edge of your phone.

  36. QZbshSQq2eNnBkvI
    QZbshSQq2eNnBkvI
    kVDoYWZvlYJJdQKV
    Jt14G3MWyZgSbMgX
    • Use your fingers to peel the battery's plastic film from the frame.

  37. u5CLQOPJMTqtlrp4
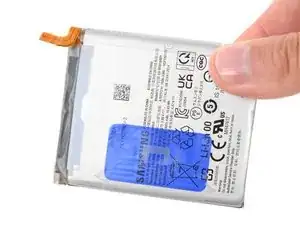
    • Remove the battery and its film.

  38. AZxydCGSZQoZ2DWd
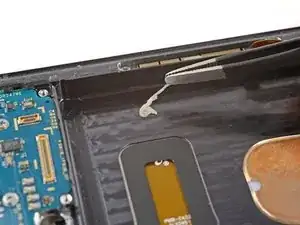
    • If there's any battery adhesive on the frame, use tweezers or your fingers to remove it.

  39. wbLL6YNgefvNiBvk
    wbLL6YNgefvNiBvk
    HHEvSTPyrDsmNCSr
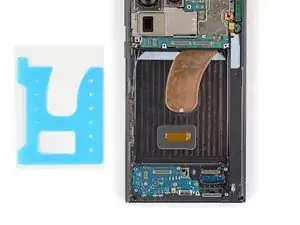
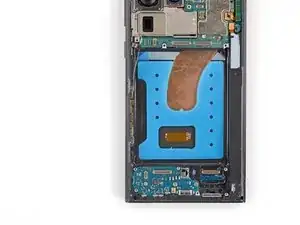
    • Before applying the new adhesive, it's helpful to see how it will be oriented in the battery recess.

    • Orient the replacement adhesive so the clear liner is on the bottom and test-fit it into the battery recess.

  40. sG3EToE5DB123Cbo
    sG3EToE5DB123Cbo
    FG26wQZfDhJmMldb
    NG1Bfy6DcCjDAjwE
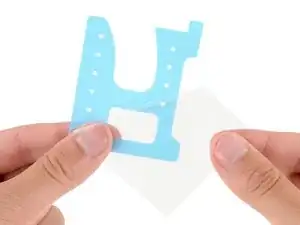
    • Remove the large clear liner to expose the battery adhesive.

    • Carefully place the adhesive into the battery recess.

  41. NtKEDCvDK66SPbhM
    NtKEDCvDK66SPbhM
    rb6KGApxdxTgD25q
    5scTZa5RJOPVFZan
    • Firmly press the adhesive into place with your fingers.

    • Use the flat end of a spudger to firmly press down on the entire surface of the adhesive to secure it to the frame.

  42. BGvRB2hEidPoTJHj
    BGvRB2hEidPoTJHj
    XPcqJM1ICB2pEXll
    FxU1PYZQZXO5ENUy
    • Use the pull tab on the top left corner to peel up and remove the remaining blue liner.

  43. swYb5XmM3SjnoGSL
    swYb5XmM3SjnoGSL
    gT3AQYhPEQnGTsCd
    TRUbMo21HmSo4GS3
    • Hold the battery above its recess and reconnect the press connector—this ensures proper fit and alignment.

    • Firmly press the battery into its recess to secure it with the adhesive.

    • Disconnect the battery before continuing.

Conclusion

To reassemble your device, follow these instructions in reverse order, starting with this step.

For optimal performance, calibrate your newly installed battery after reassembling your phone.

Take your e-waste to an R2 or e-Stewards certified recycler.

Repair didn’t go as planned? Try some basic troubleshooting, or ask our Answers community for help.
Spencer Day

Member since: 14/09/22

74543 Reputation

0 comments