Introduction
The motherboard is responsible for all the processing required to turn the touch input from the touchpad into the digital drawing produced on the screen. If you are having any glitches or issues with the functionality of your device, this guide will show you how to replace the motherboard in the Wacom Intuos Pro. The motherboard also houses the charging port, so a replacement of this component may alleviate an inability to charge in your device.
You will need to be able to use a soldering iron to complete this guide, so please refer to this soldering guide for help.
Tools
-
-
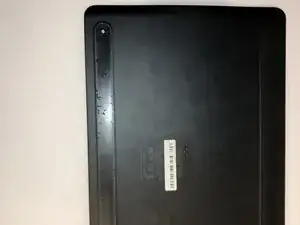
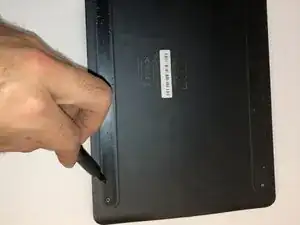
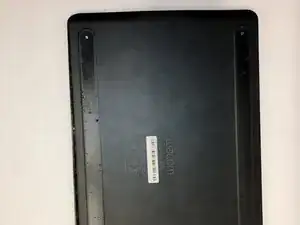
Orient the device so the bottom casing is facing upwards.
-
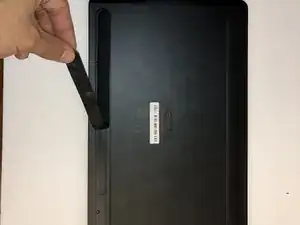
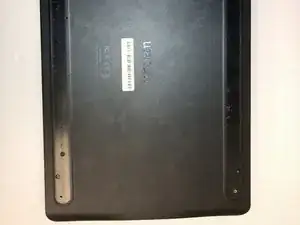
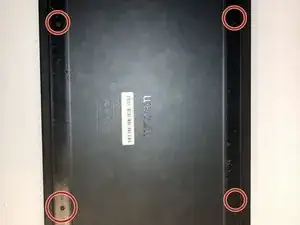
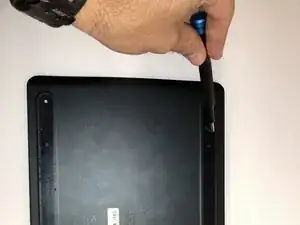
Use your fingers to gently pull on the rubber covers on the bottom of the device to remove them.
-
-
-
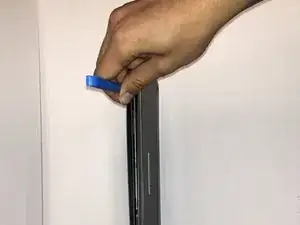
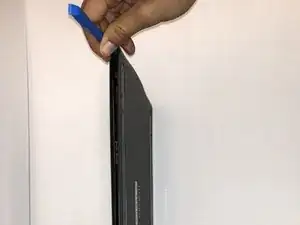
Insert the iFixit Opening Tool between the front and back cover of the device in order to snap and separate the type locks from around the edges.
-
Use the iFixit Opening Tool all the way around the edges until all the snaps have been released.
-
-
-
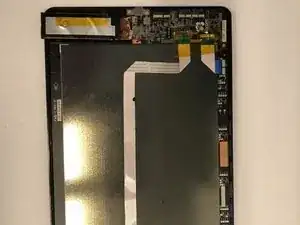
Remove the case backing from the rear of the device with your hands so the internal components are exposed.
-
-
-
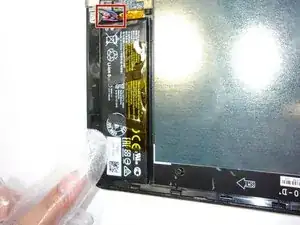
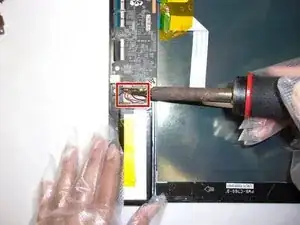
If not already done, desolder the three colored cables that connect the battery to the motherboard.
-
After desoldering the battery, carefully remove it.
-
To reassemble your device, follow these instructions in reverse order.

The white balance here is off. I would also indicate the end goal of pulling off the adhesive (e.g., to remove it).
Alex Watkins -