Introduction

If you begin to notice that your battery doesn’t seem to be charging, or isn’t holding a charge like it used to, then it may be time to replace it. This guide will walk you through the steps to replace the battery in your Wacom Intuos Pro. Replacing the battery of your device should restore its charge capacity and lifespan to near new conditions.

  1. ADsIchXOseSFGltM
    ADsIchXOseSFGltM
    RktxJyiRuWLaXoDx
    3ZkmVPmrSeNRMCFG
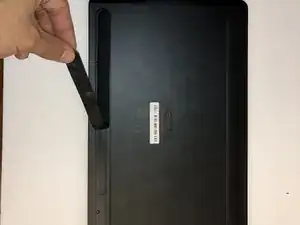
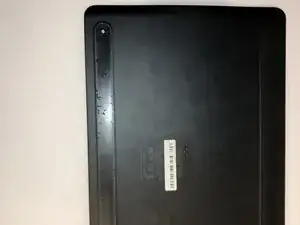
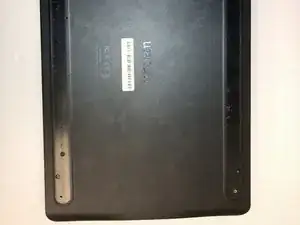
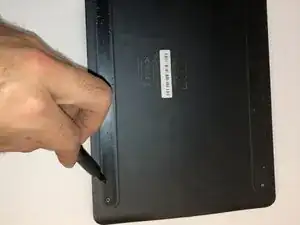
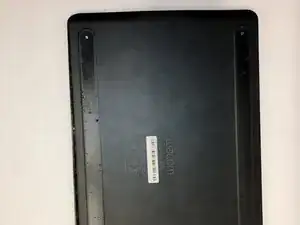
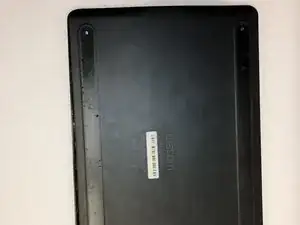
    • Orient the device so the bottom casing is facing upwards.

    • Use your fingers to gently pull on the rubber covers on the bottom of the device to remove them.

    The white balance here is off. I would also indicate the end goal of pulling off the adhesive (e.g., to remove it).

    Alex Watkins -

  2. mmG12UObDykPRyRn
    mmG12UObDykPRyRn
    s3IIuGlOCUgBFNpG
    ZwoAnatTBXBIMMGm
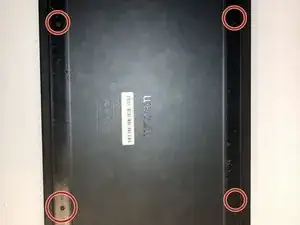
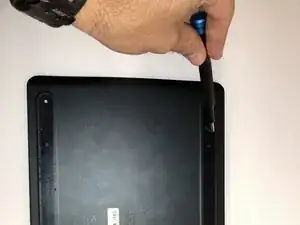
    • Remove the four 4mm screws from underneath the rubber feet using a Phillips #00 screwdriver.

    I think the photos are slightly too zoomed in here. Also, the shots should be taken from the first person perspective. Note that screwdriver is one word.

    Alex Watkins -

  3. xFEWrjLLmMKQT1St
    xFEWrjLLmMKQT1St
    SNZpCWGjWNrtGBO1
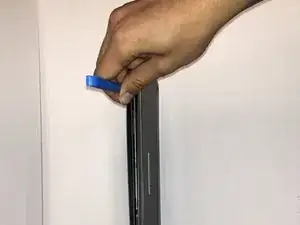
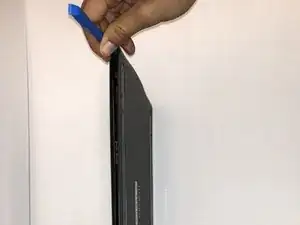
    • Insert the iFixit Opening Tool between the front and back cover of the device in order to snap and separate the type locks from around the edges.

    • Use the iFixit Opening Tool all the way around the edges until all the snaps have been released.

    • While going around the edges, make sure you have a tight grip to keep the device from sliding.

    Make sure to use the first-person perspective and end punctuation on all steps. How should I use the plastic tool? Be sure to be specific. I would also add one final shot of the case being removed.

    Alex Watkins -

  4. B1RZBCncQtTC2OdW
    B1RZBCncQtTC2OdW
    GrLGNYa2L3YEqBkZ
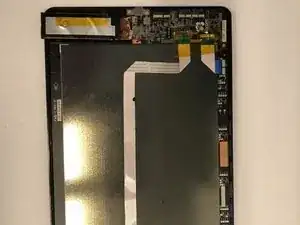
    • Remove the case backing from the rear of the device with your hands so the internal components are exposed.

    Add picture with removing the case.

    Luis Alva -

    See previous comment.

    Alex Watkins -

  5. 63qEdvsEniYDuLlY
    63qEdvsEniYDuLlY
    J3LDCWC6sUHtGbPK
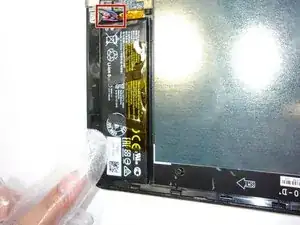
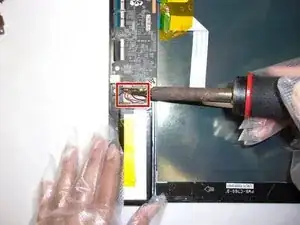
    • If not already done, desolder the three colored cables that connect the battery to the motherboard.

    • After desoldering the battery, carefully remove it.

    • Be careful when handling the soldering iron given it's high operating temperature and the possibility for it to damage other components.

    • For help soldering, check out our How to Solder and Desolder Connections guide.

    Add flip book style shots here so that it’s clear how to do this.

    Luis Alva -

    See previous feedback here. If you need it, we have a soldering iron in the studio you can use, but you’ll have to make an appointment. I would also use markup to show where this component is.

    Alex Watkins -

    But where's the link to source the battery?

    Jose Gabriel Miranda -

Conclusion

To reassemble your device, follow these instructions in reverse order.

chris peterson

Member since: 22/01/20

213 Reputation

6 comments

thank you so much. I plan to buy this wacom, however I had the doubt if better the old version that has extractable battery, but with this post, I can go for the new one

Sebastian Ramirez -

Do you know where can I find the battery replacement?

Valerio _ -

Has anyone got a lint to the replacement battery?
Luca Di Meo -

PTH-660 works fine without the battery, just remove it and use it with USB cable

Luca Di Meo -

Where can I find a replacement battery for this model?

Denise Hanly -

Where can I source this battery?

Jose Gabriel Miranda -