Introduction

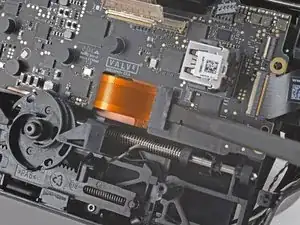
Follow this guide to replace the motherboard in a Valve Index VR headset.

Power off and unplug your Index before you begin your repair.

  1. 1VdRVHbgDKg16Aqu
    1VdRVHbgDKg16Aqu
    qILHYgyRBRdTLyRr
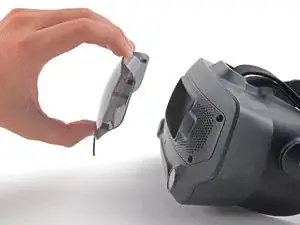
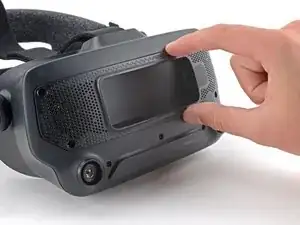
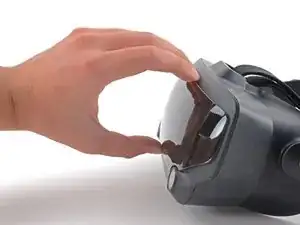
    • Use your hand to pull the front cover straight off of the front of the headset.

    • The front cover is held in place by four magnets that secure to screws in the motherboard cover.

    • Before installing a front cover, ensure the four screws securing the motherboard cover are installed. Otherwise, the front cover will not stay in place.

    Whoever wrote this is a moron.

    Sam Omiotek -

    My god. Thank you. This was an extremely helpful guide. I just couldn't get it off!

    Theu -

  2. rLSklgCaPuv64Y33
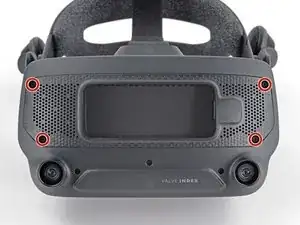
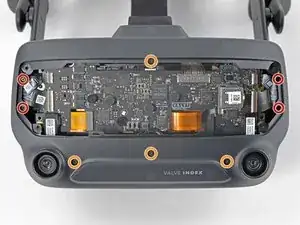
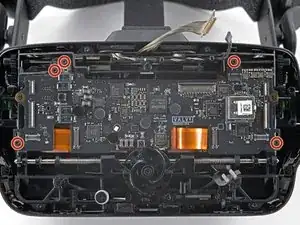
    • Use a T5 Torx screwdriver to remove the four 5.4 mm screws securing the motherboard cover to the headset.

  3. Q4QcJ1kjGYlt1WQO
    Q4QcJ1kjGYlt1WQO
    FeHLfkPY3IgFXAei
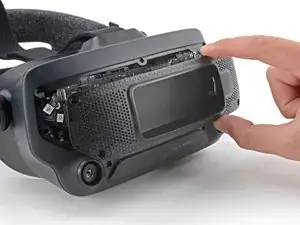
    • Remove the motherboard cover from the headset.

  4. yfabmjgyKaEecBt1
    • Use a T5 Torx screwdriver to remove the following eight screws from the front fascia:

    • Four 6.3 mm screws with fine threads

    • Four 6.0 mm screws with coarse threads

    This is your last chance at catching the ipd adjustment groove on the right eye tube and catch the little knob on the back of the motherboard with it. (Just forgot about it myself and thankfully you can do it from this step the latest

    Blecha100 -

  5. 6WcehUioswbZLFC4
    6WcehUioswbZLFC4
    di4NQCposKBIYavu
    yoBJpHU1h3iXSth3
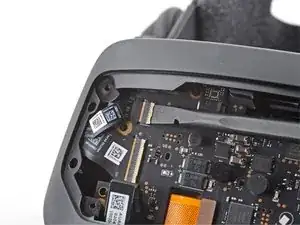
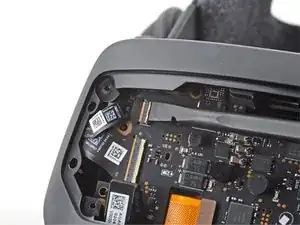
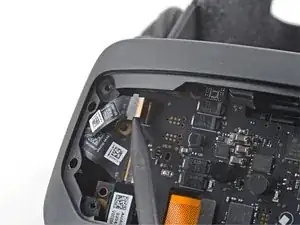
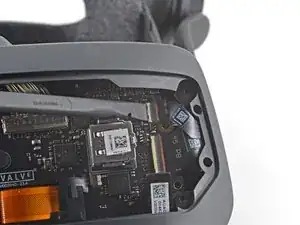
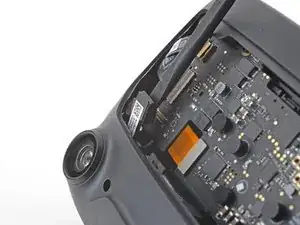
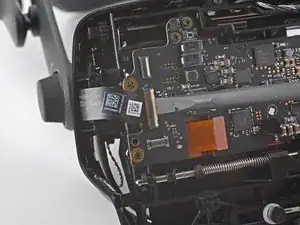
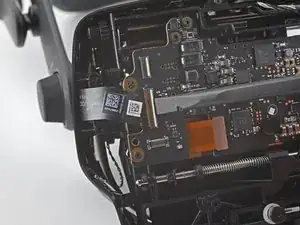
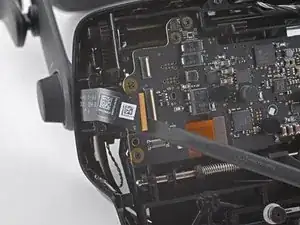
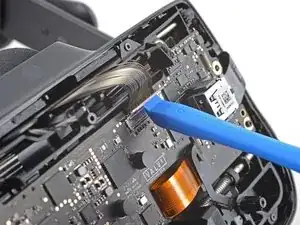
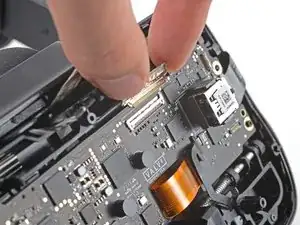
    • Use a spudger to unlock the ZIF connector at the top-left corner of the motherboard.

    • Disconnect the FPC ribbon cable from the motherboard.

  6. 5sstq4o1VF3DSeqJ
    5sstq4o1VF3DSeqJ
    Qnuk1vnMMrFpbfPI
    bmVQZngjLshAgrD6
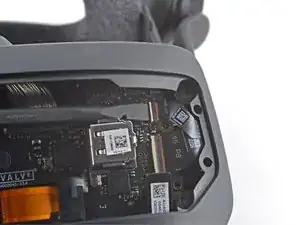
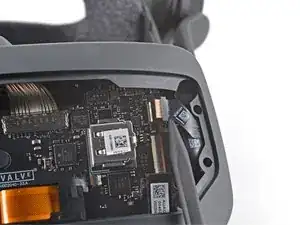
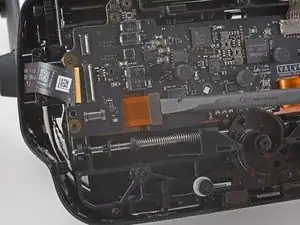
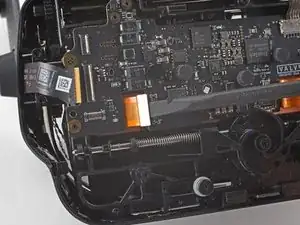
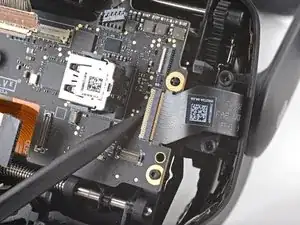
    • Use a spudger to unlock the ZIF connector at the top-right corner of the motherboard.

    • Disconnect the FPC ribbon cable.

  7. jH2IyWUVmoEJpOjC
    jH2IyWUVmoEJpOjC
    sLdoecCJxDYjQotq
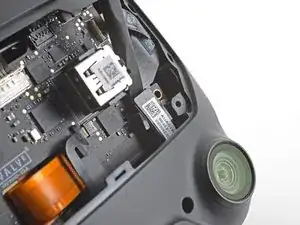
    • Use the flat end of a spudger to disconnect the press connector from the bottom-left corner of the motherboard.

    • To re-attach press connectors like this one, carefully align and press down on one side until it clicks into place, then repeat on the other side. Do not press down on the middle. If the connector is misaligned, the pins can bend, causing permanent damage.

  8. YXiLknBH4VCDnUI1
    YXiLknBH4VCDnUI1
    A6ZPpANoYgpBi3tX
    • Use the flat end of a spudger to disconnect the press connector from the bottom-right corner of the motherboard.

  9. IXGlNvAICcAtJnMy
    IXGlNvAICcAtJnMy
    lPHsHEnOMGa4s52I
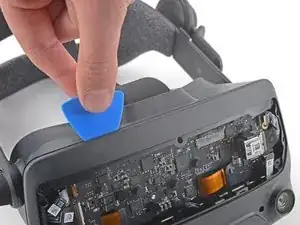
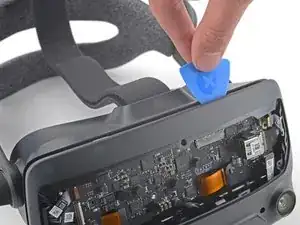
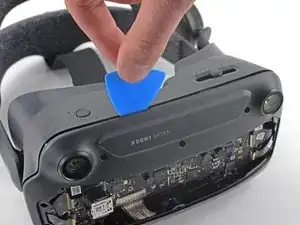
    • Insert an opening pick in between the front fascia and the headset.

    • Slide the opening pick over to separate the front fascia from the headset.

  10. gqEBWUsY5XnKekDl
    gqEBWUsY5XnKekDl
    ZkMvGoWnZAqNDvqI
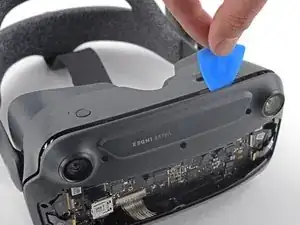
    • Continue sliding the opening pick along the perimeter of the front fascia until all edges are free.

    Frontblende ist sowohl oben als auch unten an zwei Stellen leicht eingeklebt.

    Falls die Frontblende bei Schritt 21 nicht abgeht, könnte der Klebstoff dafür verantwortlich sein.

    In dem Fall kann man ihn mit dem Plektrum von der Blende lösen.

    Grober Feinmotoriker -

  11. RZCi6PnZwrs1RKPu
    RZCi6PnZwrs1RKPu
    OAqHwP1vehpgWEq6
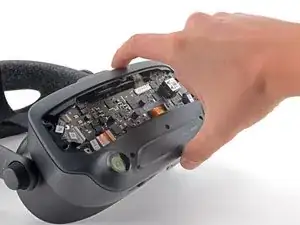
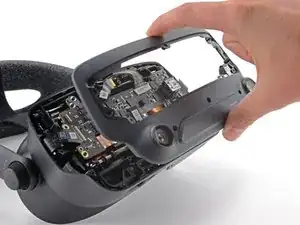
    • Remove the front fascia.

  12. TCjHR5NYNmCxlC1E
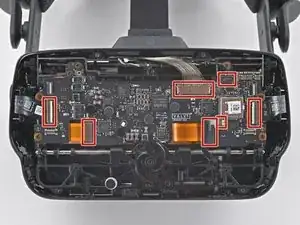
    • Note the seven cables that must be disconnected in the following steps before the motherboard can be removed.

    note that the wheel that adjusts the distance between the eyes goes over the boar. So you will tuck the board under it.

    Michael Hehe -

  13. HQQpZp5QANDclP5I
    HQQpZp5QANDclP5I
    4yCQFuJAjZofGrOo
    LYbGQwjIyjODqh5p
    • Use the flat end of a spudger to unlock the wide ZIF connector on the left side of the motherboard.

    • Disconnect the FPC ribbon cable from the motherboard.

  14. W4S4IqHrXOYwCFBa
    W4S4IqHrXOYwCFBa
    qHsPNGQiifR5DpSJ
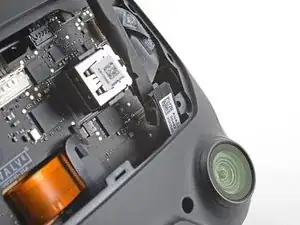
    • Use the flat end of a spudger to disconnect the press connector near the bottom-left edge of the motherboard.

    • During reassembly, be sure this cable is not trapped underneath the motherboard.

  15. gNkeRbLXFjHFZyie
    gNkeRbLXFjHFZyie
    1B3xtjGE3wLrXQ3E
    jJE6TtTAmmNCVpyB
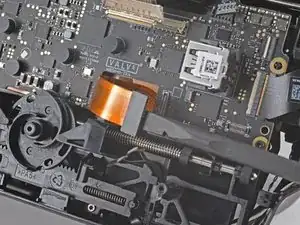
    • Use your finger or an opening tool to unlock the display cable connector at the top of the motherboard.

    • Carefully disconnect the display cable connector.

    this one is pretty difficult, and could use some more explanation (esp since the teardown video of the index skips it completely). you need to lift up on the corner of the cover, and then use the pointy end of the spudger to slowly wiggle the cable UP and out of the connector, a little at a time on each side.

    Owen Smith -

  16. 4UXYQfOJC3IVUOBE
    4UXYQfOJC3IVUOBE
    FIWi3Tdys6UErNqJ
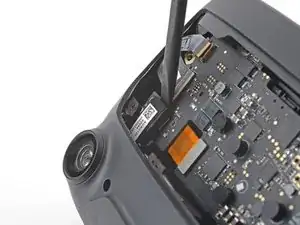
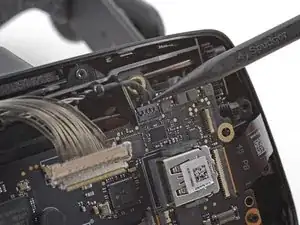
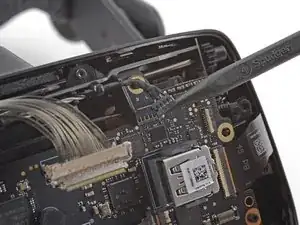
    • Use the pointed end of a spudger to gently disconnect the bundled cable connector from the top-right corner of the motherboard.

    don't push up on the indented plastic

    Jose Zamora -

    This pops out towards you, do not try to push up.

    Storm DPD -

    thank you to the comments about not pushing up!

    Aeon Faye -

    Simlarily: when reassembling, line the cable up above the insert, and push slightly toward the MB. You'll hear a tiny click when it slots in.

    Joj -

  17. QL2UqWW1CYCdtIIp
    QL2UqWW1CYCdtIIp
    QcTyN5YwO3SeKWQU
    Gaa4RjVFZNGiUoOo
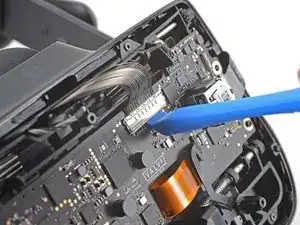
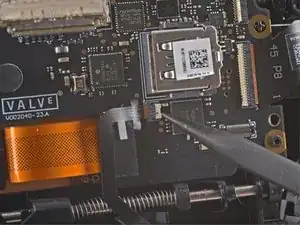
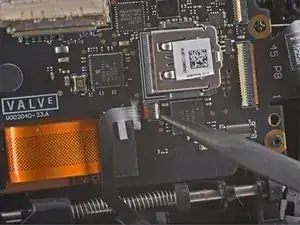
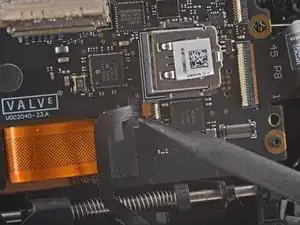
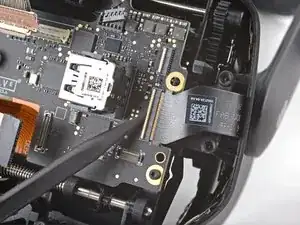
    • Use the pointed end of a spudger to unlock the ZIF connector next to the USB port on the motherboard.

    • Disconnect the FPC cable from the motherboard.

    • During reassembly, make sure this ribbon cable is not trapped under the motherboard.

    Not sure if this is on every headset, but mine had adhesive holding this cable to the motherboard and to the press connector cable. Be very careful peeling these apart, the adhesive is a little strong. Using the guitar-pick looking thing from the fix kit managed to separate them for me, but it might have been sheer luck lol.

    Owen Smith -

  18. oXd3I5plhXSKkDfJ
    oXd3I5plhXSKkDfJ
    oICKoYOMEmqVOXRT
    • Use the flat end of a spudger to disconnect the press connector below the USB port on the motherboard.

    • During reassembly, make sure this cable is not trapped under the motherboard.

  19. WGpqUYMeUubjUo11
    WGpqUYMeUubjUo11
    HywiclnUqKGIJ6wk
    aTjmMd4WXnSGAZ5o
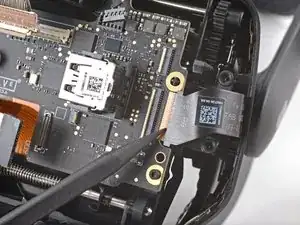
    • Use a spudger to unlock the wide ZIF connector near the right edge of the motherboard.

    • Disconnect the FPC ribbon cable from the motherboard.

  20. QmpYEpvEZLR2iOHP
    • Use a T5 Torx screwdriver to remove the five 6.0 mm screws securing the motherboard to the headset.

    These are a set of 5 coarse threaded screws.

    Patrick Hartge -

  21. 1VowAHqkQjSodGRG
    1VowAHqkQjSodGRG
    ouJidliMDFMjJHbk
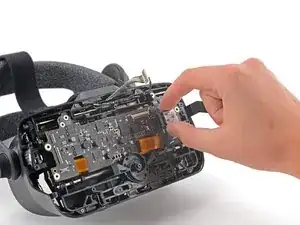
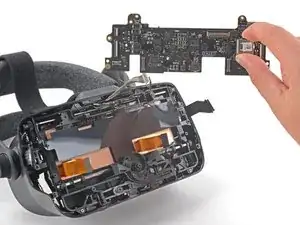
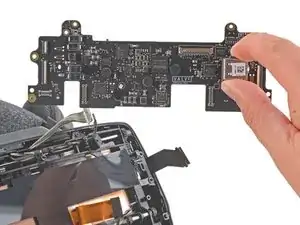
    • Grab the motherboard by the USB port and carefully remove it from the headset.

    • During reassembly, be very careful not to trap any of the previously disconnected cables under the motherboard.

    During reassembly be sure to align the ipd slider with the gap on the back of the right eye tube. The ipd adjustment slider is located on the top left of the motherboard and is very easy to miss.

    Failing to align that the motherboard and the eyetube will result in resistance while adjusting the ipd, as well as an incorrect ipd being used in steamVR (which doesn't feel too great).

    Aux -

Conclusion

Compare your new replacement part to the original part—you may need to transfer remaining components or remove adhesive backings from the new part before installing.

To reassemble your device, follow the above steps in reverse order.

Take your e-waste to an R2 or e-Stewards certified recycler.

Repair didn’t go as planned? Try some basic troubleshooting, or ask our Valve Index Answers community for help.

Sam Omiotek

Member since: 25/02/19

78491 Reputation

5 comments

Where can I buy the motherboard? It doesn't look like ifixit has them.

Curtis Gray -

I have this same question.

Patrick Hartge -

you would think the replacement motherboard would be in the list of required items. Where are you supposed to buy this from?

Grant Za -

Same question ,where do i get a replacement main board
Gifted Misfit -

Same question ,where do i get a replacement main board
Daniel O'Sullivan -