Introduction
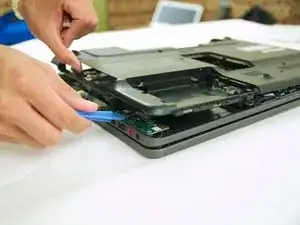
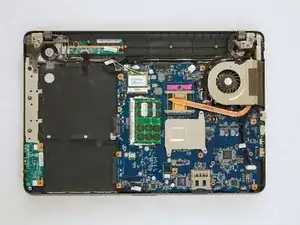
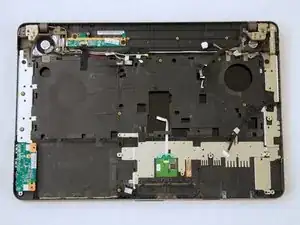
If the motherboard malfunctions, it may need to be replaced, however, such a situation is relatively rare. Please check for other issues before determining if the motherboard is faulty.
Tools
-
-
Power off the laptop.
-
Unplug the charging cable and any other cables plugged into the laptop.
-
Turn the laptop over so that the back panel is facing upwards.
-
-
-
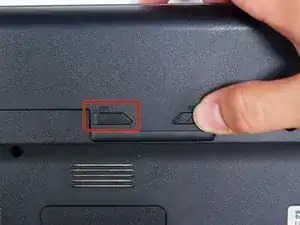
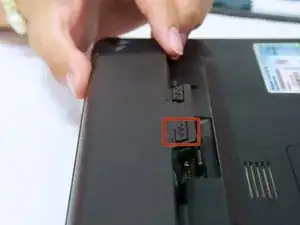
Locate two switches above the battery that lock it into place.
-
Push the left-hand switch, that says "lock" above it, so that it is unlocked.
-
-
-
Push and hold the right-hand switch, which says "release" above it, and lift the battery up out of its place.
-
-
-
Remove all the 8mm Phillips #1 screws on the backside of the laptop.
-
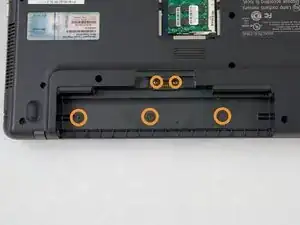
There are three 3mm and two 5.3mm screws under the battery that also need to be taken out.
-
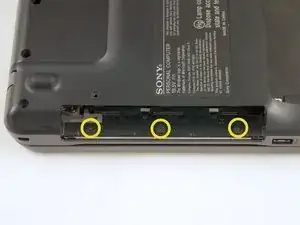
There are three 3mm screws under the optical drives that also need to be taken out.
-
Remove the RAM panel in addition to the other screws. For further instructions, refer to the RAM replacement guide.
-
-
-
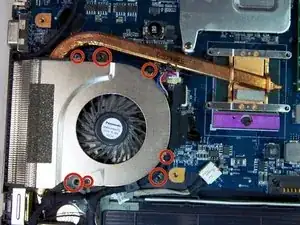
Locate and remove three 5.3 mm Phillips #1 screws on the bottom of the fan.
-
Locate and remove the four 5.3 mm Phillips #1 screws on the top of the fan.
-
-
-
Locate and remove the four 3mm Phillips #1 screws above the processor and attached to the bronze heat-pipes.
-
Gently lift up the fan and heatsink from the the laptop.
-
-
-
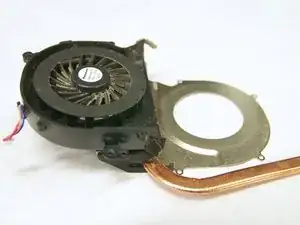
The fan attached onto the heat sink with electrical tape. Removing the electrical tape allows you to replace the fan.
-
-
-
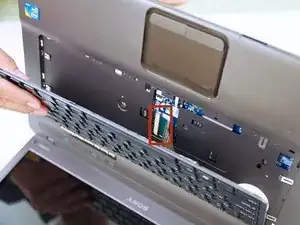
Detach the ribbon cable to separate the keyboard from the laptop.
-
Push open the brown clamp at the base of the ribbon to release it.
-
-
-
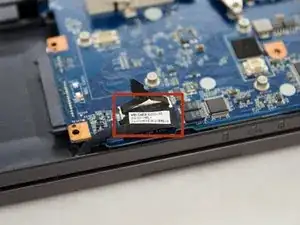
Remove the highlighted ribbon cables from their place underneath the keyboard. To do so, lift up on the black clamps to release the cables.
-
-
-
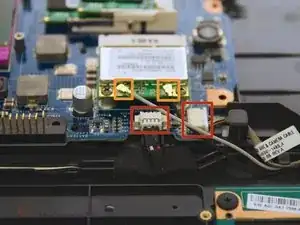
Remove the highlighted 3mm Phillips #1 screws.
-
Remove the two 8mm Phillips #1 screws that are highlighted.
-
To reassemble your device, follow these instructions in reverse order.
One comment
Excellent instructions and pics. Thank you for this guide!
stbza -


