Introduction
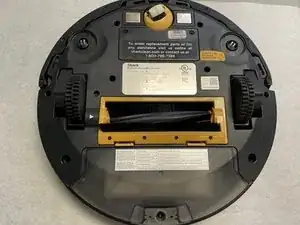
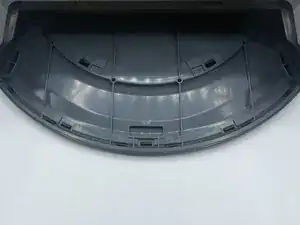
If your Shark ION Robot 750 is having trouble moving, you may need to replace the main wheels on the device. The wheel assembly includes a motor module, and the main wheels allow the robot to move efficiently to clean the floors. This guide will show you how to replace the main wheels of your robot vacuum.
Before you begin this repair, make sure that your device is turned off.
Tools
-
-
Flip over the vacuum on a flat and uncluttered service with the bottom facing upwards.
-
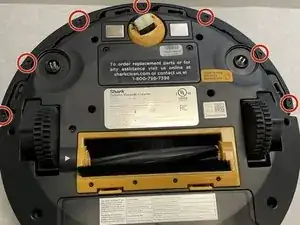
Remove all seven 9.1mm Torx T15 screws from the device’s front bumper.
-
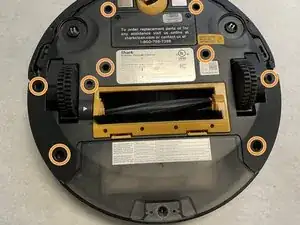
Remove the nine 9.1mm Torx T6 bolts from outer shell.
-
-
-
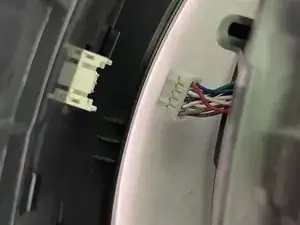
Slightly pull front bumper to expose internal wiring.
-
Unplug the device’s front bumper wiring and completely remove front bumper.
-
-
-
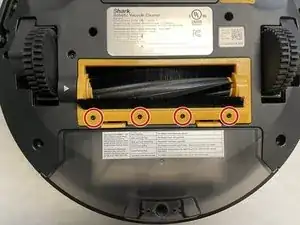
Remove the four 9.5mm Torx T6 bolts on the yellow brush frame.
-
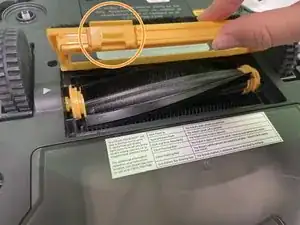
Gently depress the two tabs on the frame, then lift the frame to remove it.
-
-
-
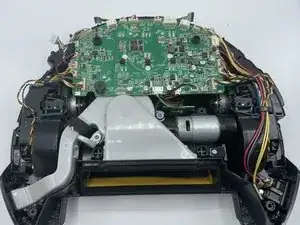
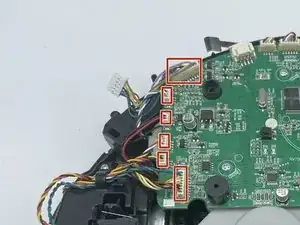
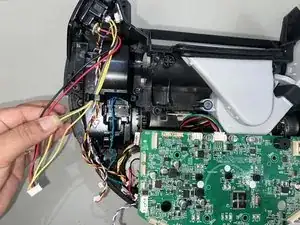
Disconnect each of the cable connectors attached to the motherboard to free the wheel assembly from the vacuum for both the left and right wheels.
-
-
-
Use a spudger or your fingers to detach all of the cables from the connectors on the motherboard that connect to the wheels.
-
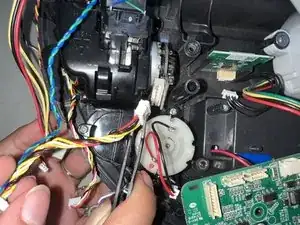
Unhook the remaining wires that are connected to the back of the wheel.
-
-
-
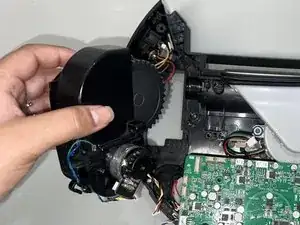
Use a Phillips #1 screwdriver to remove the three 12 mm screws that hold the right wheel in place.
-
Remove the right wheel assembly from the socket.
-
To reassemble your device, follow these instructions in reverse order. Take your e-waste to an R2 or e-Stewards certified recycler.

