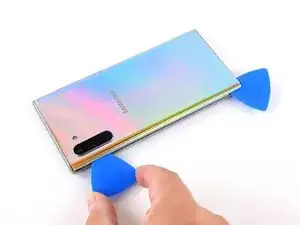
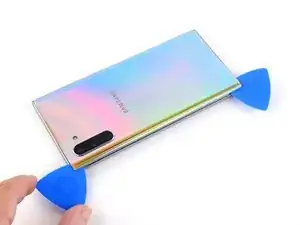
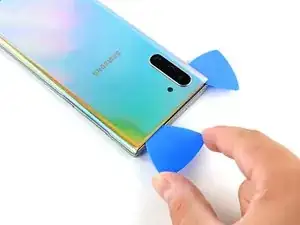
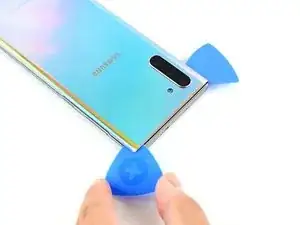
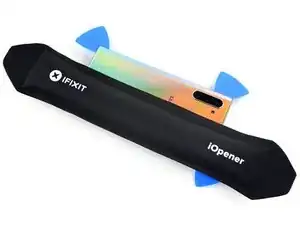
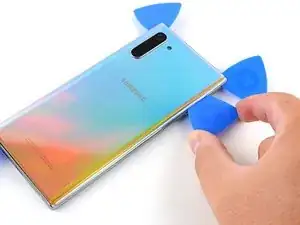
Introduction

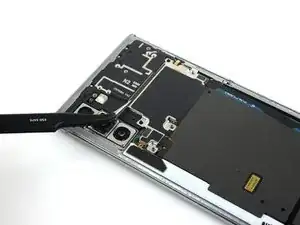
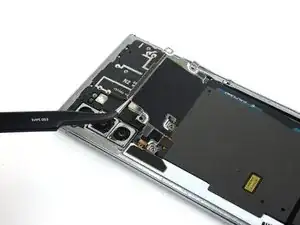
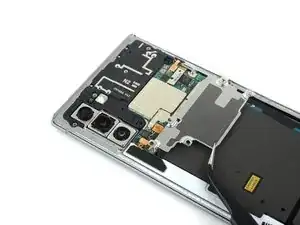
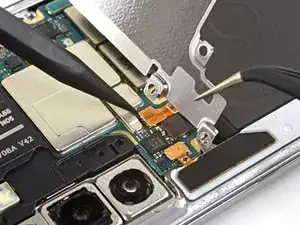
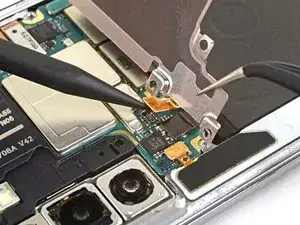
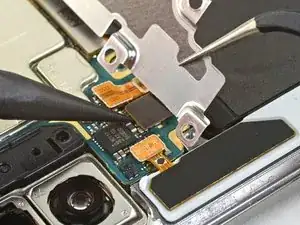
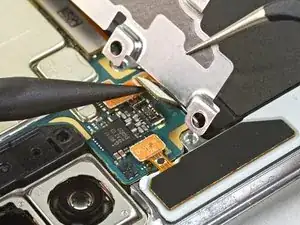
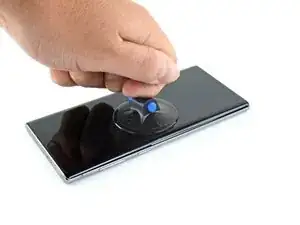
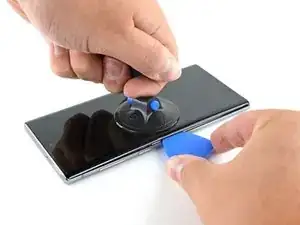
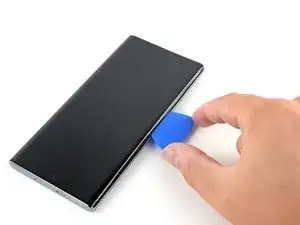
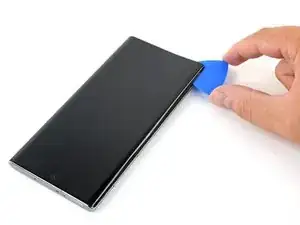
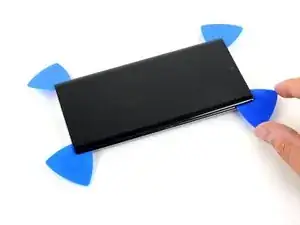
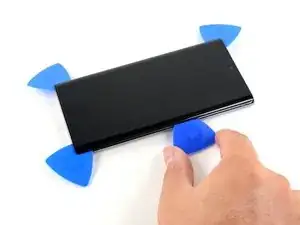
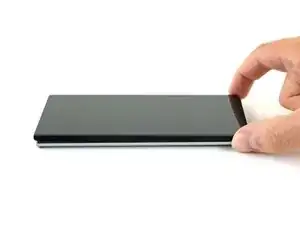
Use this guide to remove or replace the screen on your Samsung Galaxy Note10.

Due to the Note10’s design, you will have to remove the back panel in order to disconnect the screen cable.

Before you begin this procedure, be sure to have a set of replacement adhesives for both the back panel and the screen.

  1. ucK5WodrDBpBEIDq
    • Completely power off your phone before you begin disassembly.

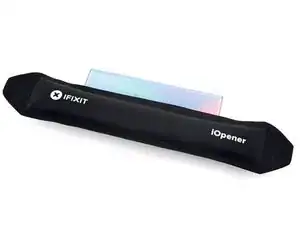
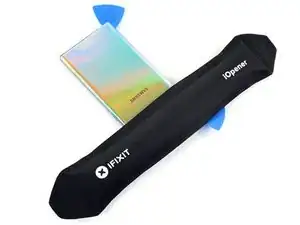
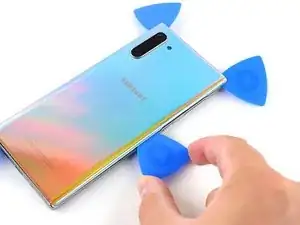
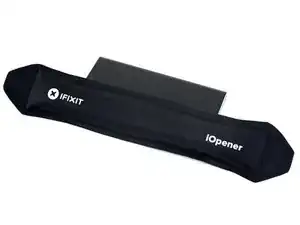
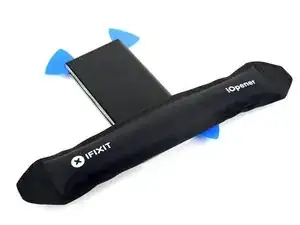
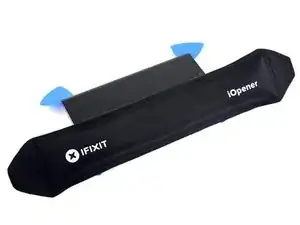
    • Prepare an iOpener and apply it to the left edge of the back panel for one minute.

    • A hair dryer, heat gun, or hot plate may also be used, but be careful not to overheat the phone—the display and internal battery are both susceptible to heat damage.

  2. QAutIeL1XdZCwbaj
    QAutIeL1XdZCwbaj
    DXxnqETqCPxQX5qt
    ix6dFK313CDcAjSt
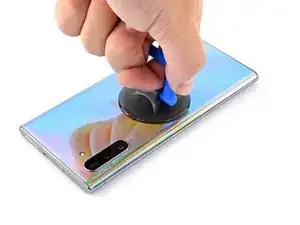
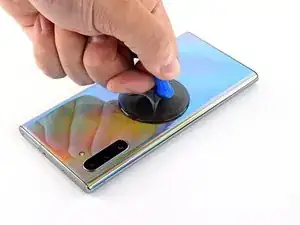
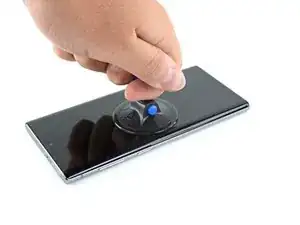
    • Apply a suction cup to the heated edge of the back panel, as close to the edge as possible.

    • If your back glass is badly cracked, covering it with a layer of clear packing tape may allow the suction cup to adhere. Alternatively, very strong tape may be used instead of the suction cup. If all else fails, you can superglue the suction cup to the broken panel.

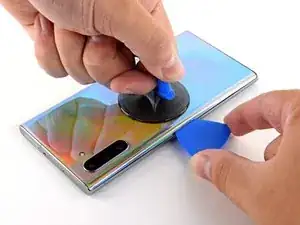
    • Pull up on the suction cup with strong, steady force to create a gap between the back panel and the frame.

    • Depending on the age of your phone, this may be difficult. If you are having trouble, apply more heat to the edge and try again.

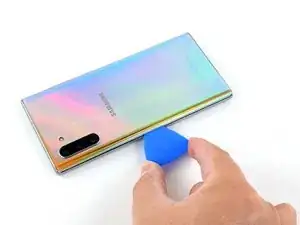
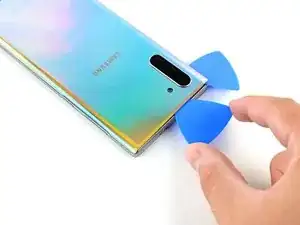
    • Insert the point of an opening pick into the gap.

  3. qewqJmblyOboWyY6
    qewqJmblyOboWyY6
    lnl5BuIANculHOFo
    YVIFhp4MxteGqMj5
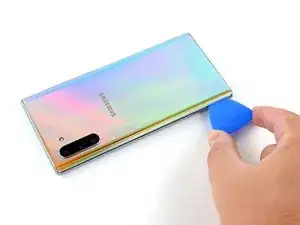
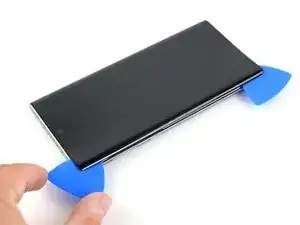
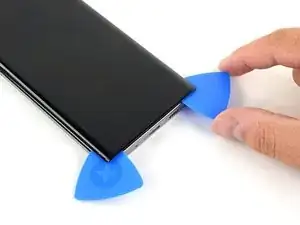
    • Slide the opening pick along the left edge towards the bottom left corner to slice the adhesive.

    • Do not insert the opening pick more than halfway into the phone or you risk damaging internal components.

    • Leave the pick inserted in the bottom left corner to prevent the adhesive from re-sealing.

  4. NhUoRsMuV25rkmA5
    NhUoRsMuV25rkmA5
    LsXjHNcsPraNhwdc
    grCWnuxRrVFKVkkO
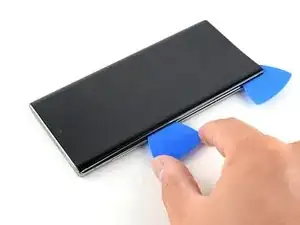
    • Insert a second opening pick and slide it across the left side towards the top left corner to slice the adhesive.

    • Leave the pick inserted in the top left corner to prevent the adhesive from re-sealing.

  5. 3DRP6ZkSKBJZtVtj
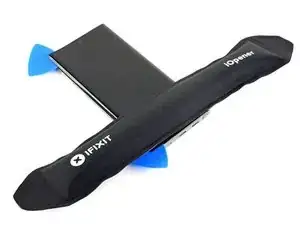
    • Prepare an iOpener and apply it to the top edge of the phone for one minute.

  6. WJGhcaOWGaGW5VZH
    WJGhcaOWGaGW5VZH
    hJpJBDGQ4AnifV25
    vvIDpbWXtkTVUZNo
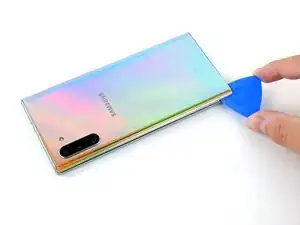
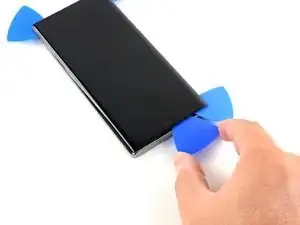
    • Insert a third opening pick into the gap on the top edge of the phone.

    • Slide the opening pick to the top right corner, slicing the adhesive.

    • Leave the pick inserted in the top right corner to prevent the adhesive from re-sealing.

    I cracked this top right corner because the camera cutout causes it to be more prone to cracking. Make sure to use heat in that corner, and spray some >90% isopropyl alcohol in there to loosen up the adhesive. I would do this corner last.

    Raid One -

  7. 5JlQQFOiw4qgLjZo
    • Prepare an iOpener and apply it to the right edge of the phone for one minute.

  8. 3txxdogROOrUGArH
    3txxdogROOrUGArH
    DbaKedtwKJVdwKiF
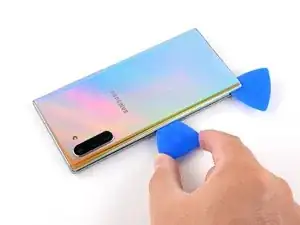
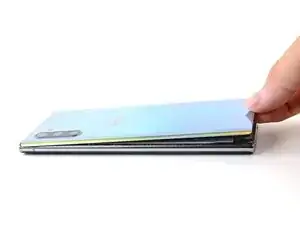
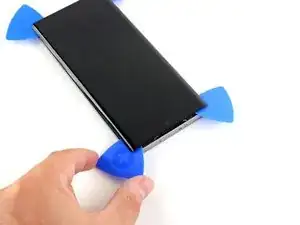
    • Insert a fourth and final opening pick into the gap on the right side of the phone, sliding it down towards the bottom right corner of the phone to slice the adhesive.

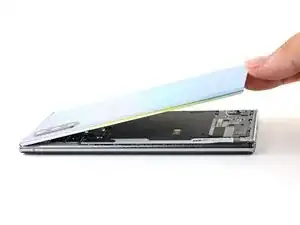
    • The back panel will begin to separate from the phone as you get closer to the bottom edge.

    • Slide an opening pick back and forth around the entire perimeter of the phone to release any missed adhesive, reheating if you find any extra-stubborn adhesive.

  9. PyJWTXFDAvdmSeyA
    PyJWTXFDAvdmSeyA
    xlUfGlwuypLqEHtJ
    yuahqDEZWuomNC4x
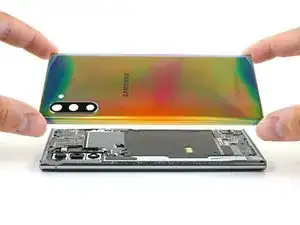
    • Lift up and remove the back panel.

  10. hk1xPuZWuaRKZBBS
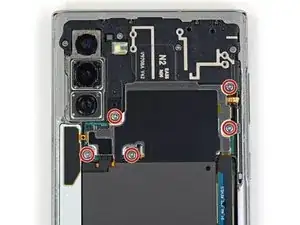
    • Use a Phillips screwdriver to remove the five 4 mm screws securing the wireless charging coil.

  11. Uw4yO1i1a1DpsAkW
    Uw4yO1i1a1DpsAkW
    LLokQ3K6UJedrIkr
    YxGFWjeKYQW3sbQP
    • Use a pair of tweezers to lift up and flip back the metal shield covering the battery connector.

  12. kQiqKbSL2kqCMeGP
    kQiqKbSL2kqCMeGP
    RDZfLEeCNsNBu6tF
    • While holding the metal shield up and out of the way, use the pointed end of a spudger to pry up the battery connector to disconnect it.

  13. aGRZA1yie3FMAMHg
    aGRZA1yie3FMAMHg
    wuTgOOAHBRU634Mc
    • Use the pointed end of a spudger to disconnect the wireless charging coil connector from the motherboard.

  14. sRIpHt5RwM2JGmMV
    sRIpHt5RwM2JGmMV
    LTCFAyCHWpBFMAXU
    ZGfDKLyvKPujNj1O
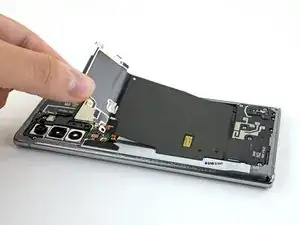
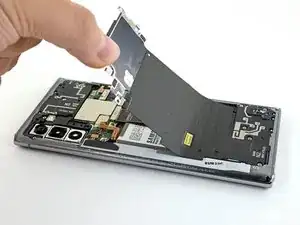
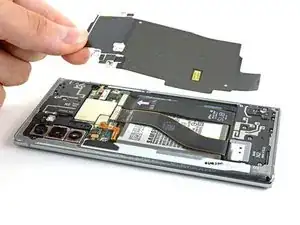
    • Tilt the metal shielding up so you can grip it with your fingers.

    • Peel the wireless charging coil up and away from the device.

    • The wireless charging coil is secured to the phone with some light adhesive.

    • Remove the wireless charging coil.

    is it possible to replace with brand new wireless charging coil

    Mohamed Ayham Hussain -

    How do you remove the metal plate to attach it to the new flex coil

    zshouse -

    Why do you want to do so?

    Daniele Carminati -

  15. su4cgyDZiNFwJ4jB
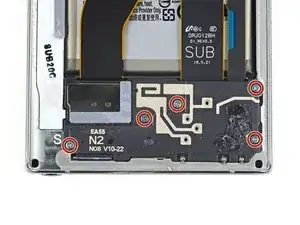
    • Use a Phillips screwdriver to remove the five 4 mm screws securing the loudspeaker.

    Actually, you don’t need to remove the loud speaker as long as you can do with 3 daughter board cables hanging off and distract a little bit, there is no effect with it bcoz the cable is flexible

    Cute Kitty -

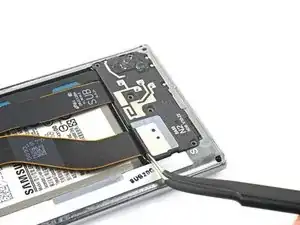
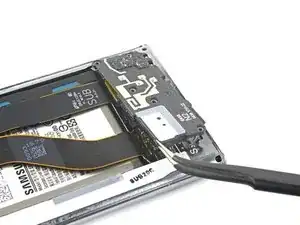
  16. 6kuEcRP6Hi4FA2ye
    6kuEcRP6Hi4FA2ye
    ZfpFKMhrEdAiiJBk
    lnhQeo2lBRCpxltF
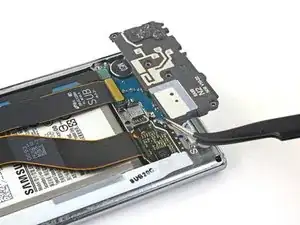
    • Use a pair of tweezers to remove the loudspeaker.

  17. PMuCPYYFeTnjmZhr
    PMuCPYYFeTnjmZhr
    QQCUl5QFFFA6y13T
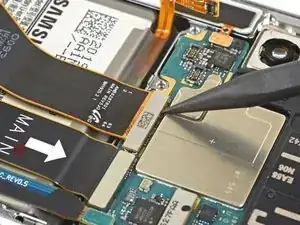
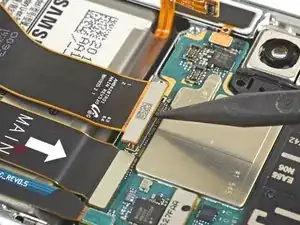
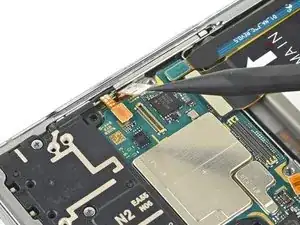
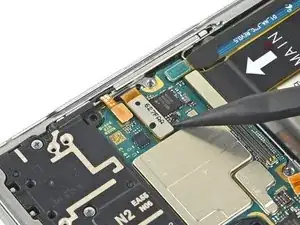
    • Use the pointed end of a spudger to disconnect the display cable from the motherboard.

    • To re-attach press connectors like this one, carefully align and press down on one side until it clicks into place, then repeat on the other side. Do not press down on the middle. If the connector is misaligned, the pins can bend, causing permanent damage.

  18. mFO1sZAkA1WDUZHG
    mFO1sZAkA1WDUZHG
    pKEFjELoOb2yUX2a
    • Use the pointed end of a spudger to disconnect the S-Pen touch layer cable connector from the motherboard.

  19. s26HiFXUNLgCUMUL
    • Prepare an iOpener and apply it to the left edge of the display for one minute.

    • A hair dryer, heat gun, or hot plate may also be used, but be careful not to overheat the phone—the display and internal battery are both susceptible to heat damage.

  20. oWtqGesoH6YRGmHv
    oWtqGesoH6YRGmHv
    raQxtuECW2mSmvvA
    QZNCWbV52kHGG6Y1
    • Apply a suction cup to the heated edge of the display, as close to the edge as possible.

    • If your screen is badly cracked, covering it with a layer of clear packing tape may allow the suction cup to adhere. Alternatively, very strong tape may be used instead of the suction cup. If all else fails, you can superglue the suction cup to the broken display.

    • Pull up on the suction cup with strong, steady force to create a gap between the display and the frame.

    • Depending on the age of your phone, this may be difficult. If you are having trouble, apply more heat to the edge and try again.

    • Insert the point of an opening pick into the gap.

  21. BkQhwFGagLB5c5bk
    BkQhwFGagLB5c5bk
    oOFaaCtrs62THeX2
    • Slide the opening pick along the left side towards the bottom left corner to slice the adhesive.

    • Do not insert the opening pick more than halfway into the phone or you risk damaging internal components.

    • Leave the pick inserted in the bottom left corner to prevent the adhesive from re-sealing.

  22. c2lBv4upqxqfXxLt
    c2lBv4upqxqfXxLt
    KNcQuJfqLAErCLEE
    • Insert a second opening pick and slide it along the left side towards the top left corner to slice the adhesive.

    • Leave the pick inserted in the top left corner to prevent the adhesive from re-sealing.

  23. kwLEiDQFrdNKbwS2
    • Prepare an iOpener and apply it to the bottom edge of the phone for one minute.

  24. fbwbOyYUvFrC4LNj
    fbwbOyYUvFrC4LNj
    I3yNp2hRPdwxydUR
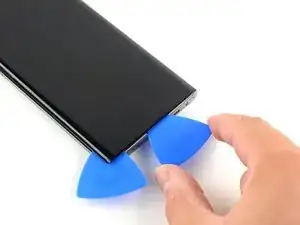
    • Insert a third opening pick into the gap on the bottom edge of the phone.

    • Slide the opening pick to the bottom right corner, slicing the adhesive.

    • Leave the pick inserted in the bottom right corner to prevent the adhesive from re-sealing.

  25. XKWdJMVTefeCUCC4
    • Prepare an iOpener and apply it to the top edge of the phone for one minute.

  26. n2Pturl1gnqZejRJ
    n2Pturl1gnqZejRJ
    gaY33MxfrqEtgAhu
    • Insert a fourth opening pick into the gap on the top edge of the phone.

    • Slide the opening pick to the top right corner, slicing the adhesive.

    • Leave the pick inserted in the top right corner to prevent the adhesive from re-sealing.

  27. rCn4DcRMJ6tJJXkw
    • Prepare an iOpener and apply it to the right edge of the phone for one minute.

  28. wMhDIKQ4eAXHXUc5
    wMhDIKQ4eAXHXUc5
    Z4SeOJpi21Ts3hiO
    • Slide the opening pick from the top right corner down towards the bottom right corner of the phone to slice the adhesive.

    • The display will begin to separate from the phone as you get closer to the bottom edge.

    • Slide an opening pick back and forth around the entire perimeter of the phone to release any missed adhesive, reheating if you find any extra-stubborn adhesive.

  29. mnqyM1ICMaoa5BTp
    mnqyM1ICMaoa5BTp
    eIbEYL2wDF2QBtaL
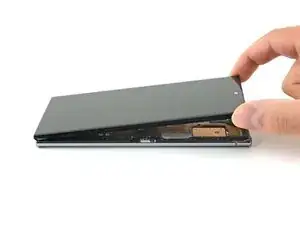
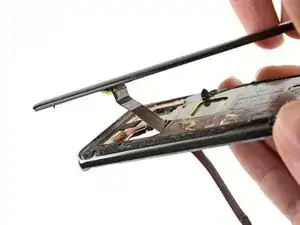
    • Don't try to completely remove the screen yet, as there are still some cables routed through the phone's frame.

    • Lift the screen up from the edge with the front-facing camera.

    • Don't lift the screen higher than about a 15º angle above the device.

  30. VQA1avsrvwCOEUNu
    VQA1avsrvwCOEUNu
    6AWuMMomRD11QeHA
    wUyuyjlm6WbhtCJg
    • Thread the display and S-Pen touch layer cables through their cutouts on the phone frame.

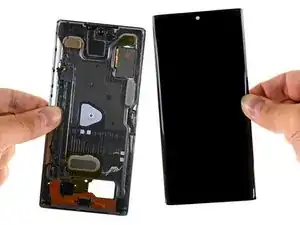
    • Remove the display.

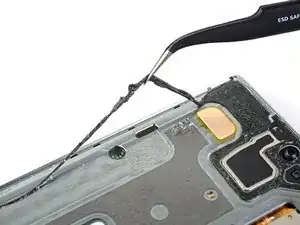
    • Remove any leftover adhesive before installing a new display.

    • Follow this guide for instructions on how to apply adhesive to the replacement screen.

    • Be sure to test your repairs before installing new adhesives.

Conclusion

Compare your new replacement part to the original part—you may need to transfer remaining components or remove adhesive backings from the new part before installing.

To reassemble your device, follow the above steps in reverse order.

Take your e-waste to an R2 or e-Stewards certified recycler.

Repair didn’t go as planned? Try some basic troubleshooting, or ask our Answers community for help.

Carsten Frauenheim

Member since: 10/03/20

124521 Reputation

8 comments

Does the same method apply to Note 10+ as well ?

Harsha Suranjith Amarasiri -

The method is similar but not identical. We will have Note10+ guides up within this month!

Arthur Shi -

Would the phone still be water resistant?

Miguel Angel Campos -

Depending on adhesive you use to put back glass
Mark D Schlossman -

For anyone thinking about doing this -
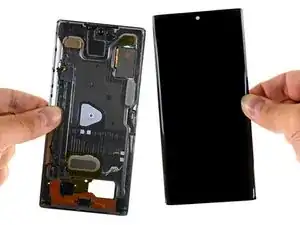
The screen on my wife’s Note 10 cracked. She lived with it for a little while, but of course the cracks spread and got worse over time. We decided to take a stab at fixing it ourselves.

From what I can tell, the instructions here are spot on. I was eventually able to fix the phone myself - looks brand new. You definitely don’t have to be a rocket scientist to do this - just some patience while you go through the steps.

My one regret is that I tried using a heat gun to soften the adhesive. While her screen was cracked, the LED display was still working. After using the heat gun, the LED display was no longer working - so I had to order a new one (they’re not cheap). At the time, I did not know about the iOpener. I would be very curious to give it a try. As long as it provides enough heat, it would probably work a lot better due to the increased control in heat application. For the price, it’s probably worth giving it a shot if you’re planning on doing this.

David Bergeron -

I only replaced the back glass, it’s the only one that is cracked, tho i already have the replacement for the middle frame, I got scared that i might brake the LCD (HAHA) but this guide is spot on

kiel desengano -

This is removing both the lcd and the screen correct?

tu_seras_mi_pecado -

If you are referring to a touch screen, it's not. This guide is for LCD/Digitizer assembly replacement.

Jojo -