Introduction
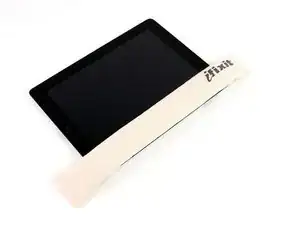
Prereq for removing the LCD, using the iOpener, iFixit's custom-designed tool for opening iPads.
Tools
-
-
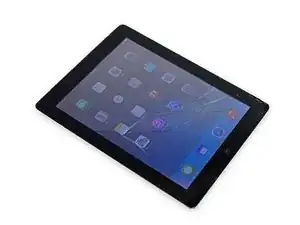
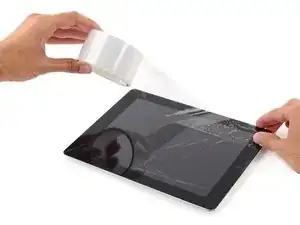
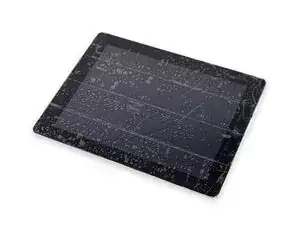
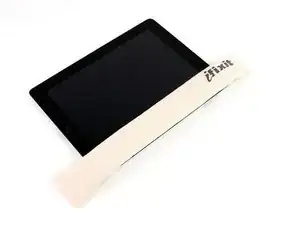
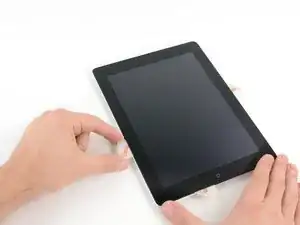
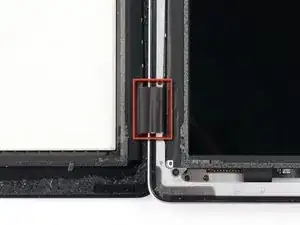
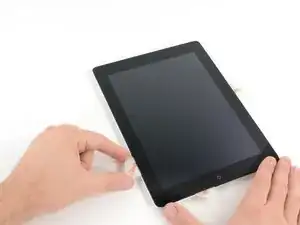
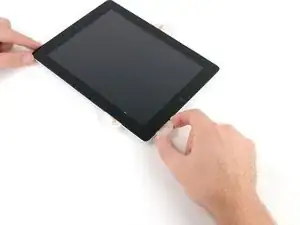
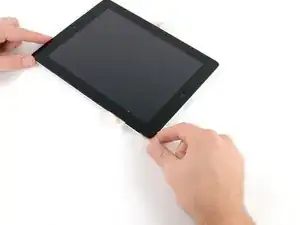
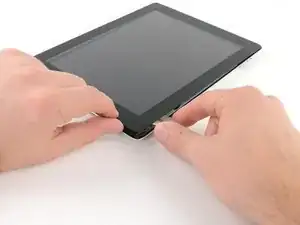
If your display glass is cracked, keep further breakage contained and prevent bodily harm during your repair by taping the glass.
-
Lay overlapping strips of clear packing tape over the iPad's display until the whole face is covered.
-
Do your best to follow the rest of the guide as described. However, once the glass is broken, it will likely continue to crack as you work, and you may need to use a metal prying tool to scoop the glass out.
-
-
-
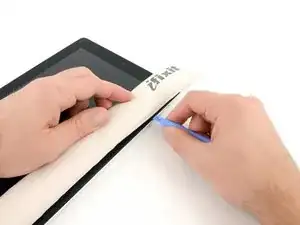
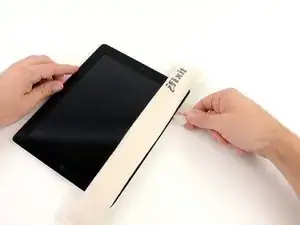
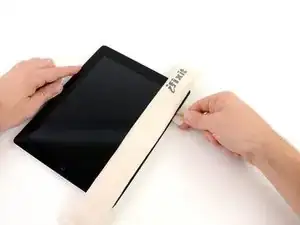
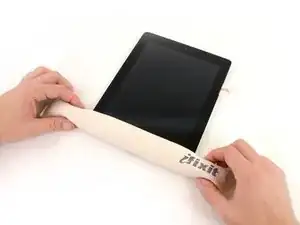
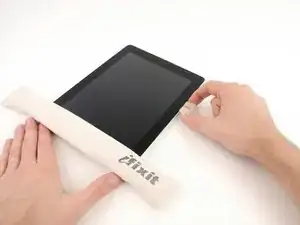
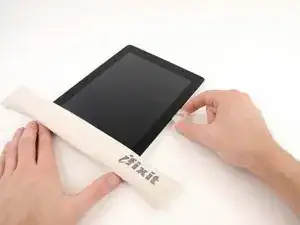
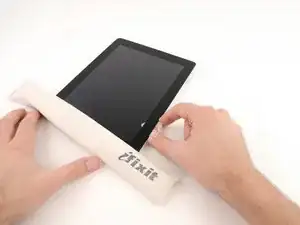
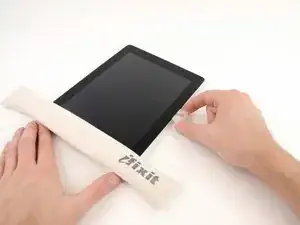
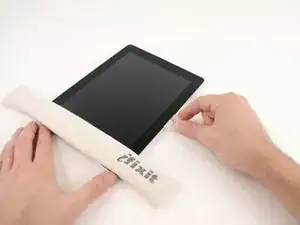
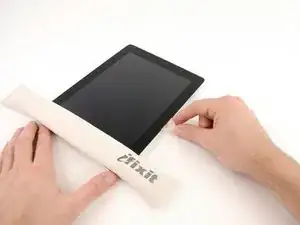
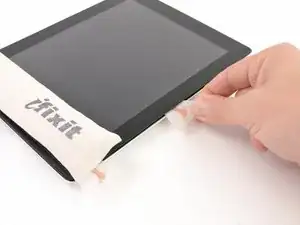
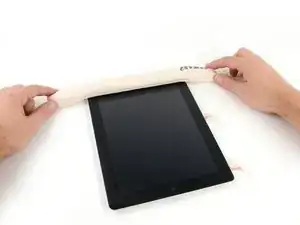
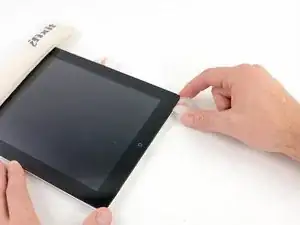
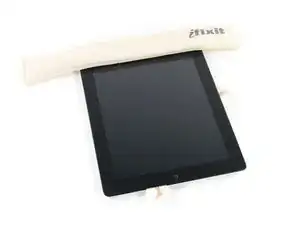
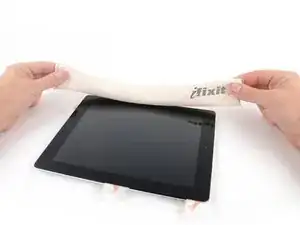
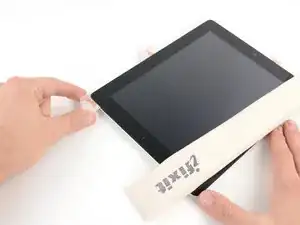
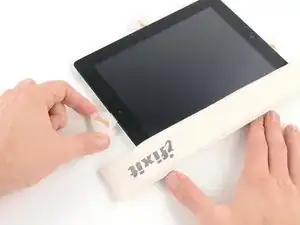
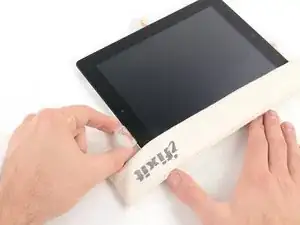
Lay the iOpener flat on the right edge of the iPad, smoothing it out so that there is good contact between the surface of the iPad and the iOpener.
-
Let the bag sit on the iPad for approximately 90 seconds before attempting to open the front panel.
-
-
-
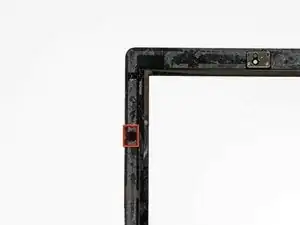
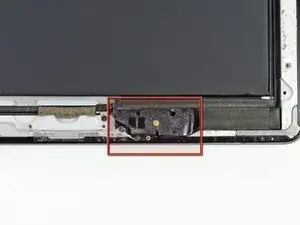
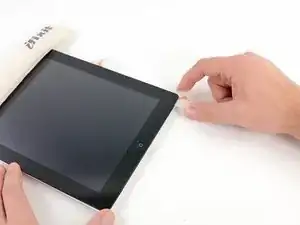
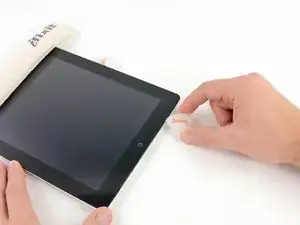
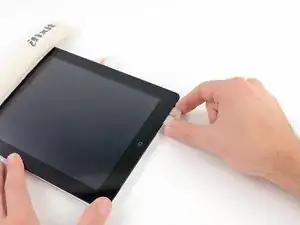
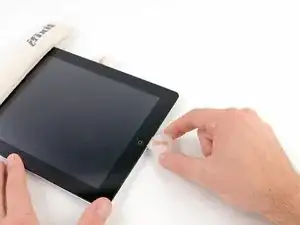
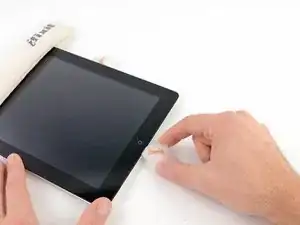
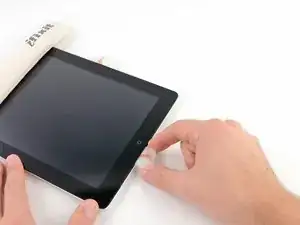
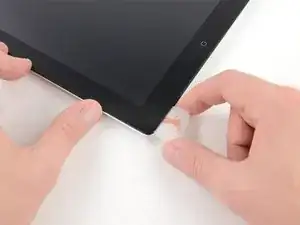
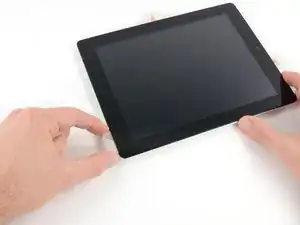
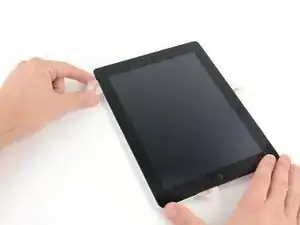
There is a small gap in the iPad's adhesive ring in the upper right corner of the iPad, approximately 2.0 inches (~5 cm) from the top of the iPad. You are going to exploit this weakness.
-
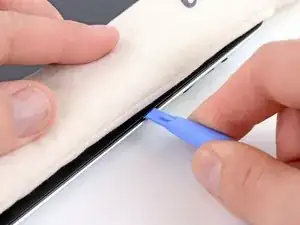
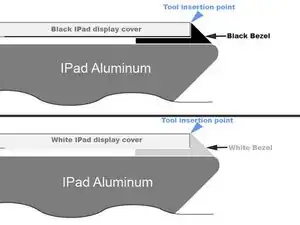
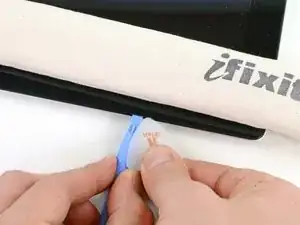
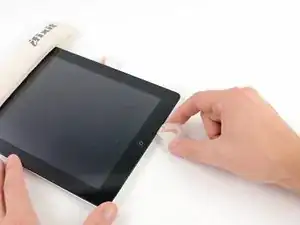
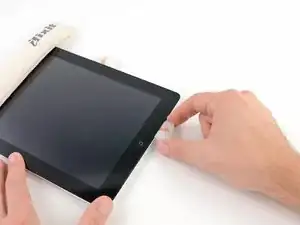
Align the tool with the mute button. Insert the tip of a plastic opening tool into the gap between the front glass and the plastic bezel. Just insert the very tip of the opening tool, just enough to widen the crack.
-
-
-
Make sure you place the tool in the proper spot—between the plastic display bezel and the front panel glass.
-
-
-
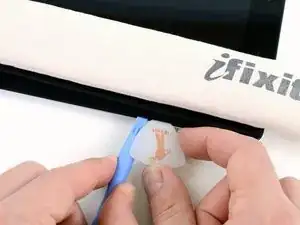
Keeping the tip of the plastic opening tool wedged between the front glass and plastic bezel, slide a plastic opening pick in the gap, right next to the plastic opening tool.
-
-
-
Remove the plastic opening tool from the iPad, and push the opening pick further underneath the front glass to a depth of ~0.5 inches.
-
-
-
While you work on releasing the adhesive on the right side of the iPad, reheat the iOpener, and replace it on the bottom edge of the iPad.
-
-
-
While the bottom edge is being heated by the iOpener, begin releasing the adhesive from the right edge of the iPad.
-
Slide the opening pick down along the edge of the iPad, releasing the adhesive as you go.
-
-
-
If the opening pick gets stuck in the adhesive, "roll" the pick along the side of the iPad, continuing to release the adhesive.
-
-
-
Before removing the first opening pick from the bottom corner of the iPad, insert a second pick under the right edge of the front glass to keep the adhesive from re-adhering.
-
Re-heat the iOpener, and move it to the top edge of the iPad.
-
-
-
You will have to release the adhesive securing the antenna to the front panel without damaging the delicate parts attaching the antenna to the bottom of the iPad. Follow the next steps carefully.
-
-
-
Slide the opening pick around the bottom right corner of the iPad, releasing the adhesive there.
-
-
-
Slide the tip of the opening pick along the bottom edge of the iPad, releasing the adhesive over the Wi-Fi antenna.
-
-
-
Once you have moved past the Wi-FI antenna (approximately 3" (75 mm) from the right edge, or right next to the home button) re-insert the opening pick to its full depth.
-
Slide the pick to the right, releasing the adhesive securing the Wi-Fi antenna to the front glass.
-
The antenna is attached to the bottom of the iPad via screws and a cable. This step detaches the antenna from the front panel, ensuring that when you remove the panel, the antenna will not be damaged.
-
-
-
Continue releasing the adhesive along the bottom of the iPad, pulling the opening pick out far enough to go around the home button, and re-inserting it to a depth of 1/2 inch (10 mm) once the pick is past the home button.
-
-
-
Continue releasing the adhesive all the way along the bottom edge of the iPad.
-
Leave the opening pick wedged underneath the front glass near the home button.
-
-
-
Reheat the iOpener in the microwave and set it on the left edge of the iPad to start warming the adhesive in that section.
-
-
-
Slide the opening pick along the top edge of the iPad, pulling it out slightly to go around the front-facing camera bracket.
-
The adhesive along this section is very thick, and a fair amount of force may be required. Work carefully and slowly, making sure to not slip and damage yourself or your iPad.
-
-
-
Continue releasing the adhesive along the top edge of the iPad, and slide the opening pick around the top left corner.
-
-
-
Slide the opening pick along the left edge of the iPad, releasing the adhesive as you go. The adhesive is thin here due to the digitizer along the whole left side. Make sure the pick is not too deep (max 1/2 inch) 10 mm to prevent damaging the digitizer.
-
-
-
Using the opening pick that is still underneath the bottom edge of the iPad, release the adhesive along the bottom left corner.
-
-
-
Using one of the opening picks, pry up the bottom right corner of the iPad and grab it with your fingers.
-
-
-
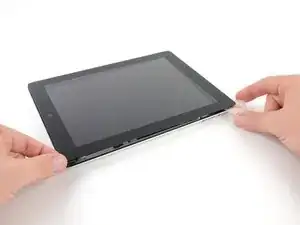
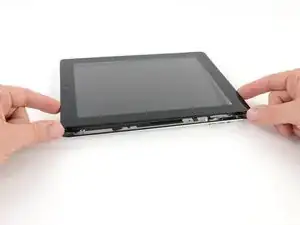
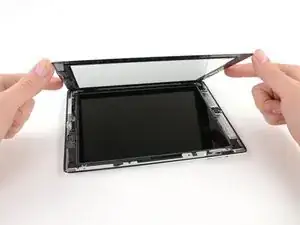
Holding the iPad by the top and bottom right corners, rotate the front glass away from the iPad.
-
To reassemble your device, follow these instructions in reverse order.

Yes...wear safety glasses for sure when doing this!
Josh West -
If you have ANY cracks FOR SURE do the tape. I would also make sure to wear safety glasses as it can fly all over even with the tape. And do it somewhere that you don't mind tiny glass shards going everywhere. I had one 3 inch crack in the glass in the lower right corner and it started spidering. The plastic pics don't work once well once they hit a broken point in the glass so you better have a lot of heat to loosen the adhesive, or you end up using an exacto knife to get around the cracked spots.
jesseokerlund -
On a few occasions I had an unexpected pop as the glass shattered and little shards struck me in the face. I had taped the surface but pieces at the edge still managed to break free. My advice: definitely wear the safety glasses, and definitely tape the entire glass surface.
robertmhussey -
Echo jesseokerlund's comments that you will have glass flying. I made the mistake of doing the repair at my kitchen table and had a lot of cleanup to do. The job would be much easier if there was no broken glass, and the hardest part is where the glass is broken right next to the bezel. I used the metal spudger to work those pieces free, but it takes some time.
robertmhussey -
+ 1 on the safety glass, I almost got hurt while doing this.
alexisfogel -
I followed all the safety precautions mentioned: tape, safety glasses… The best advice I saw on this is to put the iPad in the sun for a few minutes. I placed mine on the windshield of my car in direct sunlight for about 5 minutes. I also used the iOpener to keep heat on the edges I wasn’t working on. I was able to easily remove the glass without any shards flying in about 30-40 minutes total. Great advice and safest way I’ve seen to remove broken glass.
Robert Jenkins -