Introduction
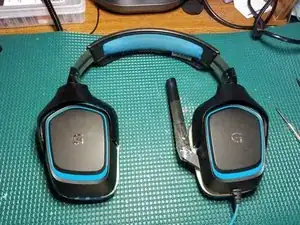
This guide will show you how to open up a Logitech G430 headset to get into the main electronic components so you can reconnect them. If your headset cable has been ripped out, or if the cable got yanked on and is no longer working, you may need to do this. Soldering and screwdrivers are required; wire strippers may be optional.
Please note solder (even the lead-free kind) is a toxic chemical, and therefore you should not inhale the fumes! Also, do not eat or drink anything after handling solder before thoroughly washing your hands.
Tools
-
-
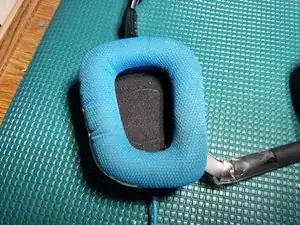
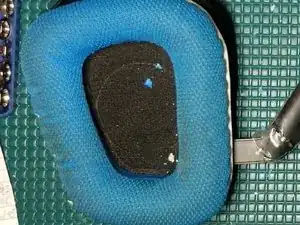
Pull the top-left corner of the foam padding up and to the left, and then pull it away from the frame.
-
-
-
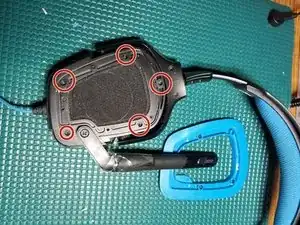
Remove five screws using a Phillips #0 screwdriver.
-
Pull the blue panel off of the ear piece.
-
-
-
Flip up the microphone to get to the fifth screw in this layer.
-
Remove five screws using a Phillips #1 screwdriver.
-
-
-
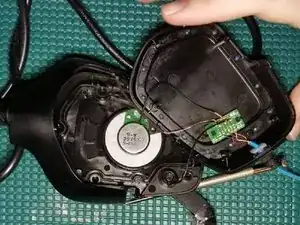
Evaluate the internal connections. There should be 6 wires soldered into the top of the board, and 6 wires soldered into the bottom of the board.
-
See the table in the images for the pin connections list. Pins marked with T are on the top half of the circuit board, and B are on the bottom.
-
-
-
Solder any severed connections. I recommend referencing How To Solder and Desolder Connections for how to do this!
-
If necessary, you may have to strip some of the casing to expose enough of the wires to be able to reconnect them. You can get away with using scissors if nothing else, but I recommend using a wire stripper for this purpose, as instructed in Wire Stripping.
-
-
-
After you have finished soldering all connections, test the headset by plugging it into a computer, and check each speaker and the mic. If it still doesn't work, you may not have soldered it correctly, or there might be another problem in the headset or cable.
-
-
-
Replace foam padding by sliding the back of the padding over the top of the speakers in a downward motion, then pulling the bottom edges of the pads over the bottom of the speakers.
-
Your headset should now be in working order and in one piece! Enjoy!
