Introduction
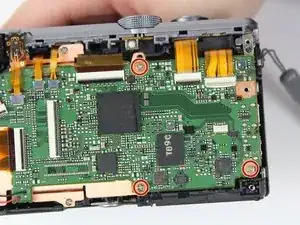
The motherboard of your Panasonic Lumix DMC-ZS60 may need to be replaced if it is malfunctioning. This guide will show you how to get to the motherboard in order to remove and replace it if necessary.
The motherboard may be damaged due to camera age, dropping the camera, or getting the camera wet. Problems that are caused by the motherboard include the camera not turning on, issues with taking or viewing pictures, or changing settings.
Make sure that the device is turned off before you start.
Tools
-
-
Use your finger to slide the black latch from the locked position to the open position on the memory card/battery door. This will open the door of the camera.
-
-
-
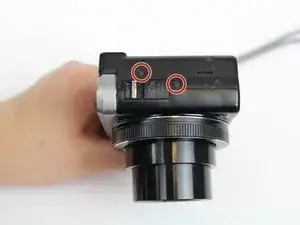
Using the Phillips #000 Screwdriver, unscrew six 3mm screws. There are two screws located on three sides excluding the top.
-
-
-
Flip the LCD screen to the left.
-
Unscrew the two 3mm on the top right side using the Phillips #000 Screwdriver.
-
Lift the gray plate cover off.
-
-
-
Use tweezers to pry up the black retaining flat and gently pull to free the LCD screen from the device.
-
-
-
Now you will able to lift the motherboard up and it will only be connected by two cables.
-
To fully remove the motherboard, you will have to solder the metal in order to remove the wires.
-
To reassemble your device, follow these instructions in reverse order.


