Introduction

If your camera begins malfunctioning, you may need to replace your motherboard. In this replacement guide you will first remove the battery to avoid getting shocked while working inside the camera. Then you will remove the back panel, unscrew several screws, and detach several electronic ZIF connector ribbons to replace the motherboard. See this technique on disconnecting ZIF connectors to better learn how to detach a ZIF connector ribbon.

  1. 6qXNmY6eFhQPrjpT
    6qXNmY6eFhQPrjpT
    qdmCJLDXvAkPxPmN
    KUjcJCmcmZfGALOP
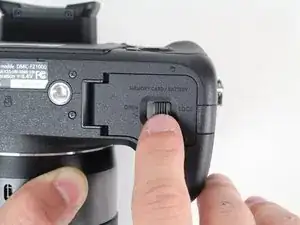
    • Slide the switch on the bottom of your camera from the right (LOCK) to the left (OPEN).

    • The battery door will swing open.

  2. Jb3BSGphiCQMIrSg
    Jb3BSGphiCQMIrSg
    xrEHcCEZYWyMmPaF
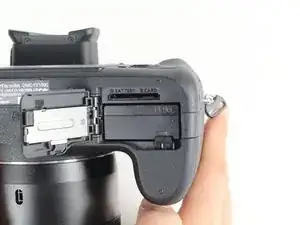
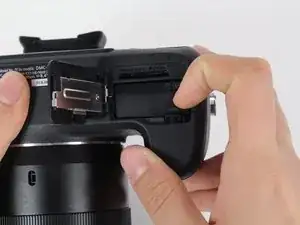
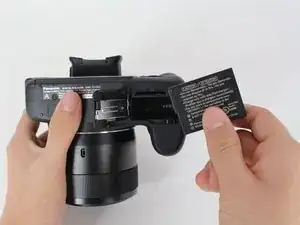
    • Pull down on the lever that holds the battery.

    • The battery will pop out of its casing.

  3. xmWiDDIvW6dWBUK1
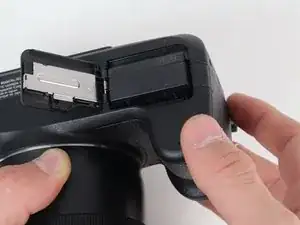
    • Pull out the battery.

  4. i4M66NE3A3aPcBfD
    i4M66NE3A3aPcBfD
    Se3EhgQiwJjxj3Dq
    c25YGWg5eqlmwJLA
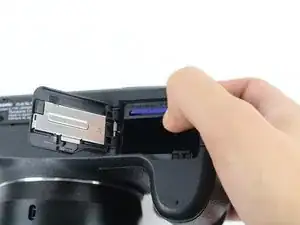
    • Push in on the SD card inside the battery housing.

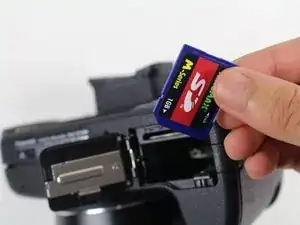
    • The SD card will pop out.

    • Pull out the SD card.

    • Close the battery housing door.

    Il faut modifier “Étape 4 Carte mère” par “Étape 4 Carte mémoire”, mais je n’y arrive pas.

    Jojo Demonnom -

  5. 22neQJGOmnOc3VOo
    22neQJGOmnOc3VOo
    AkZAR6SbEVxypURI
    dvaZVSKGaYPtP6Nk
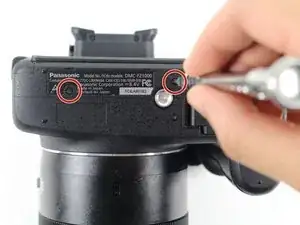
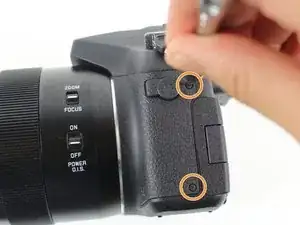
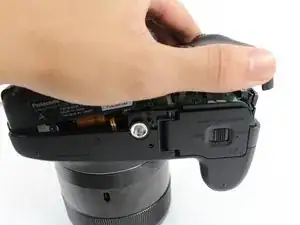
    • Remove the two 5.2 mm Phillips #00 screws that are 1) below the label and 2) above the tripod mount hole on the bottom of the camera.

    • You may ignore the screw below the tripod mount hole.

    • Remove the two 5.5 mm Phillips #00 screws on the side of the camera with the MIC jack.

    • Remove the two 7.0 mm Phillips #00 screws that are 1) above and 2) below the HDMI panel.

    • You may ignore the screw that goes through the leather material to the right of the HDMI panel.

    Quitar también los Phillips #?? zona de abajo del visor, desmontar ,y , quitar otros 2 phillips #?? interiores.

    blufs -

    • There are two screws that hold the eye piece on to the main housing, just underneath. Remove these. Once these have been removed, gently pull and remove the eye piece and remove the now accessible top two screws.

  6. mmbNMj5AYdqXlPDX
    mmbNMj5AYdqXlPDX
    lRuXGd3lk6xBSQZ4
    SnNrmYNYCvBqvHZG
    • Do not yank off the back plate. If you do, you will tear the electronic ribbons attached to the inside of the camera and the back plate.

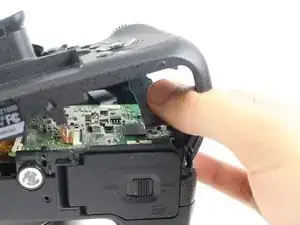
    • Gently lift up the back plate, being careful not to damage any ribbons.

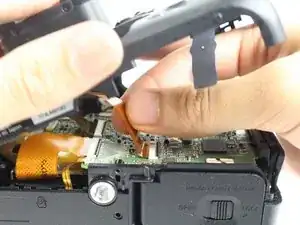
    • Do not yank out the electronic ribbons attached to the motherboard and the back plate, or you may damage them. To properly detach these ZIF connector ribbons, see this technique on disconnecting ZIF connectors.

    • Pull to disconnect from the motherboard the two ZIF connector ribbons attached to the back plate.

    • Set aside the back plate.

    The eyepiece needs to be removed!

    Remove the phillips screws from the bottom of the eyepiece, remove the eyepiece and remove the two screws at the top of the eyepiece

    bailout00 -

  7. BRVseGQ5VUyjGoZi
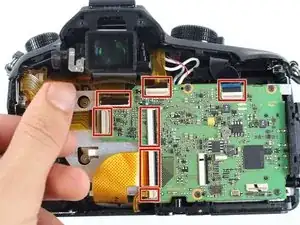
    • Do not yank out the electronic ribbons attached to the motherboard, or you may damage them. To properly detach these ZIF connector ribbons, see this technique on disconnecting ZIF connectors.

    • Pull to disconnect from the motherboard the seven ZIF connector ribbons.

    Die Anleitung zum Öffnen von ZIF-Anschlüssen hilft leider nicht weiter. Die Plastikbügel zerbrechen beim Versuch sie nach Anleitung aufzuklappen. Diesen wesentlichen Arbeitsschritt mit Bildern zu versehen wäre vielleicht hilfreich gewesen...

    Jan -

  8. 3ZHsKm3awp2ex4Ha
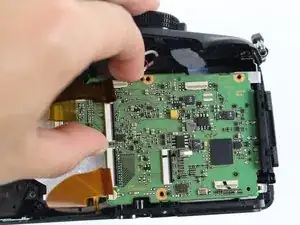
    • Remove the four 5.2 mm Phillips #00 screws at the corners of the motherboard.

  9. Tvwh6NQx6XvNwNkT
    Tvwh6NQx6XvNwNkT
    AZNPY1sGCoAVTbQB
    YGy5RedWX2kQxL1g
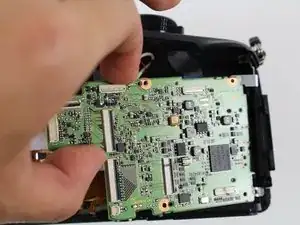
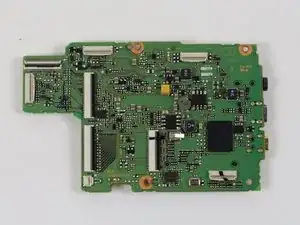
    • Firmly grasp the left side of the motherboard.

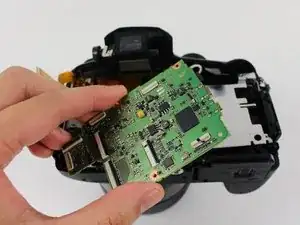
    • Pull out the motherboard.

    • If you find it difficult to remove the motherboard, pull it away from the HDMI panel while pulling it out.

    FZ1000 MK2: I could not remove the motherboard by itself but it came off easily together with the metal plate.

    Francesco Nardone -

Conclusion

To reassemble your device, follow these instructions in reverse order.

Robseth Taas

Member since: 07/01/16

1781 Reputation

3 comments

Where do you buy a motherboard for this camera?

Pekka Liemola -

This article is useless, since the motherboards are not available anywhere.

Pete Schliebner -

Actually, Panasonic does have the part for sale. <https://panasonic.encompass.com/item/102...>
Jeffry Long -