Introduction

  1. 2LoLjYZMckSRMPwX
    2LoLjYZMckSRMPwX
    bjefphcvCsuQJ5et
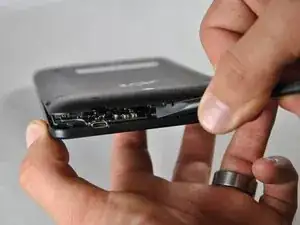
    • Separate the back of the device from the face by inserting the flat end of the nylon spudger into the corner of the device to safely pry it open.

  2. 4TwYK1YA4SeRPJ4M
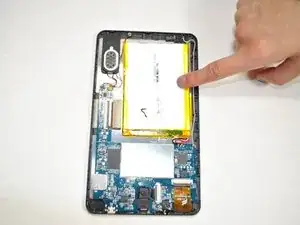
    • Use the nylon spudger to gently pry out the battery.

  3. PLpQAEwuLFQZOYOk
  4. KHNqhKvJdgTGUVhT
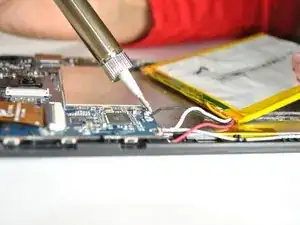
    • Remove the 4.1 mm screws from the motherboard using the J #000 Phillips Screwdriver.

  5. QamMuRlJAsmPjkvH
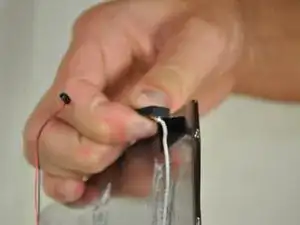
    • Carefully remove the tape connected to the back of the screen and the motherboard.

  6. CPQvpp2Vh1WPrcJK
    • Use the nylon spudger to separate the screen from the plastic casing.

Conclusion

To reassemble your device, follow these instructions in reverse order.

Katalina Benecke

Member since: 10/10/16

364 Reputation

0 comments