Introduction

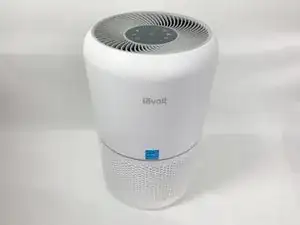
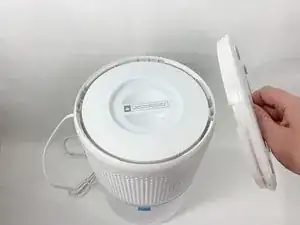
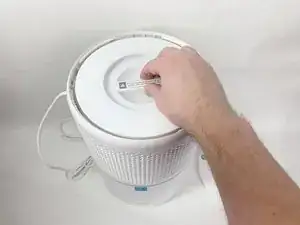
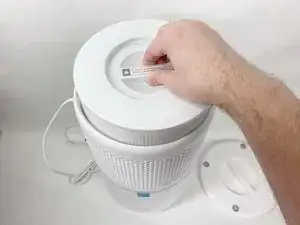
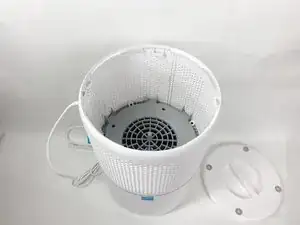
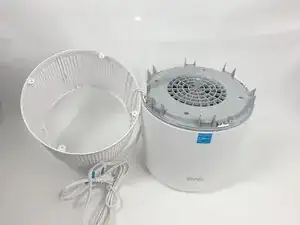
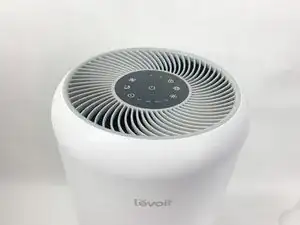
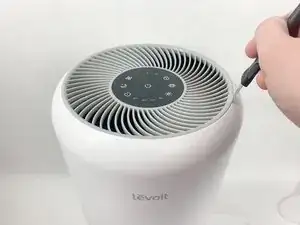
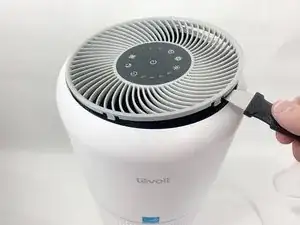
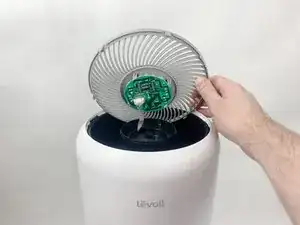
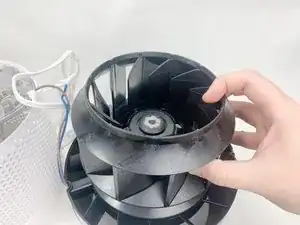
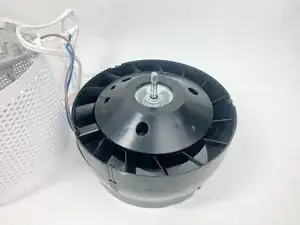
A non-functioning fan will severely limit your Levoit Core 300-RAC air purifier's performance. If your device is not outputting enough air, or the fan doesn't seem to be spinning, then it may be time to replace the fan. These are steps on how you would replace the fan.

  1. pfvPxZnQJHBKUEnb
    pfvPxZnQJHBKUEnb
    JyIEjELYcJISXCJw
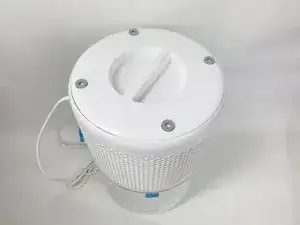
    • Make sure your device is turned off and unplugged for safety.

    • Turn the Levoit Core 300-RAC over so the bottom is facing up.

  2. rsnpltPV4oSRwvdM
    rsnpltPV4oSRwvdM
    3jkKDE3u2EqbBIjm
    kHUIQprEMwGBOwnf
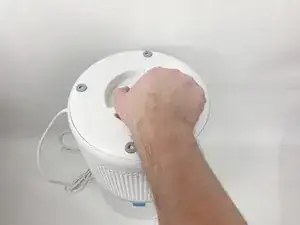
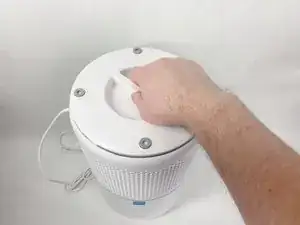
    • Turn the bottom cover counterclockwise and lift it off to remove it.

    • The cover does not "snap" on or off when turned.

  3. sZVi2pOMBwQHQNMk
    sZVi2pOMBwQHQNMk
    2RRBFtsKOKKYJ1yC
    wTQlGVaTguUNWVpC
    • Lift the filter straight up and out of the device.

  4. KNs6HnSBxF5AftXv
    KNs6HnSBxF5AftXv
    i1nAuDKgDp1pwHe1
    uqUHnVRHHTuRpPbE
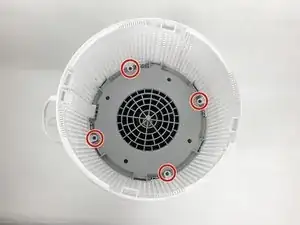
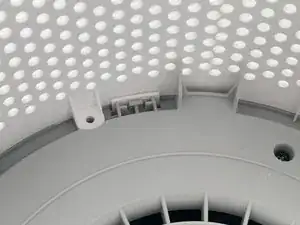
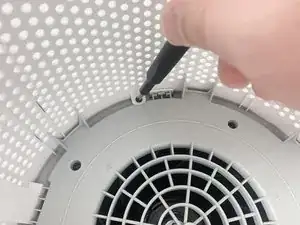
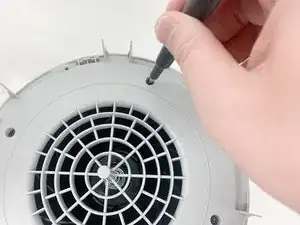
    • Use a Phillips #2 screwdriver to remove the four screws that secure the gray lid towards the base of the device.

    • Set the screws aside in a safe place.

  5. Gea5sQwacvbwvxhy
    Gea5sQwacvbwvxhy
    qGvEhltqIafJ12tp
    KxIGhBvGYvQ1t5Cn
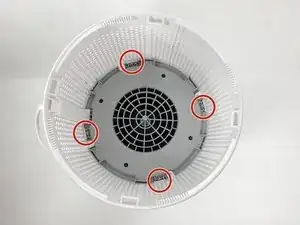
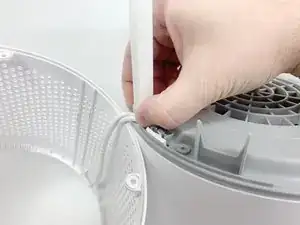
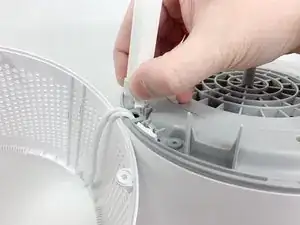
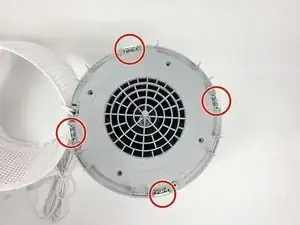
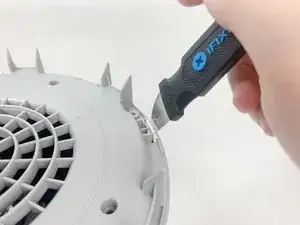
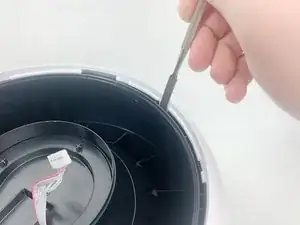
    • Use a metal spudger or Jimmy to gently pry between the four white tabs and the white housing to release the outer housing.

    • Gently pulling up on the outer housing can prevent the clips from resetting.

  6. tynoKsjXl2IoFUM5
    tynoKsjXl2IoFUM5
    njX2JVVlK1mZpTnS
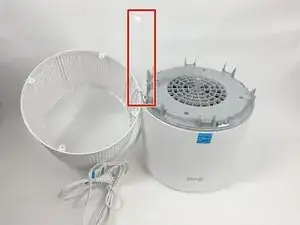
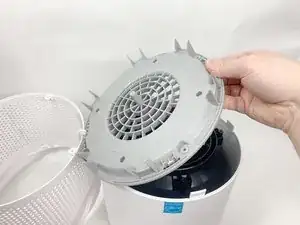
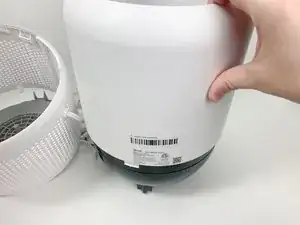
    • Remove the outer white housing and set it to the side.

    • The power cord is fed through a hole in the side of this housing, so it has to sit right next to the device.

  7. 5EtIbWMDpcjHn36R
    5EtIbWMDpcjHn36R
    NPGxhJy2dAqe1VKS
    rjXXITf4WFRdJEqG
    • Grab the cable channel by its base, squeeze, and pull up at the same time to remove it.

  8. hrEPitIqpjrMZmmK
    hrEPitIqpjrMZmmK
    o3hZCnTnUAsrkNNt
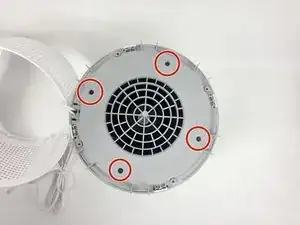
    • Remove the four Phillips #2 screws securing the gray face plate.

    • Set the screws aside in a safe place.

  9. ZqoDVWXJkmM1rcWr
    ZqoDVWXJkmM1rcWr
    6xjHUqxoKIFOKhbG
    OMkwtBuYX5BiLZyj
    • Insert a Jimmy or spudger between the white tab and the gray faceplate body to release the faceplate.

    • Lift it out.

  10. BaCMCOUkBblUjUyw
    • Turn your device over so it is upright again.

  11. iKlRcHFRBvlNbDZk
    iKlRcHFRBvlNbDZk
    6Pon3ZPLkZWQfLEC
    JbVnphpaj1HNdp1U
    • Insert the Jimmy between the gray grille cover and the top of the device.

    • Work your way around the grille cover with the Jimmy to release the clips holding it in place.

    • Take note of the placement of the tabs, as they are keyed and need to go back in the exact way they came out.

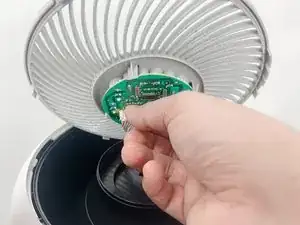
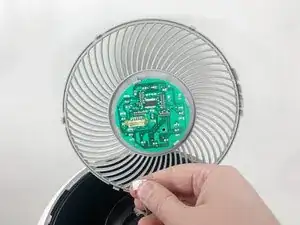
    • Remove the grille cover gently as it is connected by a ribbon cable.

    • Be careful not to put too much strain on the ribbon cable as it may break.

  12. LeRFts5CdEOHV5ZM
    LeRFts5CdEOHV5ZM
    rvu5ERHVAauonjg6
    OLkPLwAcQAaKOsxP
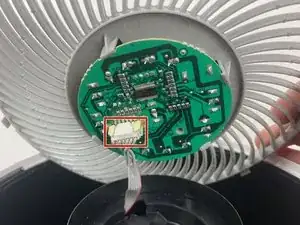
    • Squeeze the tab on the connector to release the bundled cable from the control board.

    • The connector should come out fairly easily, do not force it. Pulling too hard could damage the connector.

  13. CH2DdSSrifq55JU5
    CH2DdSSrifq55JU5
    kJPZGD5UiAPoLc4x
    3wn3XH5h1CZ6cPtM
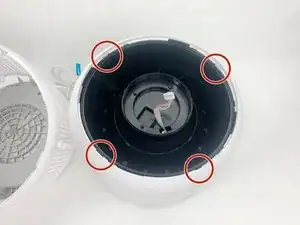
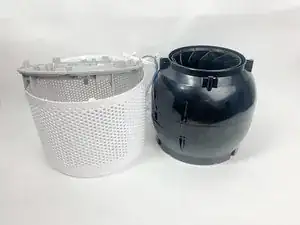
    • Insert a spudger or Jimmy into the four tabs to release them from holding the outer white housing to the inner black core.

    • Remove the white outer housing.

  14. gg3G4oDgN4rCfIfy
    • Flip your device over again so the fan is facing up.

  15. QRrYxrWra1GVJMVL
    QRrYxrWra1GVJMVL
    qUxsulJ26XsdHYFw
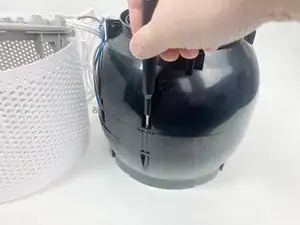
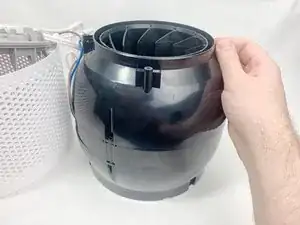
    • Use a Phillips #2 screwdriver to remove the three screws on the upper portion of the black housing.

    • Set the screws aside in a safe place.

  16. yYKJk2w6q6UyCj5E
    yYKJk2w6q6UyCj5E
    OhXNGboiLDSFShOF
    RFEwsniHGMJVFgev
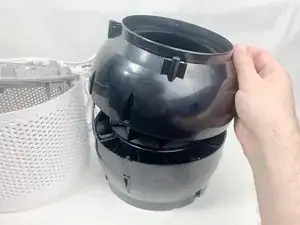
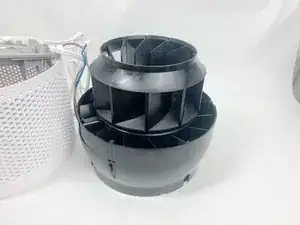
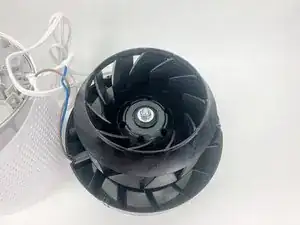
    • Remove the upper portion of the black housing.

  17. SCLFBJbcCNQVqQhS
    SCLFBJbcCNQVqQhS
    MKBn1WOOIdvvq2Be
    N1XVUI4WGQvZ6V3G
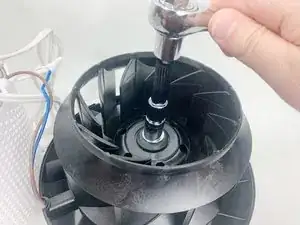
    • Use a 13mm socket wrench with an extension to remove the nut holding the fan in place and remove all hardware from the threaded shaft.

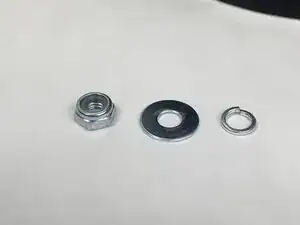
    • There should be a nylon-insert lock nut, a flat washer, and a split ring washer. Set these aside in a safe location.

  18. eMOq3Q2jkS41pFes
    eMOq3Q2jkS41pFes
    Oom6NZMwVpHbcQIg
    TrxIvUaFZOJufgjS
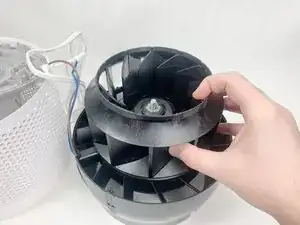
    • Lift the fan up and off of the threaded shaft.

    • There is another washer underneath the fan, leave it in place for the replacement fan.

Conclusion

To reassemble your device, follow these instructions in reverse order.
Stephen Carrozza

Member since: 01/11/23

241 Reputation

0 comments