Introduction

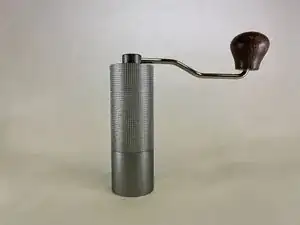
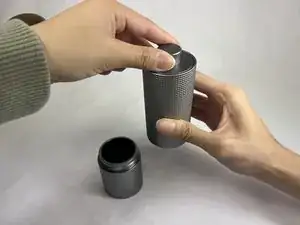
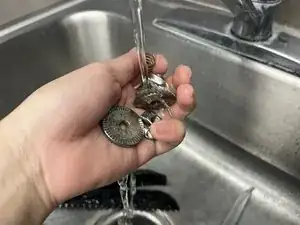
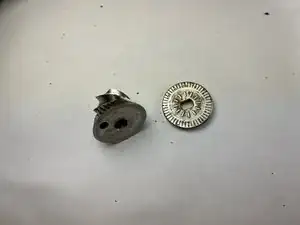
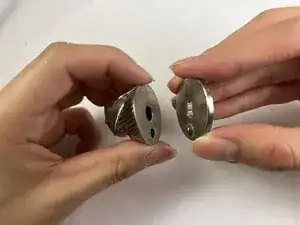
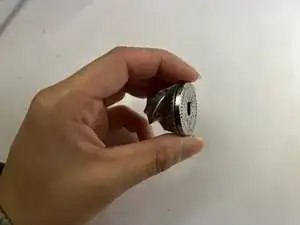
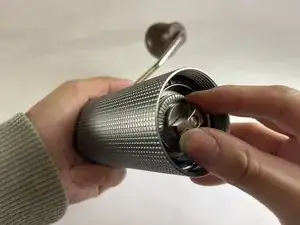
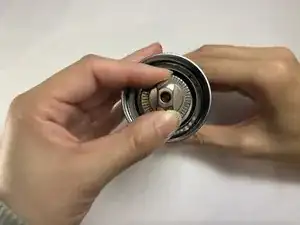
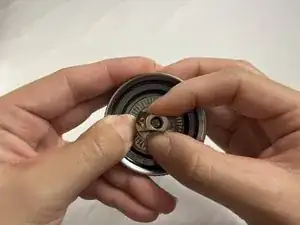
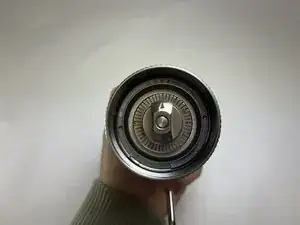
If your DiseZeit Manual Coffee Grinder Z1M isn't spinning and grinding your coffee like how it should, this guide will help you unjam the grinder. This guide could also be helpful for routine cleanings of the grinder to prevent more jams, or cross-contamination when switching to new beans.

A manual coffee grinder can get clogged more often than an automatic coffee grinder used in commercial settings, and it can be confusing for individuals who enjoy making quality coffee at home to figure out how to clean out their personal grinding devices. All you will need for this guide is a place to wash the parts of the grinder.

  1. Jk3HtuuWCMEVYHo4
    Jk3HtuuWCMEVYHo4
    IyggoRxWRf2MVIXp
    LSpyiGU1rExvuNFR
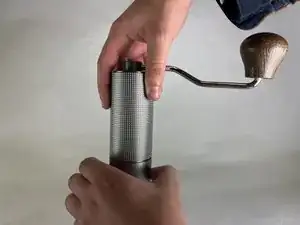
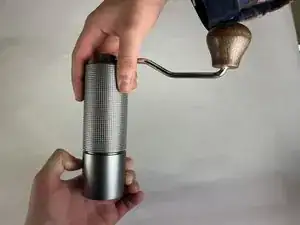
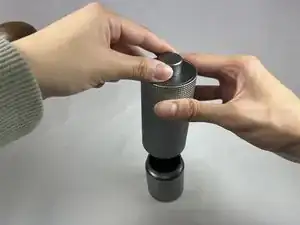
    • Unscrew the bottom of your grinder where the coffee grounds are held and remove it from the grinder's body.

  2. lL5paIXMHkwENXET
    lL5paIXMHkwENXET
    4sCJHsusgublJjTw
    usaTntH5FX1IERIG
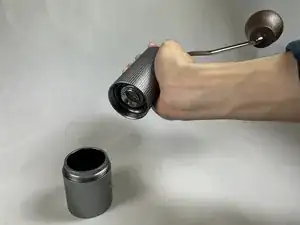
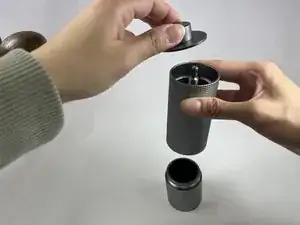
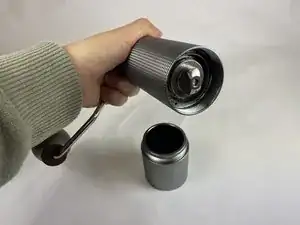
    • Take off the cap of the grinder that has the grinding handle on it by pulling it off.

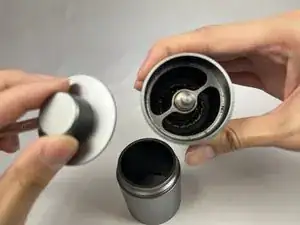
    • Empty out the grinder body.

  3. gRHoLawOwQwDIgXy
    gRHoLawOwQwDIgXy
    TXwYKdv3LTVepMEv
    ZIQYjStvLQNnsTXF
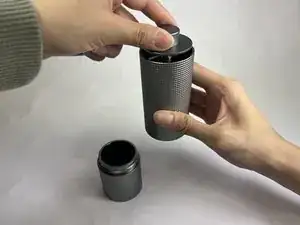
    • Put the cap of the grinder back on to the body.

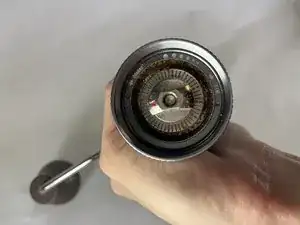
    • Hold the handle on the cap still and turn the grinder upside down so you can see the bottom of the grinder body.

  4. NjSYodpEBJf6Rm4m
    • Look at the markings on the grinder to see which direction the dial should be turned to make the grounds finer or coarser.

  5. 3tGjCWjgQ3AxquvW
    3tGjCWjgQ3AxquvW
    FXMVcStqXOxBaLnu
    sBtJwESXgCbnHHKU
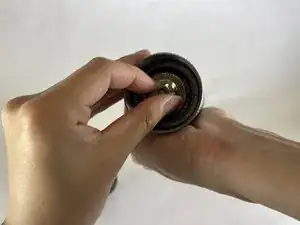
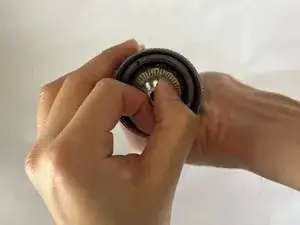
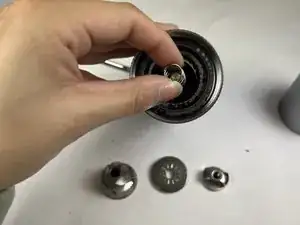
    • Unscrew the dial towards the coarser setting until the dial becomes fully unscrewed from the grinder's body.

    • The grinder has noted counter-clockwise as the direction for coarser grounds.

    • For reassembly, see Step 12.

  6. SYHEZhrKTCMAOm1R
    SYHEZhrKTCMAOm1R
    2KacFYJisSFfG6E6
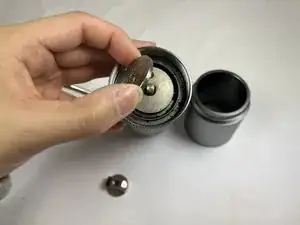
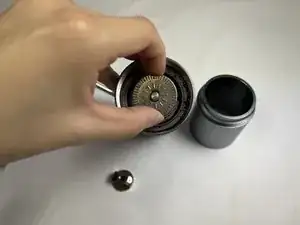
    • Pull out the metal plate from the body of the grinder.

    • For reassembly, see Step 11.

  7. 5vGXpiTXR5jpRk4a
    5vGXpiTXR5jpRk4a
    SiG1JUHWTUqBUqea
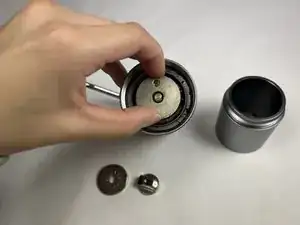
    • Pull out the metal grinding burr.

    • For reassembly, see Step 11.

  8. 6GsNTOMLq4NZUafY
    6GsNTOMLq4NZUafY
    Sr3VtNokPNuLyYK5
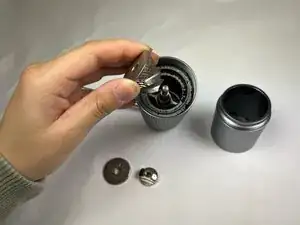
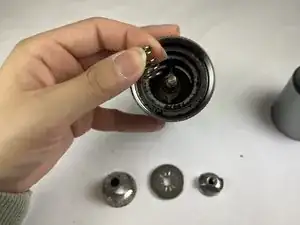
    • Pull out the spring around the shaft in the center of the grinder.

  9. 46FkqWlOXUOQ5ZSc
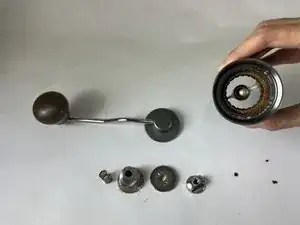
    • Check to see that the body of of the grinder has no more detachable parts in the center.

    • This image shows the parts you should have removed from the body of the grinder.

  10. SHXfaybKFIGgd3Wk
    SHXfaybKFIGgd3Wk
    1c4hndVRiTUtruHh
    BVoSYWWqHeCqJsac
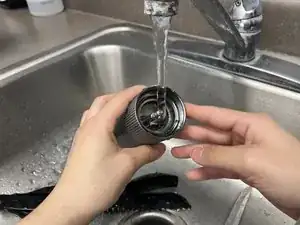
    • Gently wash the body of the grinder, the parts that were removed, and the base of the grinder that holds the coffee grounds using water and soap.

    • Make sure that all of the pieces are free of coffee bean residue before continuing.

    • Fully dry each part of the grinder before reassembling.

  11. dgRIPyl1n6MXvjqv
    dgRIPyl1n6MXvjqv
    yFwRanklbQrSkAlY
    LsPnbHqaYQLMoHYT
    • Put the parts of the coffee grinder back together by following steps 5 through 8 in reverse order.

    • When putting the metal plate and the grinding burr back into the grinder, first make sure to align the hole in the grinding bur and the notch in the metal plate, put the two components together, and then put them into the grinder's body.

  12. wuKR3oJmvrTrIqEw
    wuKR3oJmvrTrIqEw
    gtWYfEWBEGZbTCl4
    F4FWDGxvW2STH5k5
    • When you screw the dial clock-wise back into the grinder's body, it can help to keep the lid of the grinder on and to hold the handle still as you turn the dial. As the dial goes farther into the grinder body, make sure to press down on the metal plate below it to allow the dial to fully screw onto the shaft of the grinder's body.

  13. 35SyKEISAJTZSyfA
    • Your grinder is now ready to be used.

    • You can dial in your grinder by making sure the grinder dial is completely screwed onto the shaft in the grinder, and then slowly unscrewing the dial until your grounds are coarse enough for your use.

Conclusion

Enjoy your fresh coffee!
Isabelle Lai

Member since: 22/01/24

217 Reputation

0 comments