Introduction

Use this guide to replace the display adhesive in your Apple Watch and reseal it.

This is a general resealing guide based on an Apple Watch Series 6 44 mm. The resealing procedure for the Apple Watch Series 5 and newer models is more or less the same, despite slightly different inner workings.

You’ll need replacement adhesive to reattach the display when reassembling the device.

  1. vFNVcyLFgeuUmrci
    vFNVcyLFgeuUmrci
    J3XwmHLYcow1fwuR
    • The following steps show how to apply new display adhesive with the display already installed. If you're installing a new screen or removed your screen jump to Step 6 of this guide.

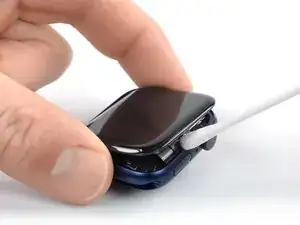
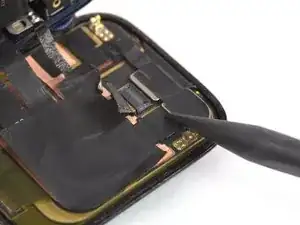
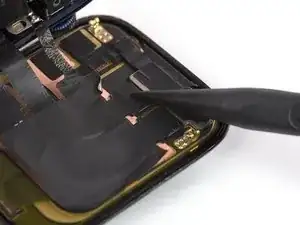
    • Apply a little bit of isopropyl alcohol (>90%) to a cotton swab, or Q-tip (or use a cleaning pad) and gently remove the old adhesive on top of the watch frame.

    • To remove the adhesive on the side with the display cables, gently lay the display on the frame.

    • Avoid straining or tearing the display cables.

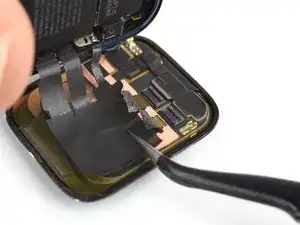
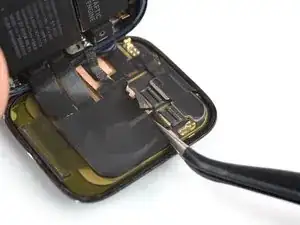
  2. FZV5PDBqZsCqPY2W
    FZV5PDBqZsCqPY2W
    BCpOI2NuVJOv6W5U
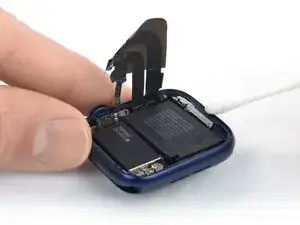
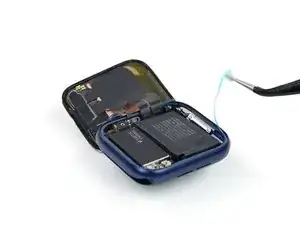
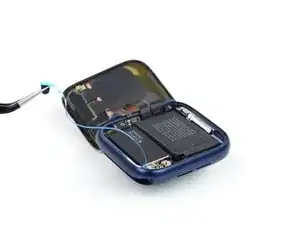
    • Flip the Apple Watch upside down so the display lays flat and lift the watch body.

    • Avoid straining or tearing the display cables.

    • Gently remove the old adhesive on the rear side of the display.

  3. NoIYfwvYEWOPp6ki
    • Use a pair of tweezers to carefully remove the replacement adhesive (including the blue protective film) from the backing paper.

  4. uti6MCDLm1C5bwOk
    uti6MCDLm1C5bwOk
    ECPuqH5fwVsQNsZZ
    x6ImuPPfA2iANKio
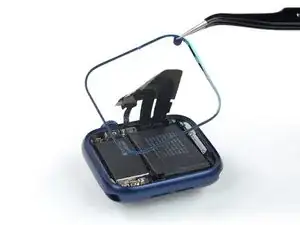
    • Hold the replacement adhesive diagonally and thread it over the display.

    • Slightly tilt the display forward to align the adhesive with the frame.

    • Position the replacement adhesive on the watch frame, where the old adhesive was located.

  5. 5JHfdPVc2LnLQXK3
    • Use the pointed end of a spudger to press the replacement adhesive into place.

    • To completely reseal your watch jump straight to step 14.

  6. TVLaWKO52TBK6wiK
    TVLaWKO52TBK6wiK
    EtVPPoVHklbUV1OJ
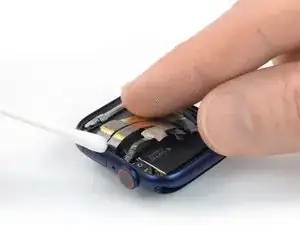
    • Apply a little bit of isopropyl alcohol (>90%) to a cotton swab, or Q-tip (or use a cleaning pad) and gently remove the old adhesive on top of the watch frame.

    • To remove the adhesive on the side with the display cables, gently fold the cables down.

    • Don‘t fold the cable sharply and only bend them to avoid cable damage.

  7. d2RSHvhBjvtcoGlo
    d2RSHvhBjvtcoGlo
    5sNaNp4M5ysBsJGj
    • If you‘re reusing your old display you need to remove the leftover adhesive from its rear side.

    • Gently remove the old adhesive on the rear side of the display.

  8. 1ZI2hl4rXR6TVlB1
    • Use a pair of tweezers to carefully remove the replacement adhesive (including the blue protective film) from the backing paper.

  9. TCoqIvRlKUlDhp2Z
    TCoqIvRlKUlDhp2Z
    6TdANKmZTuMau2VL
    • Hold the replacement adhesive diagonally and thread it over the display cables.

    • Slightly tilt the display cables forward to align the adhesive with the frame.

    • Position the replacement adhesive on the watch frame, where the old adhesive was located.

  10. 2ZlGIe1QNKLBraVI
    • Use the pointed end of a spudger to press the replacement adhesive into place.

  11. oAKxybVtnfTiBJDU
    oAKxybVtnfTiBJDU
    e2ZqYjDZN6eQEcZK
    • Lay your display flat on your working surface.

    • Hold the watch body in an upright position and grab the display cables with a pair of tweezers.

    • Before inserting the cables into the connectors, make sure the ZIF connector flaps are in an upright position. Otherwise, you risk damaging the cables.

    • Align the display cables parallel to the ZIF connectors and push them in.

    • No force is needed to push the cables into the connectors. If the cable doesn’t insert easily, it’s probably misaligned and needs to be gently removed and repositioned.

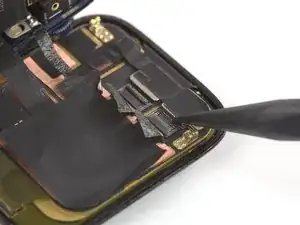
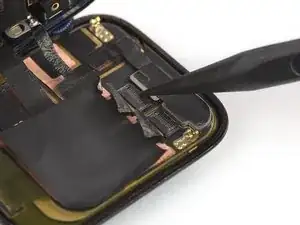
  12. YoSNkIDqgDLk1OBM
    YoSNkIDqgDLk1OBM
    5exSZJQxVJOkKS5o
    uAkFNkmgMYXQMfxK
    • Use the pointed end of a spudger and fold down the black flaps on top of the ZIF connectors to secure the cables.

  13. BAT5Ui3cpxAhj6wv
    BAT5Ui3cpxAhj6wv
    SgE4ZUSkcTZ5f3s6
    FYEOOVPDas1kEEqm
    • Carefully adhere the old heat dissipation stickers to the ZIF connectors on the rear side of the display or apply new heat dissipation stickers where the old ones were located.

  14. XLuHoTVsgUnARIFV
    XLuHoTVsgUnARIFV
    IIkiWnt1AqY1jgGt
    yXdeMWfJJGNryTxH
    • Use tweezers and a pair of scissors to lift and cut a corner of the protective film.

    • Remove the film from the display adhesive.

  15. CoUeJvxjfUSPElpk
    CoUeJvxjfUSPElpk
    arRODQfWNJSb4HYy
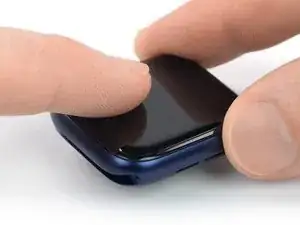
    • Align the screen and press it down firmly onto the adhesive.

    • To improve bonding of the adhesive, apply a heated iOpener to the display. Then apply pressure for a few hours —for example, place your Apple Watch under one or two heavy books overnight.

    • Alternatively, you can use screen vice clamps around the perimeter of your device to set the new adhesive.

Conclusion

Take your e-waste to an R2 or e-Stewards certified recycler.

Repair didn’t go as planned? Try some basic troubleshooting, or ask our Answers community for help.
Dominik Schnabelrauch

Member since: 23/11/16

217902 Reputation

0 comments