Introduction
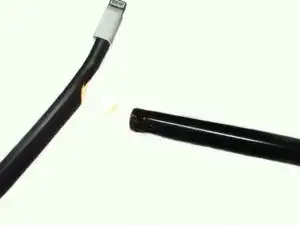
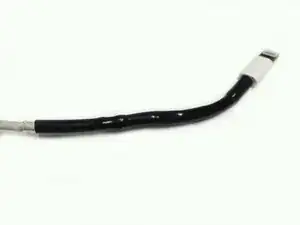
In this guide, you will learn how to repair a frayed or damaged lightning cable by stripping the wire near the damaged area and using a soldering iron to ensure a solid connection.
Tools
-
-
Locate the damaged area of your lightning cable.
-
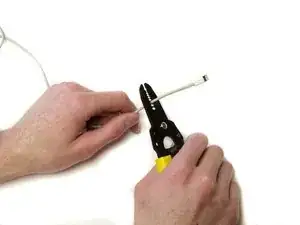
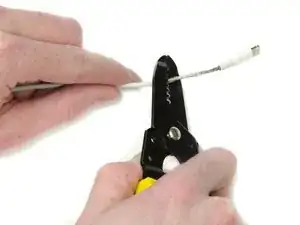
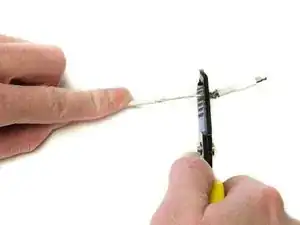
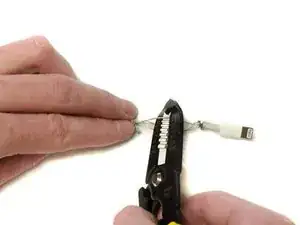
Use the 1.6 mm gauge on the wire strippers to strip a small portion of the outer jacket.
-
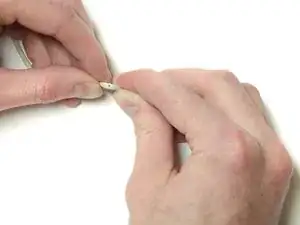
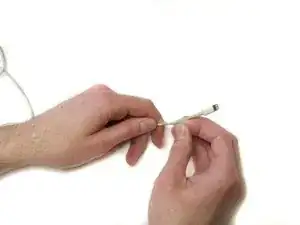
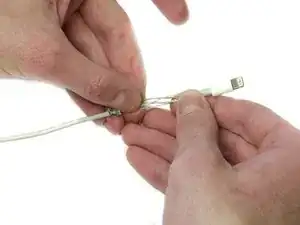
Peel the outer jacket from both sides of the damaged area, exposing the underlying metal jacket.
-
-
-
Carefully strip the metal jacket away from the underlying wires using the 1.0 mm gauge.
-
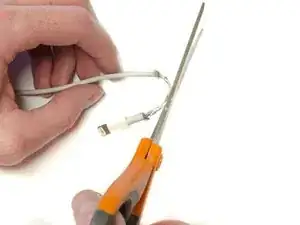
Use the scissors to cut the metal jacket off the cable.
-
-
-
Separate and examine the three main wires for any damage. Red (Power), White (Data), and Green (Data).
-
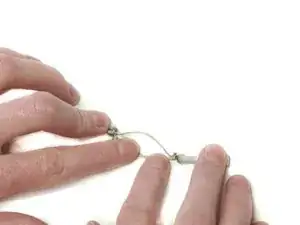
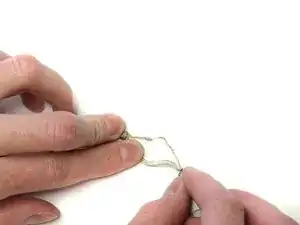
Separate the damaged wire from the other wires.
-
-
-
Strip the wire around the damaged area using the 0.6 mm gauge and expose the copper wires underneath.
-
-
-
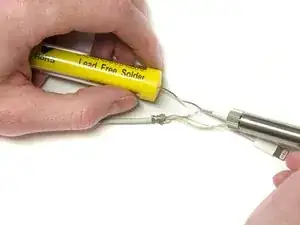
Solder the exposed wires together, ensuring contact throughout the damaged area using the soldering iron.
-
Repeat for any other damaged wires.
-
-
-
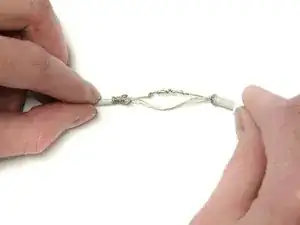
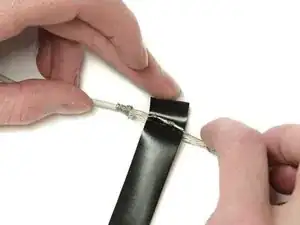
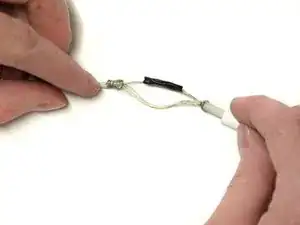
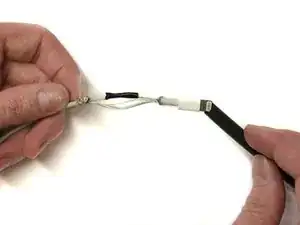
Wrap the soldered part of the wire in a thin layer of electrical tape to insulate it from the other wires.
-
Repeat for all soldered wires.
-
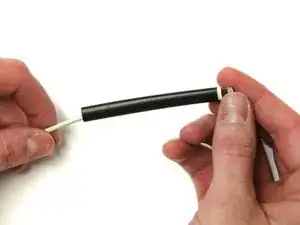
Repeat for any other damaged areas on lightning cable.
