Introduction
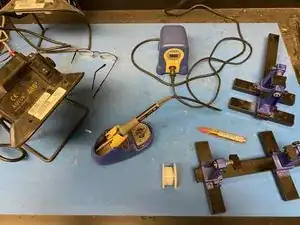
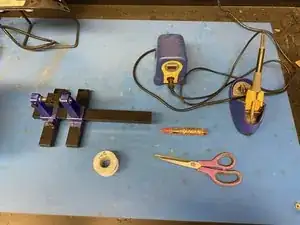
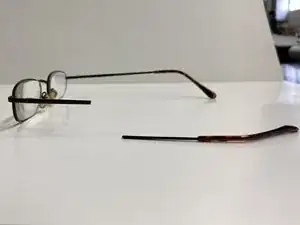
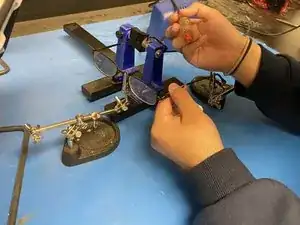
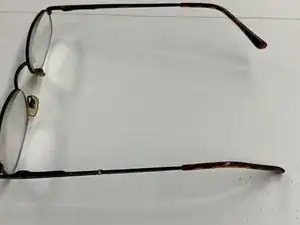
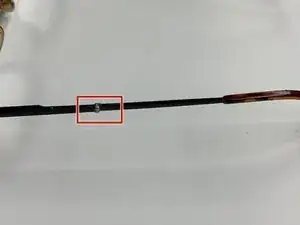
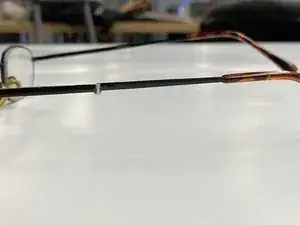
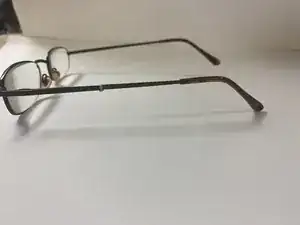
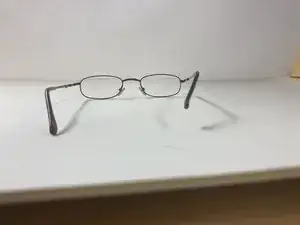
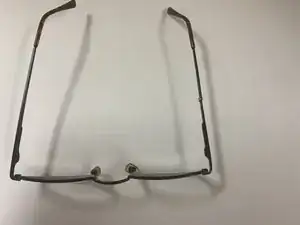
When applied with multiple points of pressure, eyeglass legs can snap, but they can also be repaired. This guide explains how to repair the broken legs of metal eyeglasses with a soldering technique.
Depending on what your glasses are made of, you may need a different type of solder. The following link provides a guide for learning how to solder and desolder connections. How To Solder and Desolder Connections
When performing this repair, be sure to work in a well-ventilated area and be careful as the soldering iron becomes very hot when on and can easily burn.
Tools
-
-
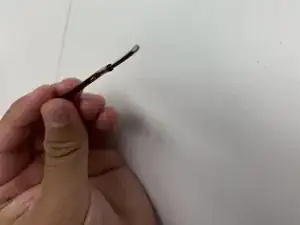
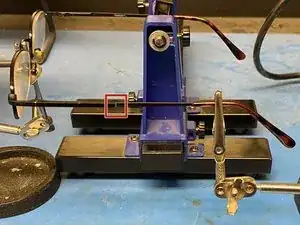
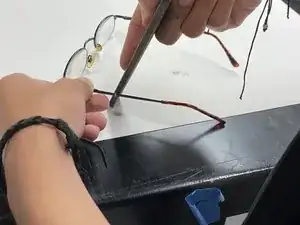
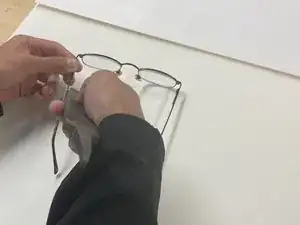
Examine for grains of material on the damaged area that are loose.
-
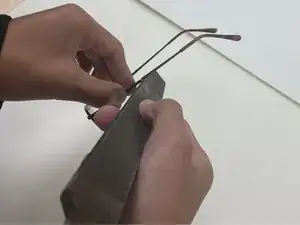
Use a file to gently remove any material that may cause the connection to be uneven.
-
-
-
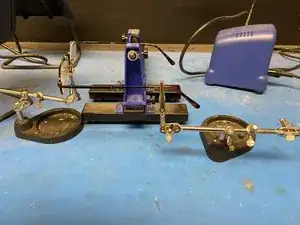
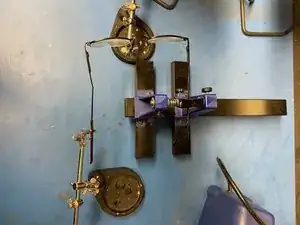
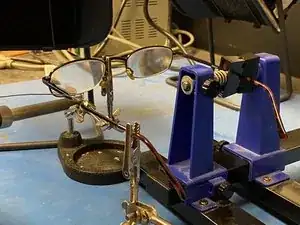
Arrange the glasses arm firmly in a clamp.
-
Use two clamps to secure the rest of the glasses.
-
Align the edges of the two parts of the glasses arm face to face.
-
-
-
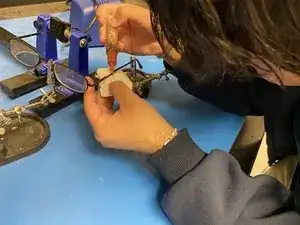
Squeeze bottle of flux to obtain fluid.
-
Use the bottle to apply flux onto the surrounding area around the broken edges.
-
-
-
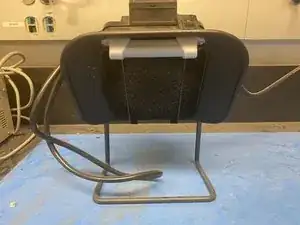
Plug in and turn on the fume extractor and place it near the soldering area to absorb the fumes.
-
Plug in and turn on the soldering station.
-
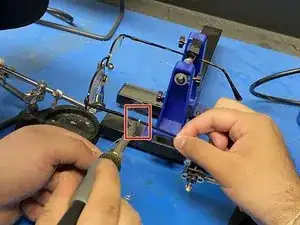
Place the solder on the broken area and used the hot iron tip to melt the solder onto the surrounding broken area.
-
Spread solder around the new connecting area and push the edges of the broken arm together.
-
-
-
Once the solder has made a strong connection place the hot iron in the metal wire tip cleaner to remove excess solder.
-
Place the hot iron in the iron holder.
-
Turn off the soldering station and fume extractor.
-
Allow the solder to cool and remove the clamps.
-
-
-
Press a file or thin blade against the solder in order to remove the excess hardened solder.
-
File against the solder for grains of the solder to fall off the glasses.
-
-
-
Thoroughly inspect the repaired area, checking for stability and strength.
-
Test your eyeglasses to ensure they can withstand normal usage.
-
In conclusion, the "How to Repair Snapped Eyeglass Arms" guide provides a user-friendly and accessible solution for addressing the common issue of snapped eyeglass arms. By guiding users through the identification of damage, the application of epoxy, and the use of popsicle stick supports, the guide empowers individuals to effectively mend their eyeglasses, extending the lifespan of their eyewear and restoring functionality. Emphasizing a comprehensive approach beyond typical joint repairs, this guide fills a crucial gap in eyeglass repair information. Its clear instructions and utilization of readily available materials make the repair process attainable for a broad audience, fostering a sense of self-sufficiency and encouraging proactive maintenance practices for eyeglass longevity.
