Introduction
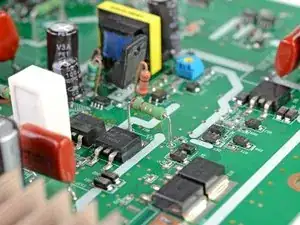
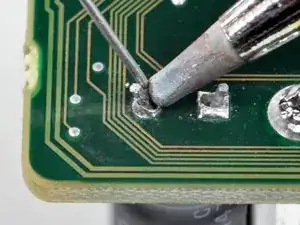
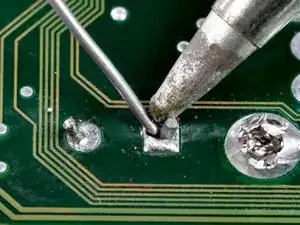
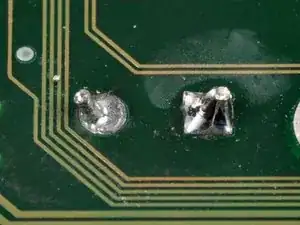
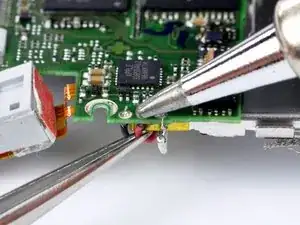
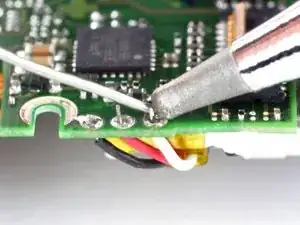
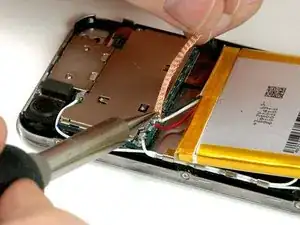
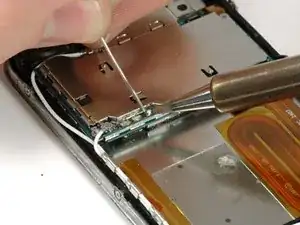
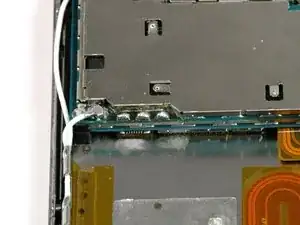
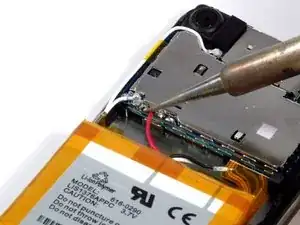
Newer generations of many electronics have batteries that are soldered directly to the logic board. This makes replacing the battery a much harder feat than older models, who use connectors to attach the battery to the logic board. This guide illustrates the various levels of difficulty in soldering, and teaches the technique of soldering three types of connections commonly seen in electronic gadgets:
Step 1: Beginning — Large thru-hole components, such as cylindrical capacitors;
Step 7: Intermediate — Small thru-hole components, such as battery leads and resistors; and
Step 11: Advanced — Small surface-mount components.
Always solder in a well ventilated area. If you are soldering sensitive electronics, be sure to work in an ESD (electrostatic discharge)-safe environment and use ESD-safe tools.
Tools
-
-
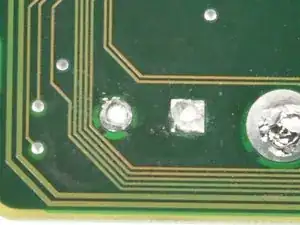
A capacitor was already removed from the two solder pads. Each pad was heated while the capacitor was pulled away from the board.
-
-
-
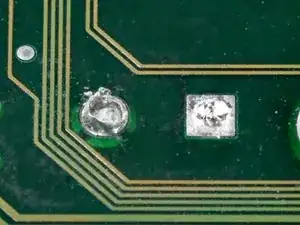
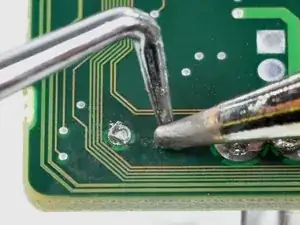
To open the hole blocked by solder, heat the solder pad with the tip of a soldering iron. Push through the molten solder from the other side with a staple or sewing needle.
-
-
-
When the tool has completely passed through the hole, enlarge the hole by heating the top side of the solder pad while pressing through with the tool.
-
-
-
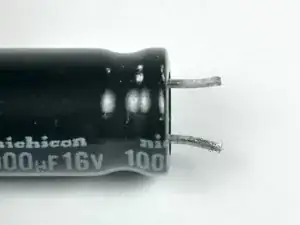
Run the soldering iron tip down the lengths of each contact to wipe the solder away from the component. Clean the iron's tip between strokes by wiping it against a moist sponge.
-
-
-
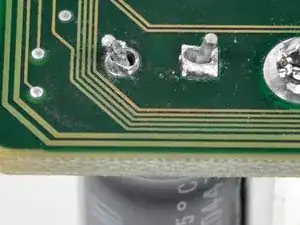
Insert the contacts into and through the holes made in the solder pads.
-
To ease in soldering, slightly bend the contacts protruding through the holes so they hold themselves in place.
-
-
-
To solder each connection:
-
Place the tip of the soldering iron against the solder pad.
-
Melt just enough solder onto the solder pad so that the capacitor's contact lead holds firmly in place.
-
Remove both the solder and the soldering iron tip from the connection as soon as enough solder melts onto the pad.
-
-
-
Open the holes through the solder pads by pressing a straightened staple against the blockage while heating the same pad from the other side of the board.
-
-
-
To solder each connection:
-
Place the tip of the soldering iron against the solder pad.
-
Melt just enough solder onto the solder pad so that the contact leads hold firmly in place.
-
Remove both the solder and the soldering iron tip from the connection as soon as enough solder melts onto the pad.
-
-
-
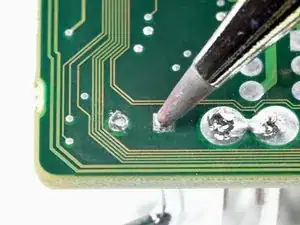
To de-solder the joint, place a solder wick on top of the existing solder ball and press down on the solder wick with the soldering iron.
-
Once the solder melts and flows into the wick, remove the wick from the joint.
-
Repeat the same procedure on the remaining leads.
-
-
-
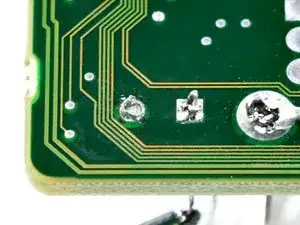
To melt a small bead of solder onto each solder pad:
-
Place the tip of the soldering iron against the solder pad.
-
Melt solder so that it forms a dome on top of the pad.
-
Remove both the solder and the soldering iron tip from the solder pad as soon as enough solder melts onto the pad.
-
-
-
To solder the new leads to the board, place the bare end of one lead onto the bead of solder on its corresponding solder pad.
-
Press the tip of the soldering iron onto the solder bead until it melts.
-
Slide the exposed end of the lead into the liquid solder until it is in the center of the bead, then remove the soldering iron.
-
Continue with the other connections the same way, taking special care not to solder two of the pads together.
-
To reassemble your device, follow these instructions in reverse order.
