Introduction
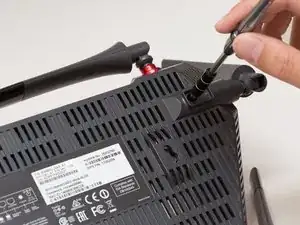
The power adapter port is on the back of the router. This is where the power cable plugs into your router, and then plugs into the wall. If this port is damaged in any way, the cable cannot be plugged in and thus you will not be able to give power to your device.
This guide requires desoldering, which is an advanced skill.
Tools
-
-
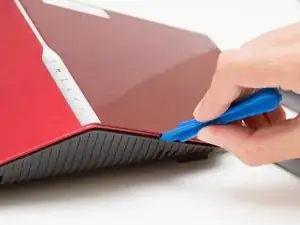
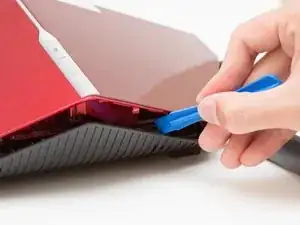
Wedge the opening tool between the red top panel and the gray bottom panel.
-
Twist the opening tool to separate the panels. Work your way around the case until both of the panels are separated.
-
-
-
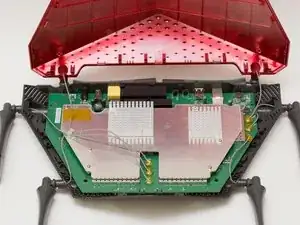
Orient the router so the narrow end of the router faces you and the ports face away from you.
-
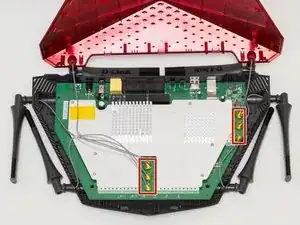
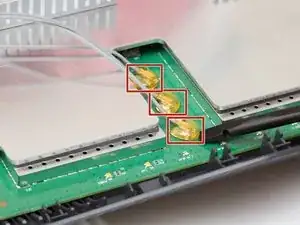
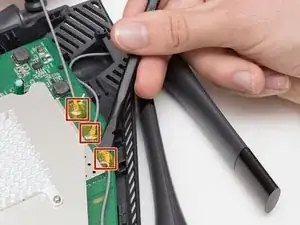
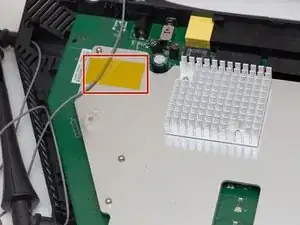
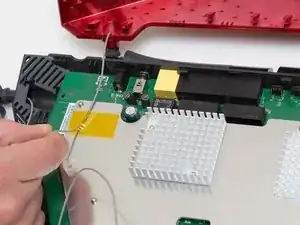
The six, hot-glued antenna connections are in the middle and at the top right of the motherboard.
-
-
-
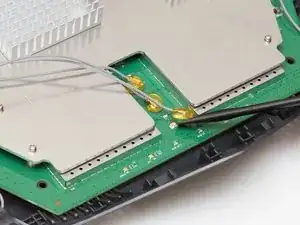
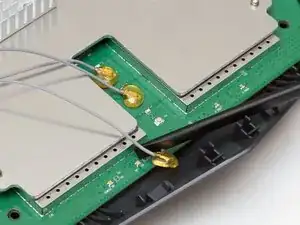
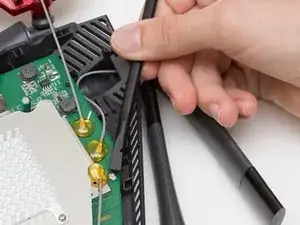
Continue to pry off the last three antenna connections on the upper right portion of the motherboard.
-
-
-
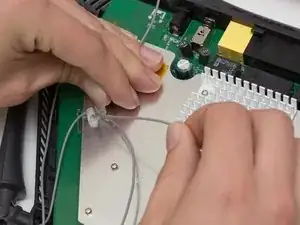
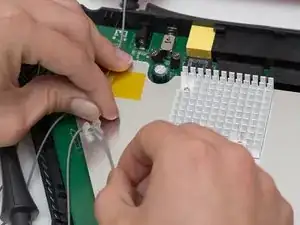
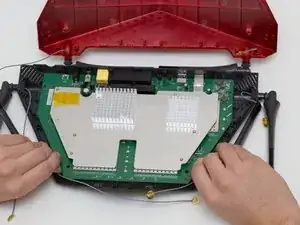
Open the plastic bracket enclosing the three antenna wires and pull the wires out with your hands.
-
-
-
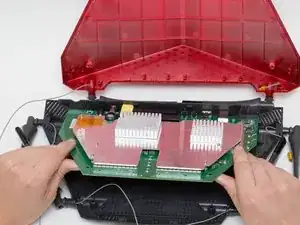
Pull the the motherboard away from the case to remove it. Start on the side closest to you, and pull up and out.
-
-
-
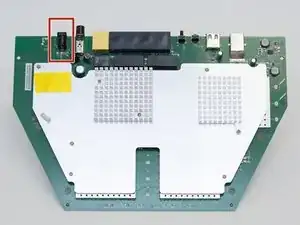
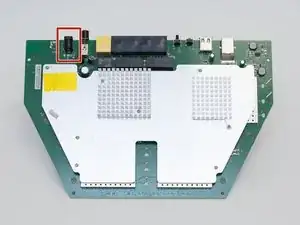
Locate the power adapter port at the top left of the motherboard.
-
Flip the motherboard over.
-
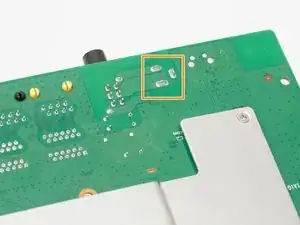
Locate the 3 solder joints that connect the power adapter port to the motherboard.
-
-
-
Using a soldering iron and desoldering pump, desolder the power adapter port from the board.
-
For more information, see this guide on desoldering
-
To reassemble your device, follow these instructions in reverse order.
One comment
What are the specifications of the power port if we would like to replace it?
