Introduction

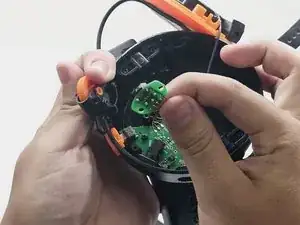
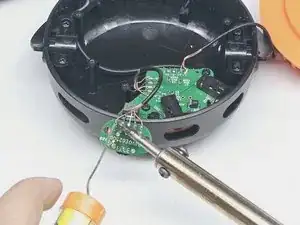
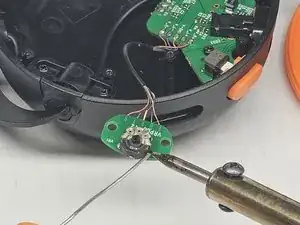
This guide will illustrate how to desolder the rotary encoder responsible for the volume control on the Beyerdynamic MMX100 headset. If you're experiencing issues with your headset's volume, follow the steps outlined here to successfully complete the soldering process. Ensure you have some soldering experience, exercise caution to avoid potential risks, and use anti-static measures during the repair.

  1. MuEAAZIQtayN2GJQ
    MuEAAZIQtayN2GJQ
    NeMPeHRZiYLqc2ve
    yu3TRQ6egtsNLioe
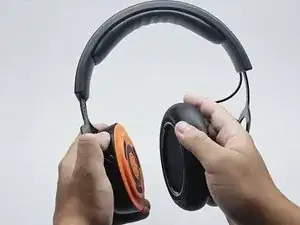
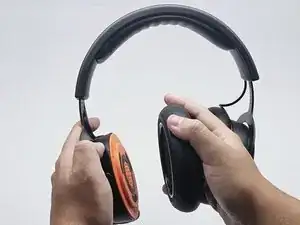
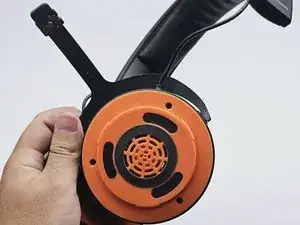
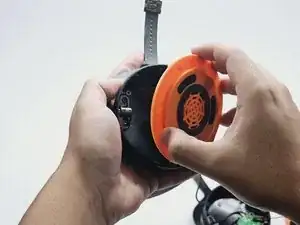
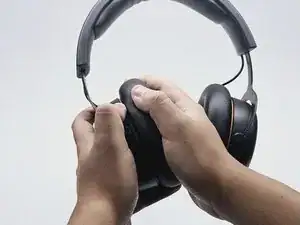
    • Twist the left speaker cushion towards you, and pull off the headset.

  2. YtTLIKKQisOIqJXh
    YtTLIKKQisOIqJXh
    EgAf5FXlSElSbYeh
    JDJrLDhT5eMgtk4J
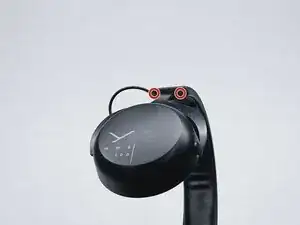
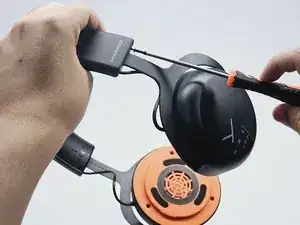
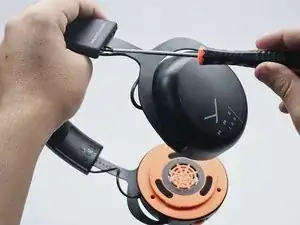
    • Using the 2.0mm Phillips-Head screwdriver, unscrew the two 0.6mm screws at the end of the left side headband.

  3. Ey2FTJUUQIb6uHoM
    Ey2FTJUUQIb6uHoM
    MmfKXkB3pBwS3VLG
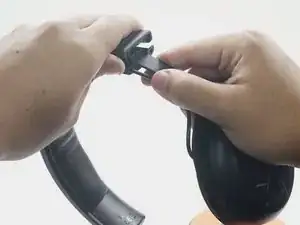
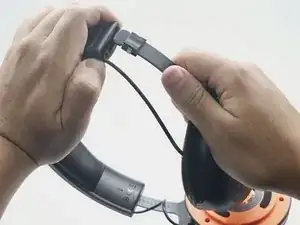
    • Hold open the top part of the headband. Slide out the left earphone.

  4. UQTdUC2JM2pCYORd
    UQTdUC2JM2pCYORd
    2oH2vYHT2EpXq2Py
    NvOW1LNTY13qR2cs
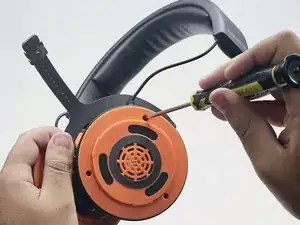
    • Using the 3.0mm Phillips-Head Screwdriver, unscrew the three 0.7 mm screws on the left speaker cover.

  5. QUCkiIDAp62YUAbg
    QUCkiIDAp62YUAbg
    GIgRnIgcUtiTddMj
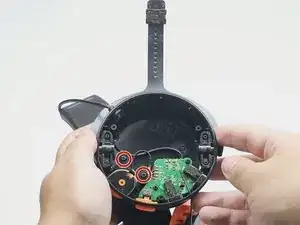
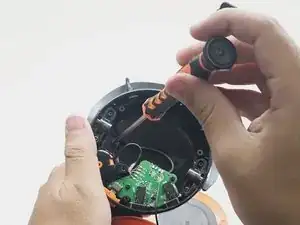
    • Using the 2.0mm Phillips-Head Screwdriver, unscrew the two 0.5mm screws on the volume control component.

  6. sg2nmCqFmhqf5AAN
    sg2nmCqFmhqf5AAN
    3qsFjedkKbGOFeT1
    dG4MEKwaRKtfLuSo
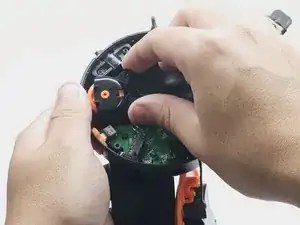
    • Take out, and flip over, the volume control component.

  7. 1MmGgDgyCL4rAMw2
    1MmGgDgyCL4rAMw2
    SMa5vyIUio5J6LLX
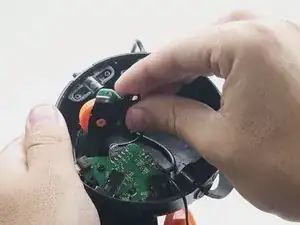
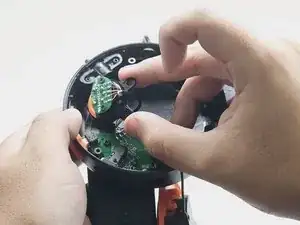
    • Using the 2.0mm Phillips-Head Screwdriver, unscrew the two 0.3mm screws on the board. Then, take off the volume wheel.

  8. FPkjGgBMXuZZQMBt
    FPkjGgBMXuZZQMBt
    PSitDHiKtg3Kyqgd
    • Hazardous situation which, if not avoided, could result in minor or moderate injury.

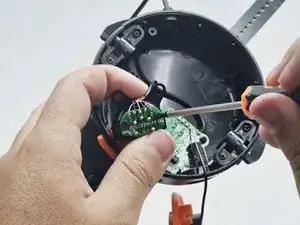
    • Using a soldering iron, desolder the damaged wires and the prongs on either side of the board.

Conclusion

To reassemble your device, follow these instructions in reverse order.
Anthony Grande

Member since: 23/10/23

157 Reputation

0 comments