Introduction

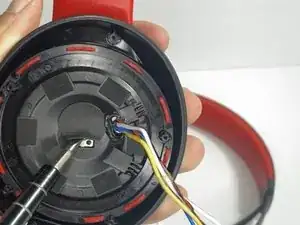
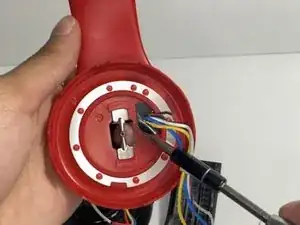
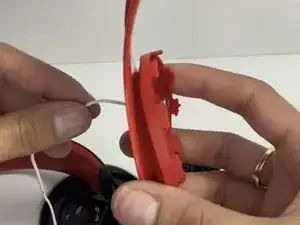
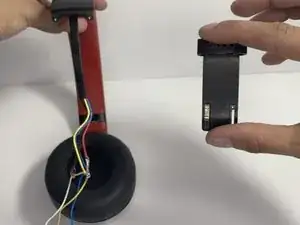
Use this guide to replace the hinge on your Beats Studio3 Wireless (model number: A1914).

The hinge allows the users to extend the Beats Studio3 Wireless headphones. A failing hinge will not allow users to expand the Beats Studio3 Wireless, or the ear pad hangs off. In some cases, your hinge will come loose. Within this guide, you'll find information on how to replace/tighten your Beats Studio3 Wireless headset hinges.

  1. TfUZFQ656TbfxJSX
    TfUZFQ656TbfxJSX
    QRIeULnyAIVsOrVg
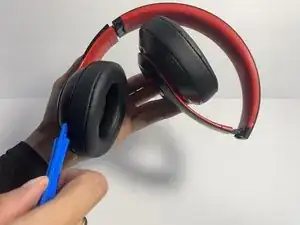
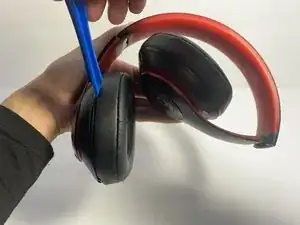
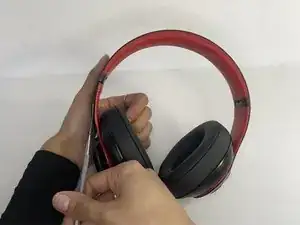
    • Find the separation between the headset and ear cushion.

    • Use an opening tool to go underneath the separation site and split the pieces apart.

  2. Ac6EYW2ZelF4Kx5l
    Ac6EYW2ZelF4Kx5l
    NCrcGP22VRoAKI1w
    HAOBLLXo4ciRS33K
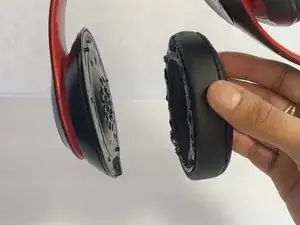
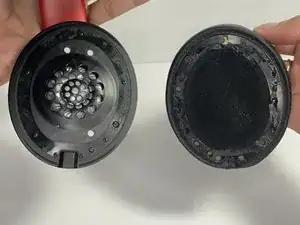
    • You can also use your hands to remove it completely.

    • Pulling it off can be challenging; make sure to apply enough pressure.

  3. sDhVyC6JmKWqxGxa
    sDhVyC6JmKWqxGxa
    fyva3h6OTgUwGpSm
    • Remove seven 3.6 mm screws holding the speaker assembly in place using a Phillips #0 screwdriver.

    • Make sure the screws aren't close to the speaker; due to it being a magnet, the screws could get stuck and damage the speaker.

    • Open the speaker by pulling the top layer of the speaker.

  4. AfklUCHvUiCqUXxd
    AfklUCHvUiCqUXxd
    dVXFLWe1jj5oIYCZ
    3NpLtyupnSS6gVNI
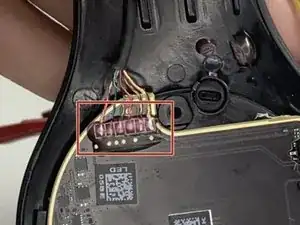
    • With a heat gun or hair dryer, heat the glue that is sticking the wires down until the glue softens.

    • Use a nylon spudger to remove the glue.

    • Pull on the wire to remove it while also removing the blue rubber band.

  5. GZTW3sXD6iqDqe2N
    GZTW3sXD6iqDqe2N
    ZYFKB6WfCDqGwxJZ
    tQZHPwFmjHhEPZFs
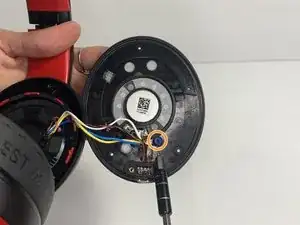
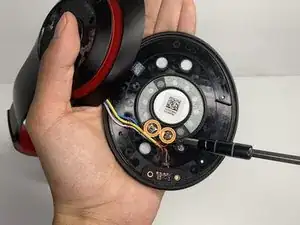
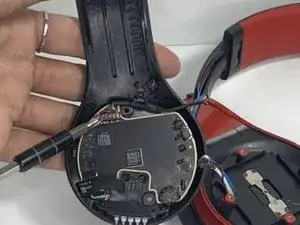
    • Using a soldering iron to remove the cables on the charger port.

    • For help with soldering, check out the How to Solder and Desolder Connections guide.

    • Remove the two wires connected in the middle of the speaker using a soldering iron.

    • Remove the speaker from the headset.

  6. xQuL4GnFlfwVQEJE
    xQuL4GnFlfwVQEJE
    Z5Gdcc1QreOLcNYn
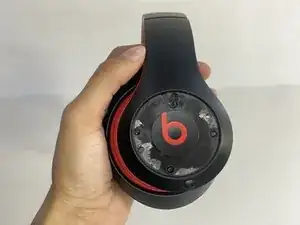
    • Use a pointed nylon spudger to remove the center circular panel on the right side of your device.

    • Be gentle while removing this piece as it is glued on with adhesive.

  7. QJVoHlutgLysPvJU
    QJVoHlutgLysPvJU
    xXNhSVYXBdRd6MJF
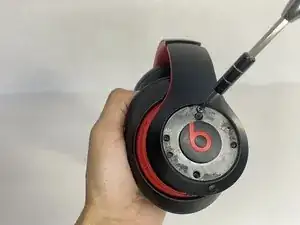
    • Remove the four 3.5 mm screws using a Phillips #0 screwdriver.

  8. DRWPLegCbR2AJLJH
    DRWPLegCbR2AJLJH
    3gAEffT6YaPwFKVL
    fGuVNBWBfOSup5ru
    • Using a pointed nylon spudger, remove the tab located on the inner part of the headband labeled "R."

    • Place the nylon spudger in between the side panels and push inward going from bottom to top to separate both sides of the panel.

    • The panel will pop open after separating.

  9. tZm2ihIBBtVradBk
    • Place the nylon spudger underneath the battery, push inward and separate the battery from the inside.

    • Never use sharp tools to pry batteries. Metal spudgers can puncture an unprotected battery, potentially causing a fire.

  10. mBRmcTeXbJbGTAsA
    mBRmcTeXbJbGTAsA
    PBWsKtETCVSCJG4g
    • Use a nylon spudger to lift up the glue sticking the wires down.

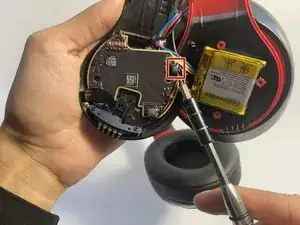
    • Use a nylon spudger to lift the connector to disconnect the battery.

    the glue on the connector was a nightmare in my headset. Used a soldering iron to weaken the glue as described in a youtube video i found, but it worked out in the end :)

    seb -

    Me too. I watched 1 YouTube video and he just pulled the connector loose with no mention of glue. When I pulled on wires it i stripped the wires good. I the wires minus the connector buried in glue on the board.

    I watched a 2nd video and then learned about the glue.

    I'm heating up my soldering iron now. There a bundle of wires a little too close but i think i will w5rap them it aluminum foil to beside. I miss myBEATS Studio3 headphones. But now i know how to fix them. I bought them off Amazon on:
    Nov 22, 2022 so today is Aug 13, 2024

    1 years 8 months 22 days
    or 20 months 22 days
    or 90 weeks 0 days
    or 630 calendar days

    Not sure how this compares with others out there but i will compare it against my new battery.

    They claim it has more whatever... i think Amazon got me again... no reviews $1580... but it has 760mAh!!

    Here's theAmazon hype:

    [2024 New upgraded] Ultra High Capacity 760mAh Li-Polymer Replacement Battery for Beats Studio 2.0, Studio 3.0, Solo pro,Wireless Headphones with Professional Replacement Tool Kits

    Bob Elliott -

  11. qRjvtqhSyva23iuN
    qRjvtqhSyva23iuN
    1ioYkIvNrZoXhoMD
    KLqxjfYIjavlfQXw
    • Pull the wire making sure that the blue rubber band is off.

    • Heat the glue holding the wires down with a hair dryer or heat gun until the glue softens.

    • Make sure not to overheat any device part, which could cause damage to the sound.

    • With a pointed nylon spudger, remove the glue.

  12. XhUT4tnDMaryCrKg
    XhUT4tnDMaryCrKg
    VeTwtPoUALvMkVPA
  13. cm1ZwILCjT61R5Nu
    cm1ZwILCjT61R5Nu
    iAvDuR4VdM31EFMd
    o2rBUjW12sFlGthg
    • With a hair dryer or heating gun, heat the glue that is sticking the wires down.

    • Use a nylon spudger to remove the softened glue.

    • Remove the circular tape inside of the ear pad.

  14. 2UEJiaPMpZsfosTR
    2UEJiaPMpZsfosTR
    XugAGgqMobiqIaXG
    • Remove the single 3.5 mm screw with a Phillips #0 screwdriver.

    • Pull apart the top layer of the earpiece.

  15. b2W2wCQA1RfDR3x5
    b2W2wCQA1RfDR3x5
    I1D2MYwYBVhEOYMB
    • Remove the tape holding the wires in place.

    • Pull the wires through the hole with your hand.

  16. jvFHL45oMPGkr6hx
    • Bend the hinge and remove the two 3.5 mm screws with a Phillips #0 screwdriver.

    Those are not Philips screws.

    Mark McEwan -

  17. RNjQr1UbLjJVSTd1
    RNjQr1UbLjJVSTd1
    FDcqn5yNJOOuXDCR
    uZpejGQHGYqs3llD
    • Pull the hinge down.

    • Pull on the wires one at a time making sure you don't damage them.

  18. qMJoQLf6uWgwWAF2
    qMJoQLf6uWgwWAF2
    knHWc2FC6PawWyPH
    • With tweezers, remove the pin located inside of the hinge.

Conclusion

To reassemble your device, follow these instructions in reverse order.

Nayeli watts

Member since: 16/03/23

489 Reputation

0 comments