Introduction
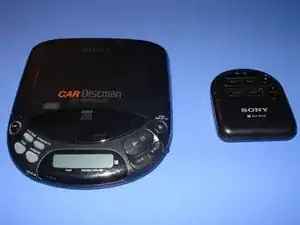
I'm going to dissect an old friend, my first disc player. It is hoped that this teardown, while exposing the hydro-suspension and green-amber lighting, will reveal an awesomeness worthy of a Sony PS3 Slim (Gadget Lab Contest).
Tools
-
-
Obtain a D822-K Discman and remote. True, it has DSP and Surround Sound, but the 90's have come and gone. It's okay to take it apart.
-
-
-
Position unit so that the bottom is facing up. Remove the 6 screws.
-
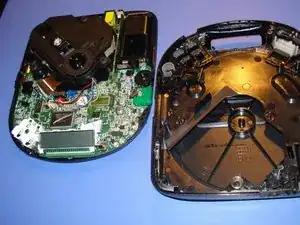
Hold top and bottom of unit together as you turn the unit over, bottom facing down. Use caution; the upper and lower case, along with circuit board are now loose.
-
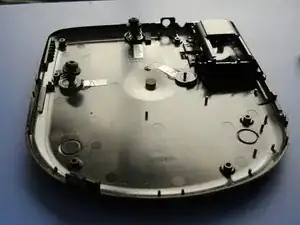
Watch out for the AVLS and illumination switches, they love to disappear when unsupervised. Remove top of case.
-
-
-
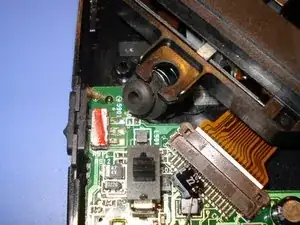
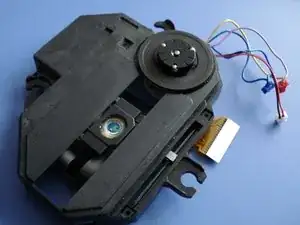
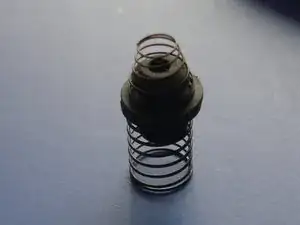
Removing the CD reader: Gently pull all 3 rubber grommets sideways, away from the CD reader.
-
Slide edge of ribbon cable connector towards ribbon cable to disengage.
-
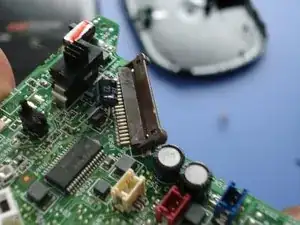
Unplug the red, white, and blue plugs from the circuit board.
-
-
-
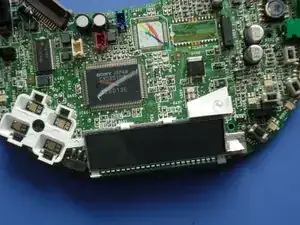
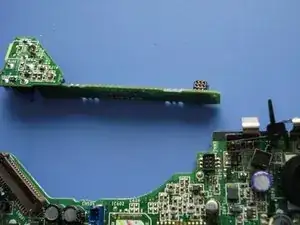
Remove circuit board
-
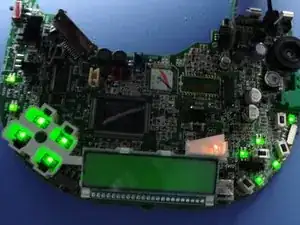
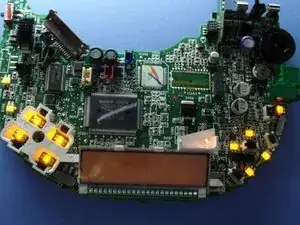
Notice the dual-color light modules. (I temporarily connected the power to show off the lights)
-
-
-
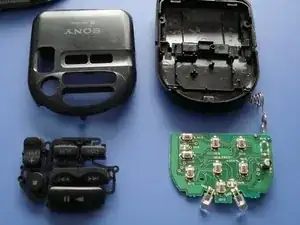
Remote: Remove the 3 screws from the bottom. Pull apart.
-
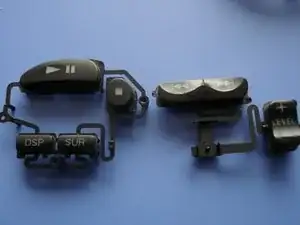
The function buttons have a neat overlay design.
-
-
-
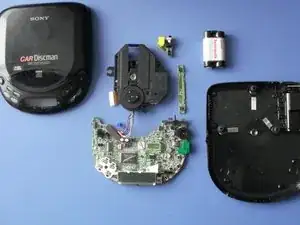
Completely disassembled. The illumination button was lost for two weeks after reassembling... but who uses amber lights anymore?
-

My gosh until now I totally forgot about this player, I had the exact same one for years !
Below -
Wow - this was my first player, too. Expensive little thing... I forgot about the luminance until you mentioned it - I loved the green.
IanMaffett -
It was expensive, wasn't it? I was expecting a little more sophistication in the suspension for the price.
modem21 -
Oh, last week I found that missing illumination switch. When I put in, I'll try to fix the whining sound from the headphone output.
modem21 -