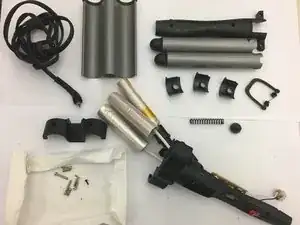
Introduction

  1. vfccdEWS46pDrZWb
    vfccdEWS46pDrZWb
    fkaJHTvoGeZu1ZdA
    noGhRmWNSDJOESFY
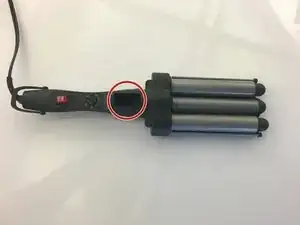
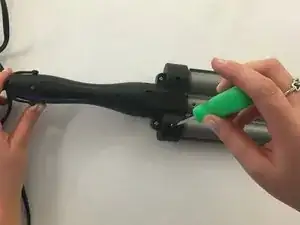
    • Make sure your the device is unplugged before starting this teardown.

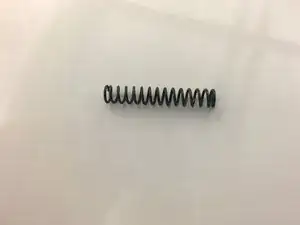
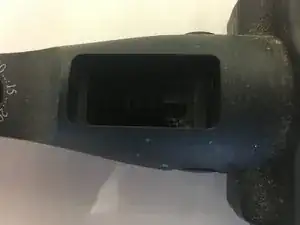
    • The device used in this tear-down is missing the lever and spring.

    • Remove these items by lifting up on the lever until it pops out of place. The spring should come out easily.

  2. P5DPL2HpYLOrwdGp
    P5DPL2HpYLOrwdGp
    dJEYUDQxs3UWT4Dt
    3qZM1RFMZbAkRaIj
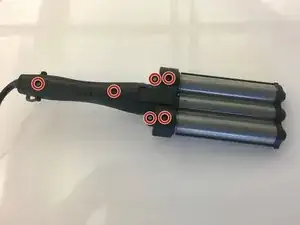
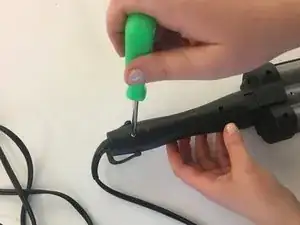
    • Remove all of the screws on the back of the plastic covering.

  3. iBCVw5K2iLvaXN6P
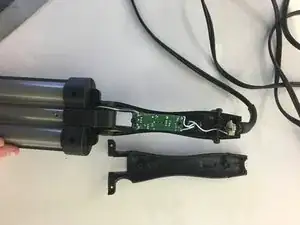
    • Remove the plastic handle cover by lifting it straight up.

  4. BwM1ZhTn1UJmSarU
    BwM1ZhTn1UJmSarU
    Jk2XuSLebFnFkOhF
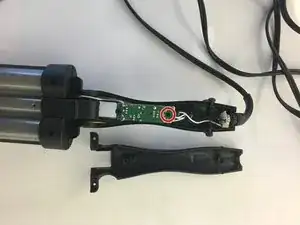
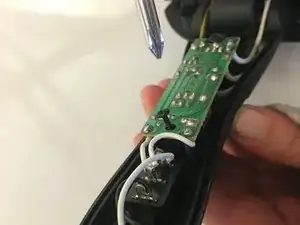
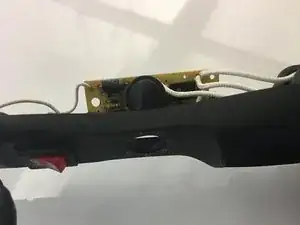
    • Remove the small black screw that is holding the circuit board in place.

  5. LudetvvXN11WllEJ
    LudetvvXN11WllEJ
    KOZTNNKPQJpsB6pa
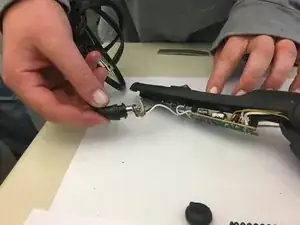
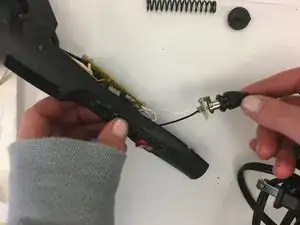
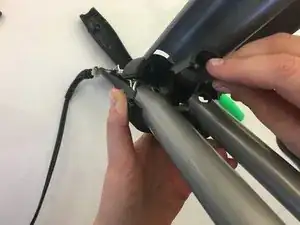
    • Remove the power cord from the power port of the Waver by holding the port with one hand and pulling on the cord with the other hand.

  6. DGeipxgyiQ1kLvBZ
    DGeipxgyiQ1kLvBZ
    JLaGNhcpWn5YZQws
    jNTLTemUJxhbwKhf
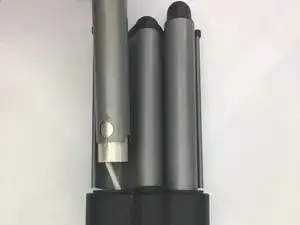
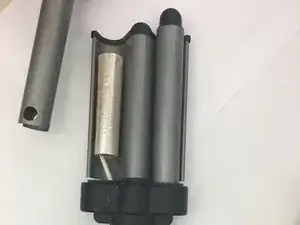
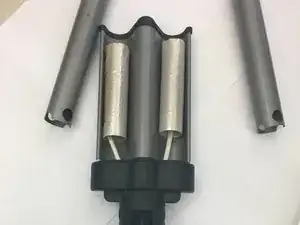
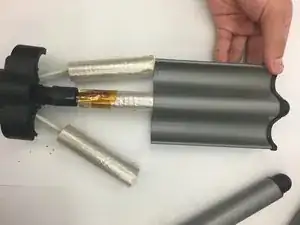
    • Remove the two metal cylinders by sliding them down the length of the inner soft cylinders.

    • The internal ceramic cylinders are very soft and tear easily. Be careful not to damage them.

  7. yGt6YOfFHBjWXIuY
    yGt6YOfFHBjWXIuY
    KBvoKKjHmYwYhtKi
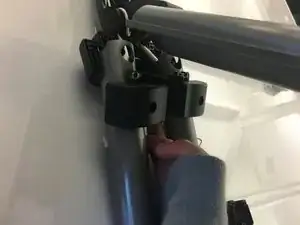
    • Remove the plastic cylinder holders by lifting them up and along the length of the cylinder.

  8. CpScfpbQLhRrIV3l
    • Similar to step 4, remove the back metal plate by sliding down the length of the intern cylinder.

    • The internal cylinder is very soft and tears easily. Be careful not to damage it.

  9. MOW52rZDSADOmH4C
    MOW52rZDSADOmH4C
    WsaZZpPF6tpIEGcY
    4g1LXI6wRjHqkI63
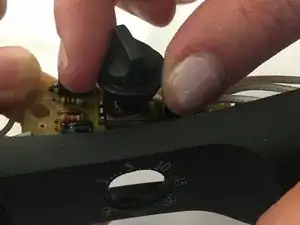
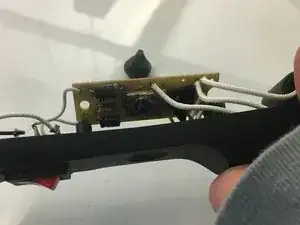
    • Gently lift the circuit board and tilt it to the side.

    • Lift the dial straight up from the circuit board. It should come off easily.

  10. aD3mbLLpnMJFcjE3
    • Here are all of the safely removeavable components of the waver

Kyle Weeks

Member since: 26/09/12

116 Reputation

0 comments