Introduction
First of all, I must apologize for my incorrectly written English. My native language is Dutch.
So I hope that you have some fun with this guide!!
Don"t hesitate to contact me if you have questions about this "repair / teardown" guide.
Tools
-
-
note : keep a plan of the screws. or a magnetic platform.
-
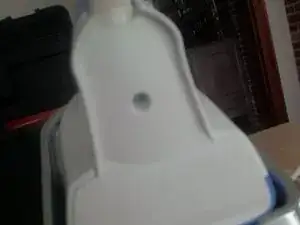
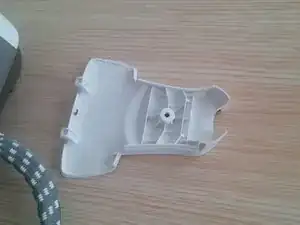
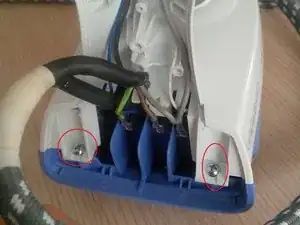
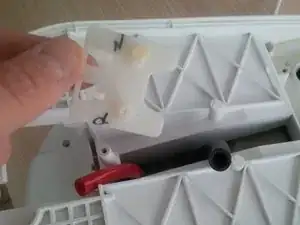
now remove the upper screw in the white plastic plate.
-
-
-
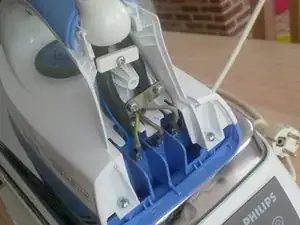
now remove the upper blue plastic from the iron itself.
-
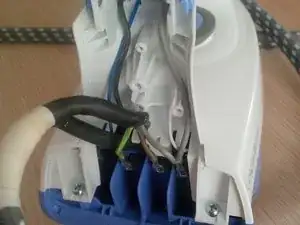
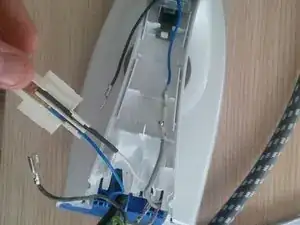
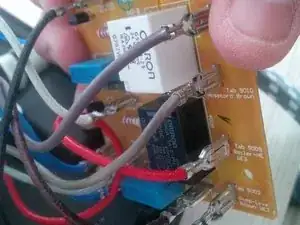
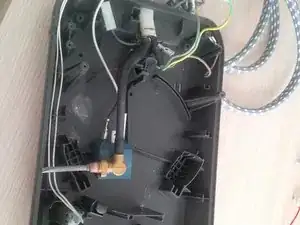
click the wires loose. ( you can click it loose at the metal part of the wire,there is a little metal clip you have to push and then pull the wire out.)
-
if you put it togheter again , notice that the steam button is in his place.
-
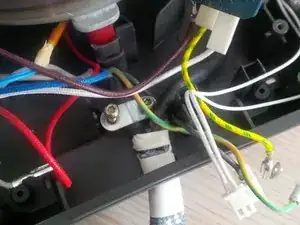
note: again, see where the wires run at.
-
-
-
remove al the wires from the sockets.
-
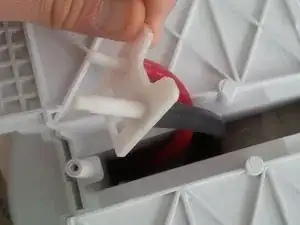
remove the white and blue plastic case around the iron.
-
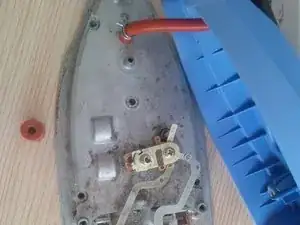
remove the red dot (rubber)
-
and remove the 2 black dot rubbers.
-
-
-
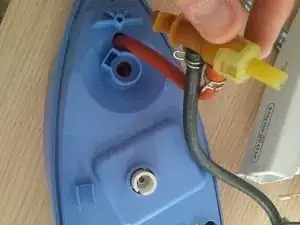
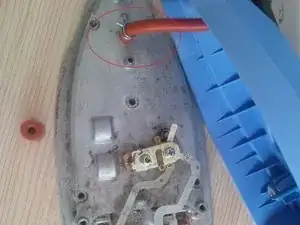
remove the rubber wire (red/orange color) and the metal pin arround it.
-
tip : if you heat it up , it come loose easy
-
tip : If the iron bottom plate is full of calc , you can put it in a bucket full of hot water with a lot of vinegar. (and i mean a lot!)
-
-
-
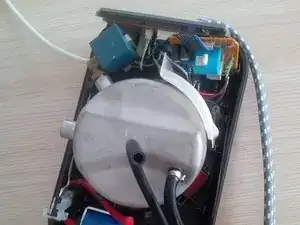
Now we start with the biggest part of the iron. the boiler and the water reservoir unit.
-
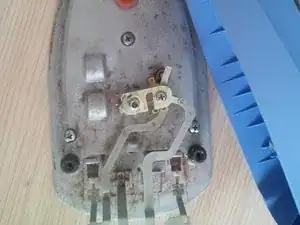
remove the 3 torx srews at the iron plate. they are under the rubber footclips.
-
-
-
after removing the metal plate, you see two tubes.
-
remove the plastic holder with the two tubes.
-
remove the plastic from the tubes.
-
tip : remind where the black tube is put in and where the red tube is in.
-
-
-
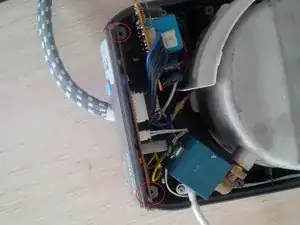
remove the torx screws inside the plastic holes, you'll need a longer torx screwdriver.
-
remove the other two torx screws in front of the machine ,where the waterreservoir normaly is. (i don't have a picture of this.) but the screws are visible
-
-
-
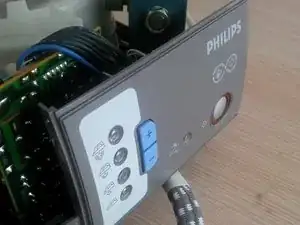
remove the screws of the control panel.
-
pull the control panel out.
-
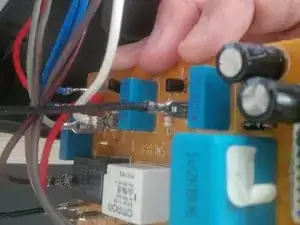
remove the connectors from the board.
-
-
-
remove head electrical wire ( power )
-
reminder : keep a plan from where to where to wires go. I made a electrical plan only for the boards, so i knew where to plug the wires in again.
-
-
-
remove second board ( pull), be carefull and attentively. here are a lot of wires. ,again keep in mind where the wires go.
-
tip: the colors of the wires are also on the board.
-
-
-
remove the thick grey and white kabel, that runs from the boiler unit to the iron by removing the two torx screws and the metal plate.
-
-
-
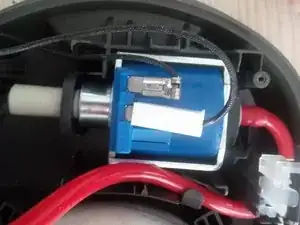
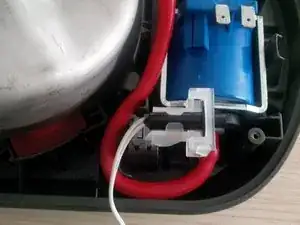
now we will remove the pump.
-
remove the small and the thicker wire. remaind witch one goes where.
-
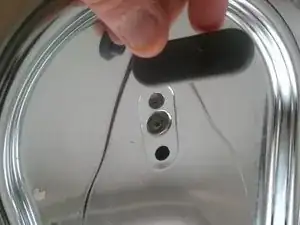
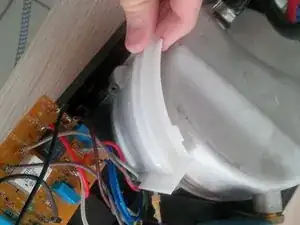
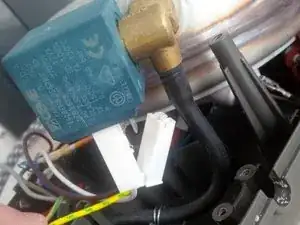
note : if the pump in your iron is broke you should remove the tubes and wires. ( see third picture) I did'nt do it cause i only opened mine for removing calc from boiler and iron.
-
-
-
now we will remove the rest of the wires and cables.
-
and at the same time we will remove the blue part ( steam valve.) Use a wrench.
-
tip : be carefull for the black tube.
-
-
-
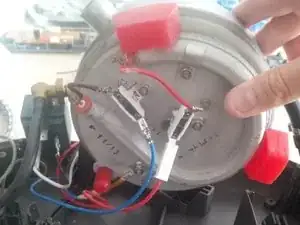
now , the last part : the boilerunit.( the most expensive part of the hole machine too!! Here in Belgium you will pay arround 115 USD$ ( 83 euro)
-
be carefull with the last wires. some of them ( and also the thick black tube) are realy hard to remove.
-
tip: to uncalc the boiler, fill it up to 1/3 with realy hot water and the rest with vinegar. let it rest for an hour or 4.
-
tip 2 : if you unclac the boiler , be carefull with some wires, you can't remove them all if you only going to uncalc the machine.
-
42 comments
Thanks for all your effort in doing this. I found it helpful !
Colin -
Thanks a lot for this, I used it as a guide to replace the soleplate and hose lead - I think I would have struggled without this very handy and well written document.
Proost!
Sean
no problem guys, thnaks for liking this :).
kind regards,
kevin
Kevin D -
