Introduction
Tools
-
-
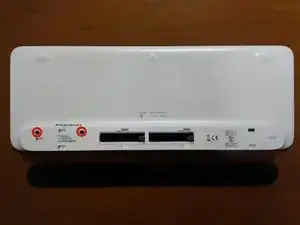
Turn the keyboard over and slide the battery cover in the direction of the arrows slightly, and then lift the cover away.
-
-
-
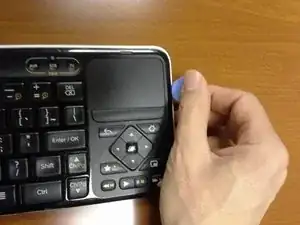
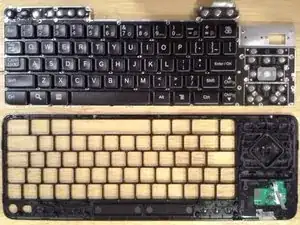
Use a thumbnail or a pick to separate the clips around the periphery between the black and white plastic parts.
-
There are 4 clips on the top, 2 on either side, and 5 along the bottom. If you do the sides and top first, the bottom should slide out.
-
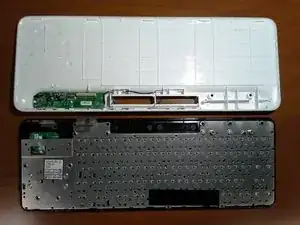
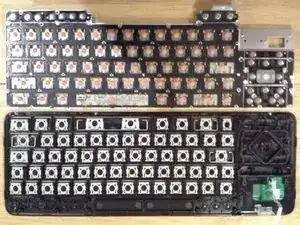
Don't separate the top and bottom immediately, since there are a couple of cables (near the touch pad) that connect between the two.
-
-
-
The smaller of the two cables is for the touchpad. Lift the catch on its connector in order to slide it out.
-
The larger cable is for the key matrix. Just pull it out from the connector (friction fit).
-
This is as far as you can easily disassemble the keyboard. To go further requires removing 12 screws and 35 plastic rivets. This is not recommended.
-
To clean the keyboard of liquid, I suggest holding it over a sink with the touchpad side up, then spraying plenty of isopropyl alcohol from the back, avoiding the touch-pad area (you may wish to mask it off). Let dry completely before reassembling.
-
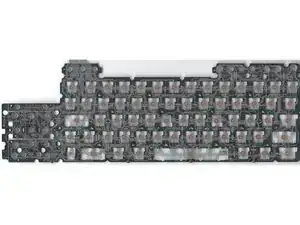
If keys still do not function after cleaning, then it is possible that traces on the key matrix have become corroded. This is not repairable, since the key matrix is a sealed unit. It consists of 3 layers of plastic that are sealed together. Unfortunately, it is not 100% sealed to prevent entry of liquids.
-
-
-
The keys can be popped out easily enough by pushing from the back side. This exposes the key matrix.
-
3 comments
Very helpful! I combined this and cleaning the battery compartments with a white vinegar drenched Q-Tip to clean out some old battery corrosion, and now it turns on!
any way you could send me a pic of the backside of the battery cover? i’d like to try to recreate it with a 3d printer
codycnelson@gmail.com :)
