Introduction
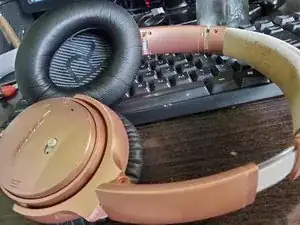
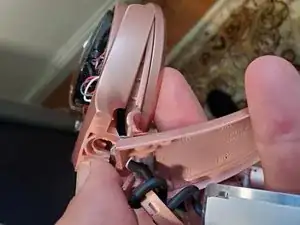
I wish I could have changed the headband, but I opened up the headphone and it was only with considerable effort that an authentic headband can be replaced. You can cut off the OEM headband and replace it with a velcro-closing headband, but they look like you messed up the repair. If anyone can add to my tear-down or suggest a method for replacing the headphone, please do so here. I bought a nice headband on AliExpress for $4 but I cannot figure out how to unplug the cable so I can slip on the new headband.
-
-
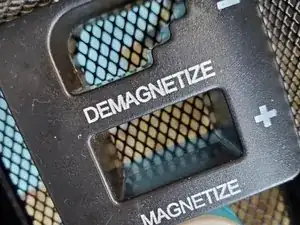
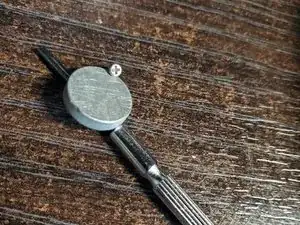
Have a small magnet to collect the tin screws, magnetize your screwdrivers with a 'meagnetizer' .
-
-
-
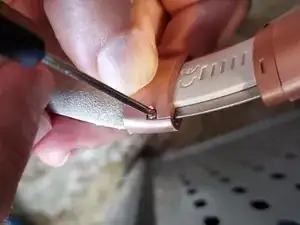
I wont waste time on the disassembly, because it all comes apart easily. Putting it back together is the hard part.
-
-
-
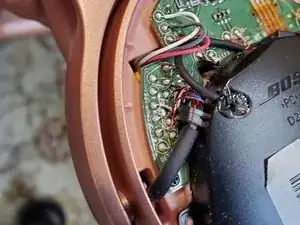
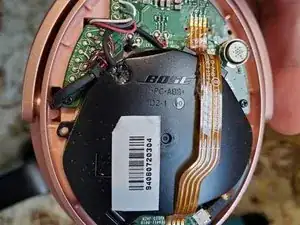
I gave up on replacing the headband when I saw how detailed the cabling is to the earpiece - it splits into 4 distinct soldered hair-thin wires which must be reattached. So knowing how sensitive the board must be to poor soldering, I closed it back up.
-
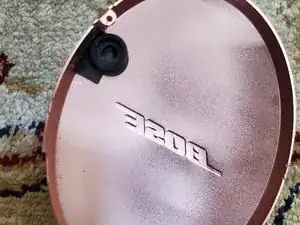
Take note that the black foam 'cup' for the microphone inside the ear cover is too small and the mic just pressed up against it. Dont struggle to get the mic into the foam cup. Close that up first.
-
-
-
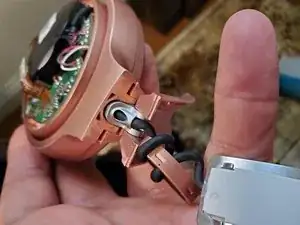
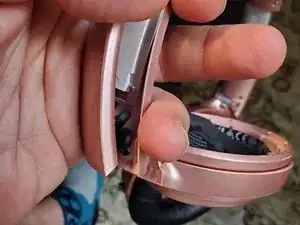
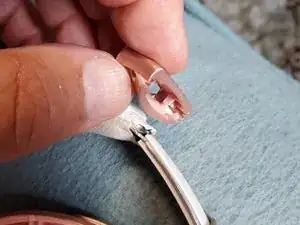
This grey rotating joint slips into place on both molded sides. The cable is threaded through the headband, this joint, and the earphone outside before you find it soldered onto the motherboard. Just a tip: that think rose-colored clip in the main picture fits onto the band Curved-Side-Down.
-
-
-
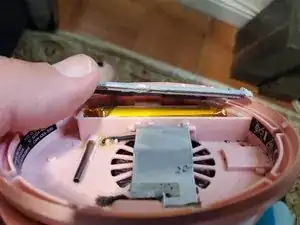
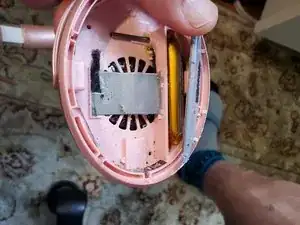
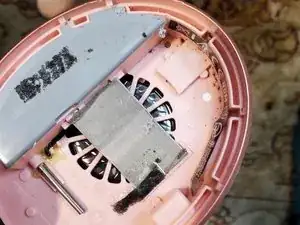
Inside is only a battery! It takes about 15 minutes of glue scraping to pry this off carefully. Not worth it unless you need to replace the battery.
-
-
-
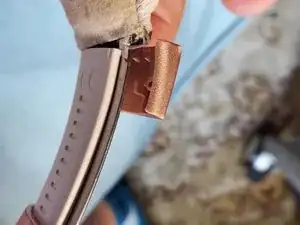
This cover need to both 'bite' with its 'teeth' into the cloth headband and screw together to clamp it onto the metal headband frame. You will adjust this for 5 minutes to get both at the same time.
-
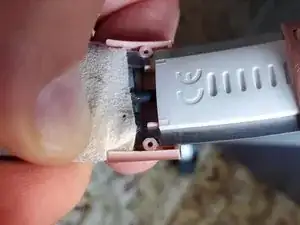
See how the screw holes and the pink 'aligners' fit into the metal frame? You need that lined up while the teeth bite into the cloth part of the headband.
-
