Introduction
Prereq only.
Tools
-
-
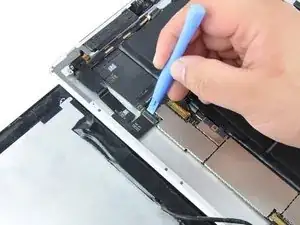
Use the flat end of a plastic opening tool to flip up the retaining flap on the headphone jack and front-facing camera ribbon cable ZIF socket.
-
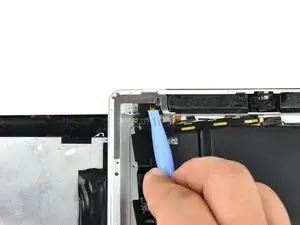
Run a plastic opening tool underneath the headphone jack and front-facing camera cable to free it from the adhesive attaching the cable to the rear panel.
-
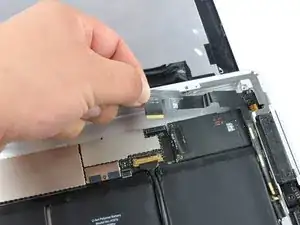
Pull the headphone jack and front-facing camera ribbon cable straight out of its socket on the logic board.
-
-
-
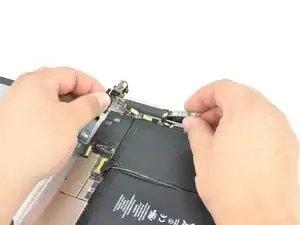
Use a plastic opening tool to help pull the headphone jack away from its recess in the top edge of the iPad.
-
-
-
Carefully remove the strip of tape covering the front camera cable connector.
-
Use the edge of a plastic opening tool to disconnect the front camera cable from the headphone jack cable.
-
-
-
Carefully peel the front camera cable off the bottom ribbon cable attached to the headphone jack.
-
To reassemble your device, follow these instructions in reverse order.


