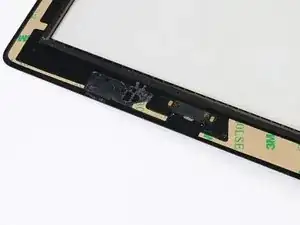
Introduction
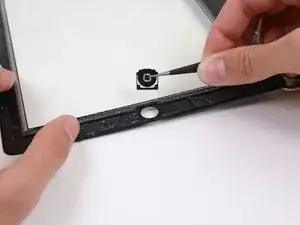
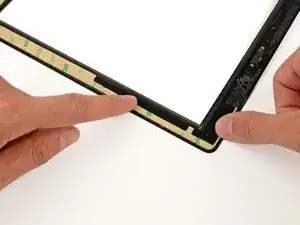
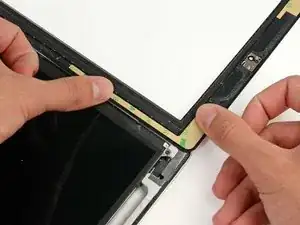
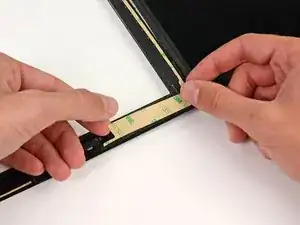
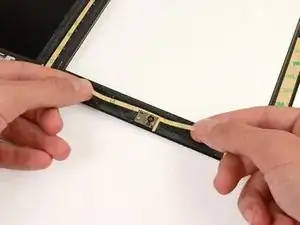
Replace the adhesive securing the front panel to the rear case of your iPad 2 CDMA.
Before you begin peeling and sticking tape, it's important to have clean adhesion surfaces on both the front panel and the rear case. Use a spudger to scrape off any large excess bits of original adhesive, then clean all of the gluing surfaces with a paper towel and rubbing alcohol or Goof Off.
Throughout this procedure, it is recommended to peel up each adhesive strip as needed.
Tools
Parts
-
-
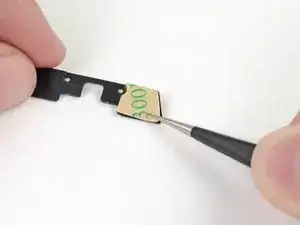
Use a pair of tweezers to grasp the corner of one of the adhesive strips placed on the mounting bracket.
-
Lift and peel the brown backing up off the adhesive strip, revealing the clear adhesive strip.
-
-
-
Place the largest L-shaped adhesive strip on the top left corner of the front panel.
-
Smooth the strip down from the center out, taking care to not trap any air bubbles between the strip and the front panel.
-
-
-
Place the remaining thin L-shaped adhesive strip on the top right corner of the front panel, near the camera mounting bracket.
-
-
-
Place the straight adhesive strip on the right side of the front panel.
-
If you've already attached the digitizer cable, you'll have to work around/under it to attach this strip.
-
-
-
Lay the thin T-shaped adhesive strip between the bottom edge of the inner frame of the front panel and the camera mounting bracket. The longest edge should be flush with the inner frame.
-
-
-
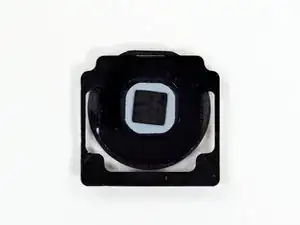
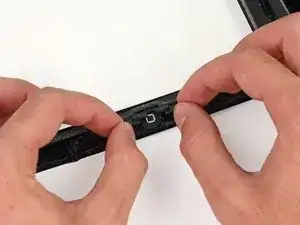
Place the small hook-shaped adhesive strip below the left side of the home button mounting bracket.
-
-
-
Lay the final small rectangular adhesive strip to the left of the hook-shaped adhesive strip, immediately to the right of the thin L-shaped strip, and flush with the bottom of the front panel.
-
To reassemble your device, follow these instructions in reverse order.
One comment
grazie senza di voi non avrei saputo neanche da dove iniziare invece con voi o cambiato il pannello frontale crepato del ipad 2 model 1395 ancora grazie le vostre guide sono perfette

