Introduction

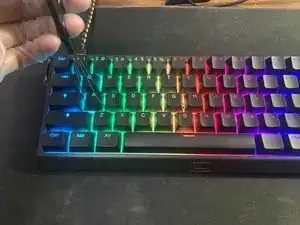
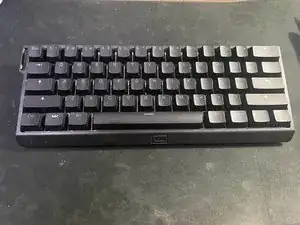
Often times with many keyboards, especially this one, certain keys may experience a lag, or may just not register at all. The majority of the time, it is due to debris being present inside the keyboard, preventing the proper connection when a key is pressed. In this guide, we will be going through a detailed step-by-step process on how to replace a Wooting 60HE keycap.

Wear gloves at all times during this replacement to help prevent the oils from your skin coming into contact with the keyboard's lubricant.

  1. cSh34ZJhIGjStwVx
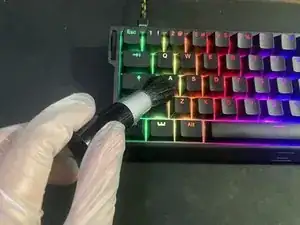
    • Use a small, soft bristle brush to remove small hairs or dust from the keyboard.

    • For this replacement, we will be replacing the "A" keycap.

  2. QPvFTL1vJaoF42yh
    QPvFTL1vJaoF42yh
    KssvyaiMVrgb4Hp4
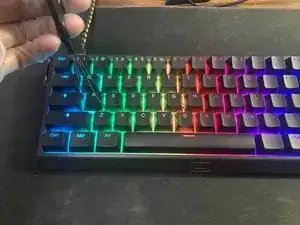
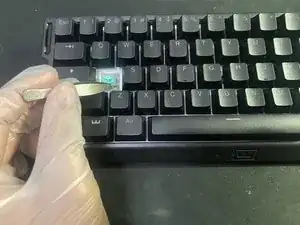
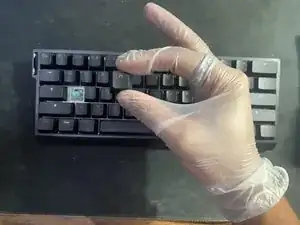
    • Hook the two metal brackets of the keycap puller at a slight angle on the corners of the key.

    • Slightly tug upwards, and the key should come out smoothly. Place the key to the side.

    • It is essential to be gentle; excessive force can cause cracks or scratches on the key.

  3. ITDdkCVhDtEPPTCq
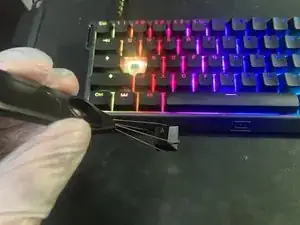
    • Using tweezers, carefully extract debris from the exposed backboard of the keyboard.

    • Try to avoid the key nub, as it is lubricated, and outside contact can ruin it.

  4. vchiBwtEWO4TAjD2
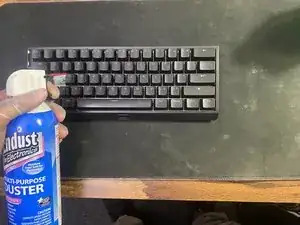
    • Hold a multi-purpose electronics duster three inches away and at an angle from the exposed key.

    • Press the trigger in short bursts.

    • This will help get rid of any debris that you could not get from using your tweezers.

  5. SJuvoDiVUTVHqsOg
    SJuvoDiVUTVHqsOg
    uCQWYhiEt4PACxek
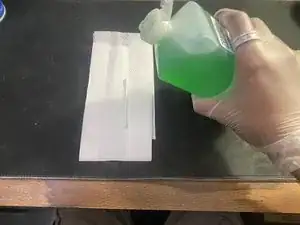
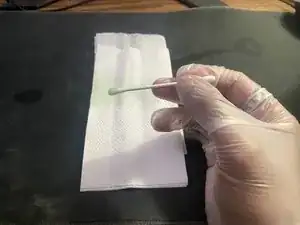
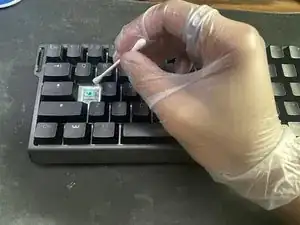
    • Place a cotton swab on a napkin and lightly coat the head of the swab with 70% isopropyl alcohol.

  6. hrV1TS3oKBcwjUeC
    • Gently pat around the white backboard of the keyboard with the cotton swab.

    • This will help get rid of any built up residue, oils, or any possible spills that could have occurred in the past.

    • Isopropyl alcohol can strip the lubricant on the key, so put emphasis on dabbing the white backboard and not the key itself.

  7. 1vqQAxOoNJZaLCSB
    1vqQAxOoNJZaLCSB
    jmugHOvyEpsNbpV5
    1FLH51dCIrbxnv3t
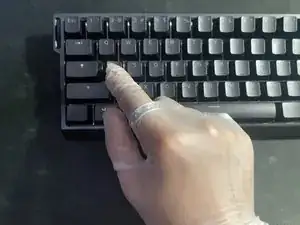
    • Line the keycap in the upright position above the nub and press down lightly.

    • The key should slide back in place.

Aryav Balia

Member since: 25/10/23

157 Reputation

0 comments