Introduction

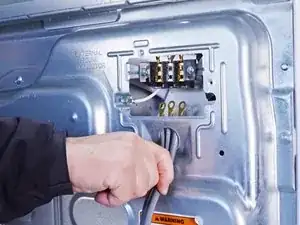
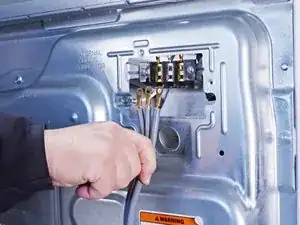
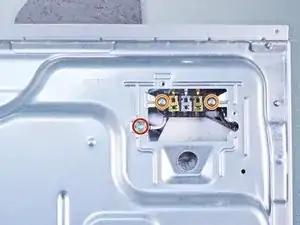
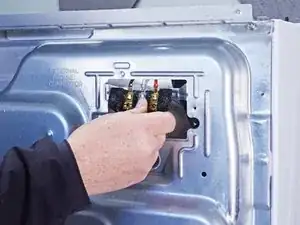
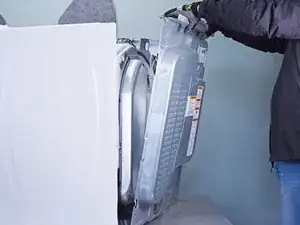
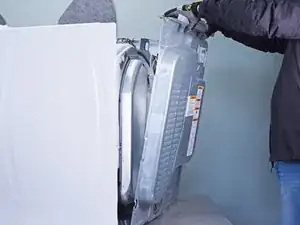
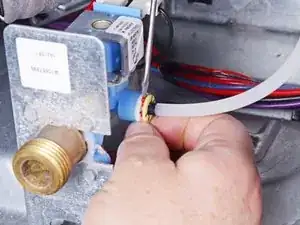
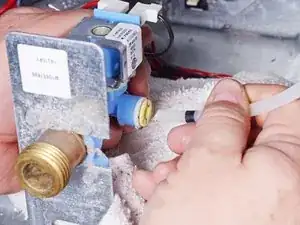
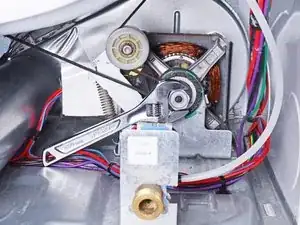
Use this guide to replace the solenoid valve in your Whirlpool Duet WED87HED dryer.

This valves controls the water supply to the steam spray nozzle.

If this valve fails you will get no steam action on the steam cycles, or you may have clothes that get wet because of leaking water.

  1. cRUlfkgf2YwoDST3
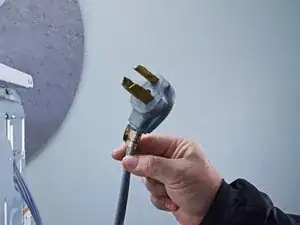
    • Before you begin your repair, unplug your dryer.

    • Your power cord may have four prongs rather than three. The additional prong is a ground connection.

  2. u4WTU4KTBjf1GgPm
    u4WTU4KTBjf1GgPm
    KmGeNIaHMQTiHSWW
    UyNbTg6t3WxLV6FM
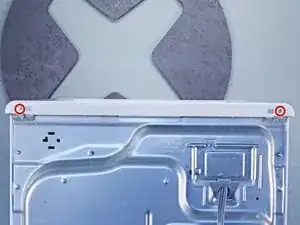
    • Throughout this guide, keep track of each screw and reinstall it exactly where it came from.

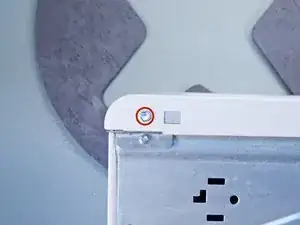
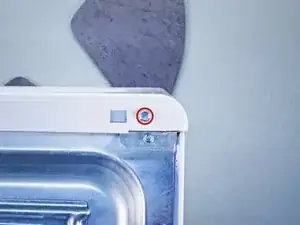
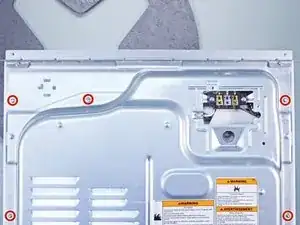
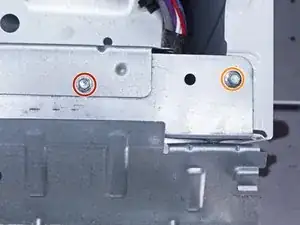
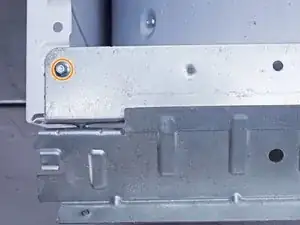
    • Use a 5/16 inch nut driver to remove the two 15.7 mm-long screws securing the top panel to the rear panel bracket.

  3. gbDdHJLNo1Iiq3Y1
    gbDdHJLNo1Iiq3Y1
    vxW1WX6cffbgMuaD
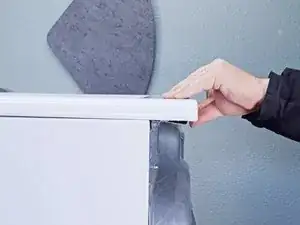
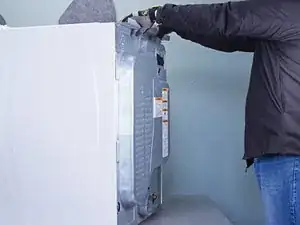
    • Grasp the top and slide it 1/2 to 1 inch toward the rear of the machine.

  4. 2iNpUqjOIuDIiEQU
    2iNpUqjOIuDIiEQU
    IkW1XSsjMSmLOsT2
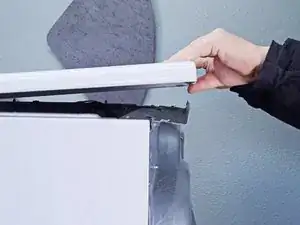
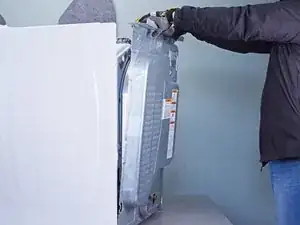
    • Lift the top panel upward to separate it from the chassis.

    • Remove the top panel from the machine.

  5. iFHOna1BIyCioX1h
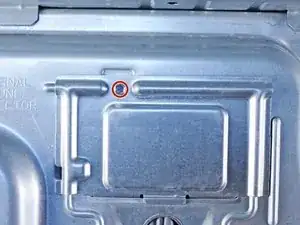
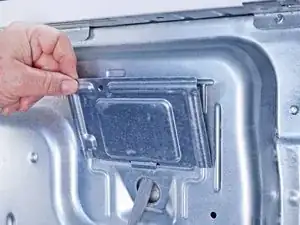
    • Use a 5/16 inch nut driver to remove the 16.2 mm-long cover plate screw.

  6. ATYQk5mB24lA3KPa
    ATYQk5mB24lA3KPa
    KeXHKQ4qTAEJrFBL
    MqMWNbLMQumnVG2d
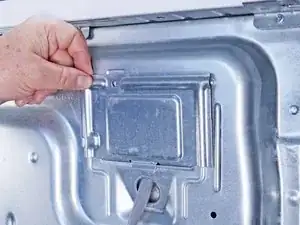
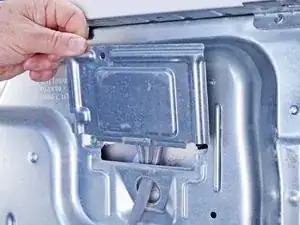
    • Remove the cover plate.

  7. RvZLHJnHwNREikkH
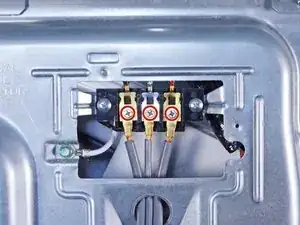
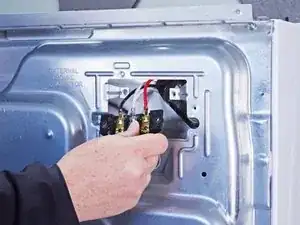
    • Mark the cables with a permanent marker if needed and take a picture or draw a diagram.

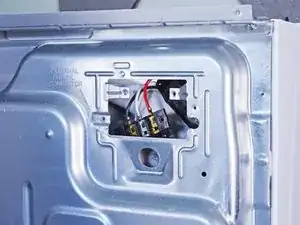
    • Use a Phillips driver or a 1/4 inch nut driver to remove the three 21.4 mm-long screws.

    • If your plug has 4 prongs, there will be a ground connection from the cord as well. Use a 5/16 inch nut driver to remove this connection.

  8. XNtNBvTWyff5sjCS
    XNtNBvTWyff5sjCS
    iujv6sMmTmTOLdNM
    4NTgnK4UBNPllnpK
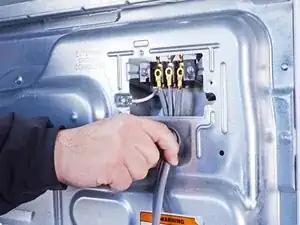
    • Pull the cord carefully down through the round hole.

    • Make sure you replace the connections correctly when you reassemble.

  9. jqyNtJRejYto6Qju
    • Use a 5/16 inch hex driver to remove the 16.5 mm-long green ground screw.

    • Use a Phillips driver to remove the two 15.3 mm‑long cord terminal block screws.

  10. 4fxUgdAQpVHZDPiK
    4fxUgdAQpVHZDPiK
    YN4cgQTNFnGi2hEi
    IaF4lvHiVtIDuPLE
    • Move the cord terminal block behind the rear panel.

  11. GnGcGqxEc1nEJvUX
    GnGcGqxEc1nEJvUX
    ByuOEecsQBxpDQMH
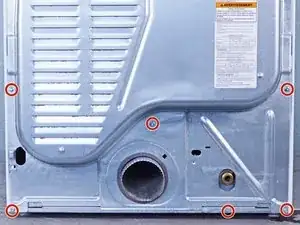
    • Use a 1/4 inch nut driver to remove the eleven rear panel screws.

    • Ten 20 mm-long screws

    • One 12.9 mm-long screw under the water inlet.

    • Throughout this guide, keep track of each screw and reinstall it exactly where it came from.

  12. GO2EGBXmJjoGguZm
    GO2EGBXmJjoGguZm
    3wCTxnHVqQcZRCqT
    • Use a 1/4 inch nut driver to remove the 16.4 mm-length screw holding the main board bracket to the chassis.

    • Use a 1/4 inch nut driver to remove the two 20 mm-long screws from the top rear of the machine.

  13. yF2gPkrEnXYrlhno
    yF2gPkrEnXYrlhno
    2fCyCuNe3q1nXrGy
    tFwGfKPAoOwGwsVX
    • Put on gloves before continuing, as the rear panel is sharp.

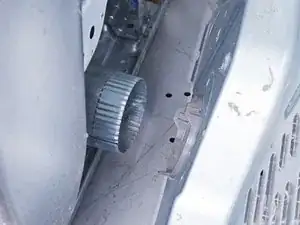
    • Lift the panel about 1/2 inch and tilt it to the rear to release it from the vent pipe.

    • Slide the panel off the vent pipe and remove it.

  14. HyZCKYcMrvXZWIfP
    HyZCKYcMrvXZWIfP
    hWFbDcAvvGgIonHg
    • During reassembly, perform the following:

    • Make sure that the vent pipe is fitted into the collar on the panel.

    • Make sure the tabs at the bottom are aligned to the bottom rim of the chassis.

    • Position the panel so its screw holes match with the chassis.

  15. UBKJ1cQCQNAWwLMb
    UBKJ1cQCQNAWwLMb
    iJtHNxrQaYWJMIw5
    XCDE136JONnvkvPf
    • Push the retaining clip out with a small screwdriver or spudger.

    • Grab the retaining clip with your fingertips and remove it.

  16. qKDqGY1MNRfcJQ6r
    qKDqGY1MNRfcJQ6r
    YtlI2SWwKXQgJwCL
    C3MK1ZpREA3aRK62
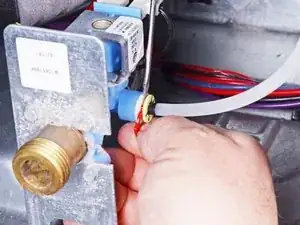
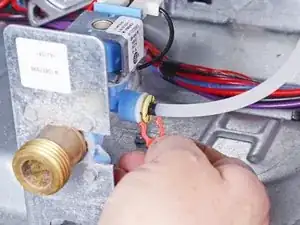
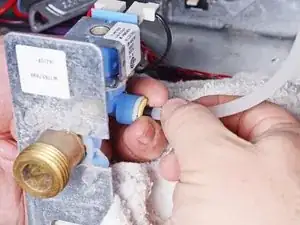
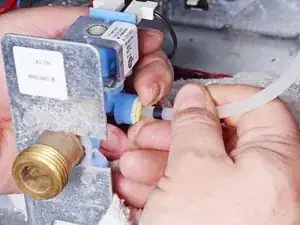
    • Press the yellow sleeve toward the valve to release the water tube.

    • While holding the sleeve in place, pull the water tube out of the sleeve

  17. d2kdO1pBy5sSNnVF
    d2kdO1pBy5sSNnVF
    MTh62be2b6hrKlHa
    NskkJPaQLGEMrrqI
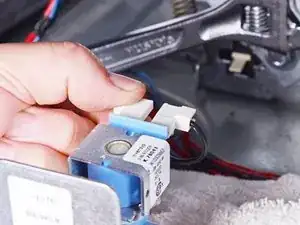
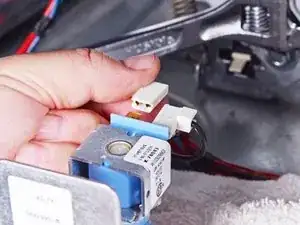
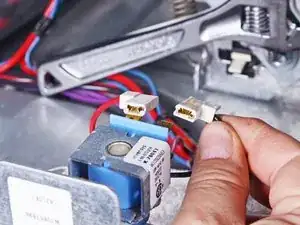
    • Pull the two solenoid valve electrical connectors straight off the valve to disconnect them.

    • Be sure to grip the connector and not the wire when disconnecting.

  18. neTsluTMeyqoKeob
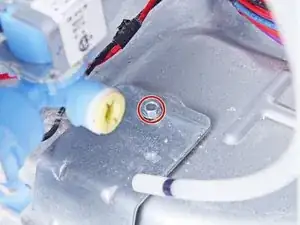
    • Use a 1/4 inch nut driver to remove the 12.9 mm‑long sheet metal screw securing the solenoid valve.

  19. Y6QDMaFcfADjp5IS
    Y6QDMaFcfADjp5IS
    G3OZqkReTZKDJ1CY
    hfxKJC2ZQ5wqi3Zy
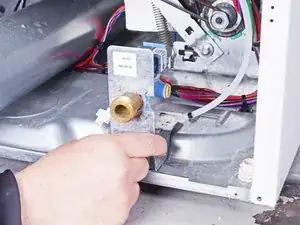
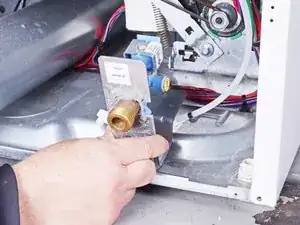
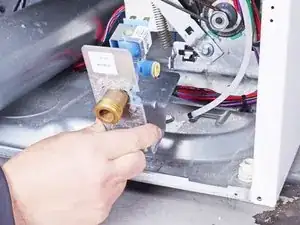
    • Tilt the solenoid valve toward you to disengage the tab from under the rim of the dryer frame.

    • Lift the solenoid valve upward and remove it.

Conclusion

To reassemble your device, follow these instructions in reverse order.

Repair didn’t go as planned? Ask our Answers community for help.
Bill Gilbert

Member since: 30/06/22

34697 Reputation

0 comments