Introduction

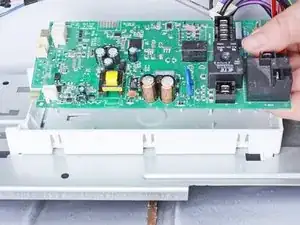
Use this guide to replace the main board a.k.a. Cycle Control Unit (CCU) on your Whirlpool dryer.

The main board is the "brain" of the dryer. When it fails, the dryer will operate erratically or not operate at all.

This guide will work for most Whirlpool dryers. This guide is written with a model WED87HED dryer. If you have a different model, you may encounter some minor disassembly differences, but the overall repair process will be the same.

  1. cRUlfkgf2YwoDST3
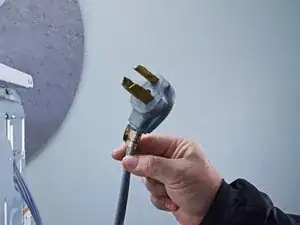
    • Before you begin your repair, unplug your dryer.

    • Your power cord may have four prongs rather than three. The additional prong is a ground connection.

  2. u4WTU4KTBjf1GgPm
    u4WTU4KTBjf1GgPm
    KmGeNIaHMQTiHSWW
    UyNbTg6t3WxLV6FM
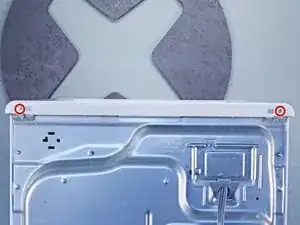
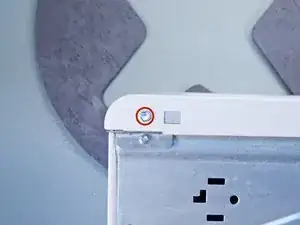
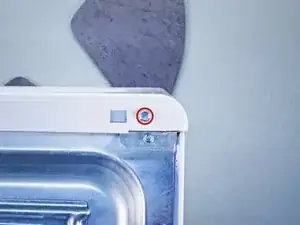
    • Throughout this guide, keep track of each screw and reinstall it exactly where it came from.

    • Use a nut driver to remove the screws securing the top panel to the rear panel bracket.

  3. gbDdHJLNo1Iiq3Y1
    gbDdHJLNo1Iiq3Y1
    vxW1WX6cffbgMuaD
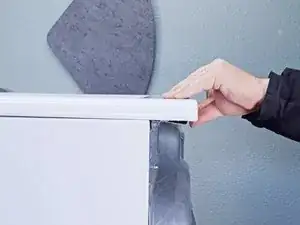
    • Grasp the top and slide it 1/2 to 1 inch toward the rear of the machine.

  4. 2iNpUqjOIuDIiEQU
    2iNpUqjOIuDIiEQU
    IkW1XSsjMSmLOsT2
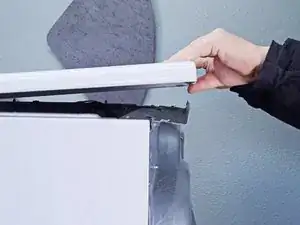
    • Lift the top panel upward to separate it from the chassis.

    • Remove the top panel from the machine.

  5. aZXdCStEpgAxoaqA
    aZXdCStEpgAxoaqA
    TjwJSDpyvsAgwFCe
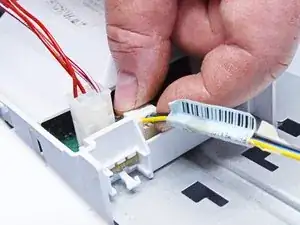
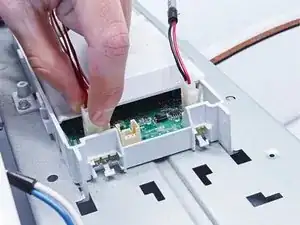
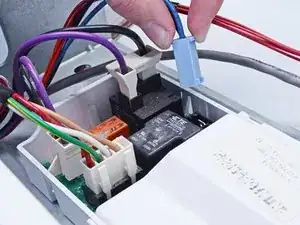
    • Disconnect all the wires from the main board.

  6. HvafrbjIvI6bNtfK
    HvafrbjIvI6bNtfK
    QyDY4s6AAIwI4YnK
    wLm5nlnSIYMiWEtR
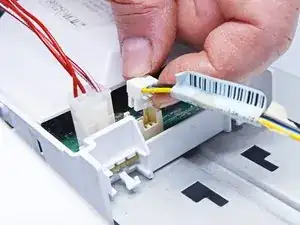
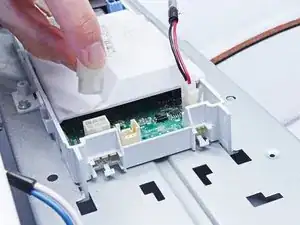
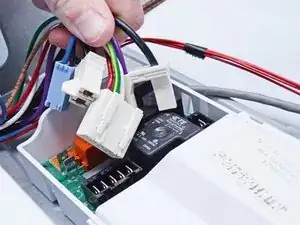
    • Continue disconnecting the main board.

  7. fSviPTKciLvKpIAu
    fSviPTKciLvKpIAu
    5Gys2FOGkHCTqRiH
    WyYpQoVQa3THZYxt
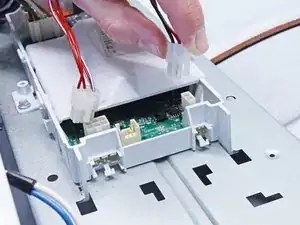
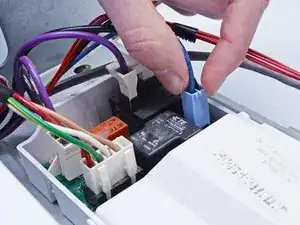
    • Finish disconnecting the wires from the main board.

  8. Ap2OqxkuRQBySTgk
    Ap2OqxkuRQBySTgk
    x1df5SdpBcGa1Ynh
    jGcAkKHuKZLUKXRt
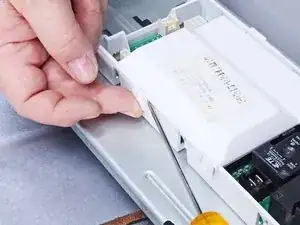
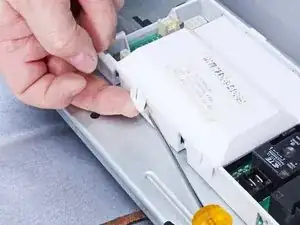
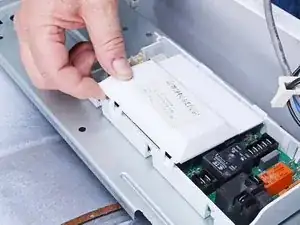
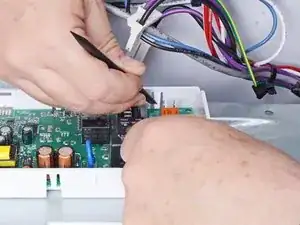
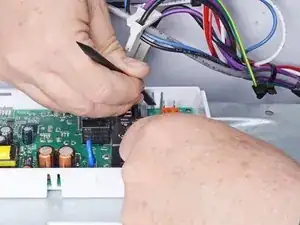
    • Using a flat head screwdriver or a spudger, release the cover clips.

  9. 1FYv25pfVfKuAuFa
    1FYv25pfVfKuAuFa
    Bxm1pl2JaLIXGKW6
    Ci1aoyGM1kjhWguM
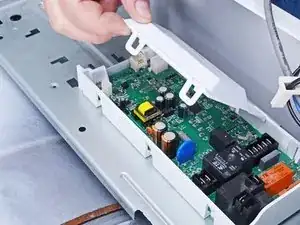
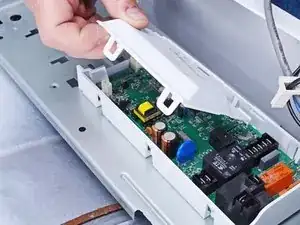
    • Lift the cover to release the tabs on the opposite side of the main board housing.

    • Remove the cover.

  10. HcHtpCvAs2NTmusC
    HcHtpCvAs2NTmusC
    PQcoMlGBv4GEH5dh
    JcZNiyACEtKMeGeP
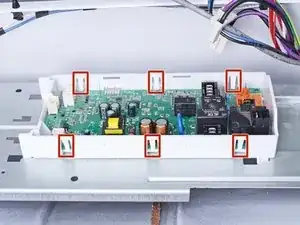
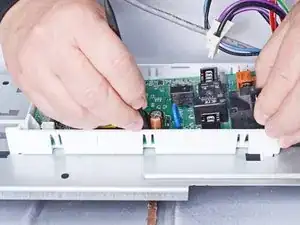
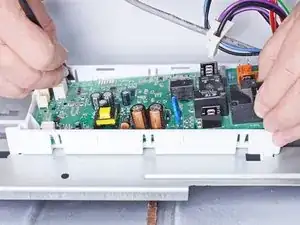
    • There are six retaining clips securing the main board. Start at one end and work towards the other.

    • When you're handling the main board, wear an anti-static strap if possible, or regularly touch the exposed metal parts of the dryer to prevent electrostatic damage to the board.

    • Lift the board with one hand and use the other to release each clip with a spudger.

    • As you go, keep a gentle upward pull on the board so that the released clips don't snap back into place as you work.

    • Alternate sides of the board when releasing the clips.

  11. ybGSgZS5HppD3YSP
    ybGSgZS5HppD3YSP
    41W6LDENrfWp2eL4
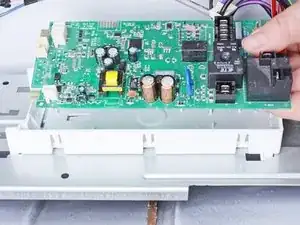
    • Release the remaining clips until the board is completely separated from its housing.

  12. hdiDASOCjhK3ONMW
    • Remove the main board from its housing.

Conclusion

To reassemble your device, follow these instructions in reverse order.

Take your e-waste to an R2 or e-Stewards certified recycler.

Repair didn’t go as planned? Ask our Answers community for help.
Bill Gilbert

Member since: 30/06/22

34697 Reputation

0 comments