Introduction

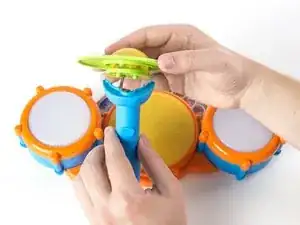
A broken or cracked cymbal can be very hazardous to small children. Additionally, a damaged cymbal could prevent the drum set from working properly. This guide is designed to show how to correctly replace the green cymbal in order restore your drum set to a safe and functioning condition.

  1. YVP6rOZNKUBMyPXP
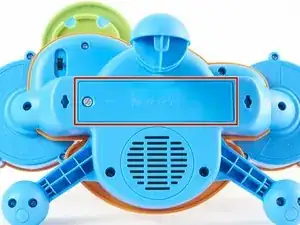
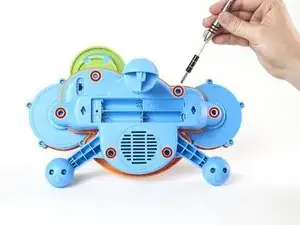
    • Locate the battery panel that is centered between the three leg supports at the bottom of the drum set.

  2. TPmfo2OWWYXvc5p6
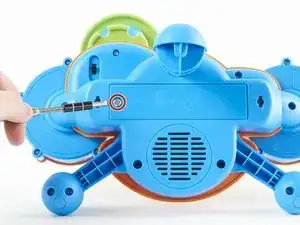
    • To remove the battery panel, loosen the 10 mm panel screw using a flathead 4.0 screwdriver.

    • You can also use a small coin to loosen the screw.

  3. DDnXY6GEOlb3kORq
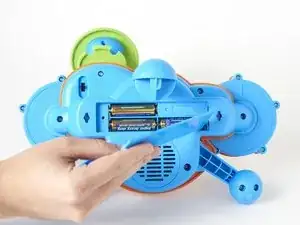
    • Using your fingers, pry open and remove the back battery panel.

  4. lZs1msXpnmAZXxiR
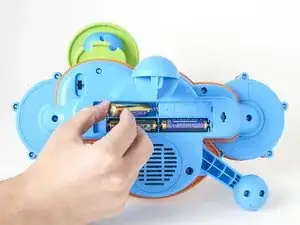
    • Use your fingers to remove each battery from its housing.

  5. KjGA2b32ZdB1tQcx
    • Using a Phillips #2 screwdriver, loosen and remove the six 14 mm screws.

  6. 5CocNM1Rr2rmSqx2
    5CocNM1Rr2rmSqx2
    i3JcisjBVHLgpcAD
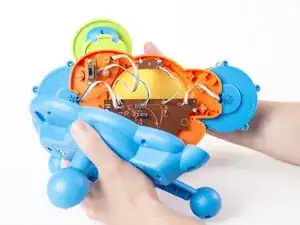
    • With your hands, separate the bottom panel from the drum set.

    • When removing the bottom panel, be careful not to pull too hard in order to prevent damaging the connections from the motherboard to the speaker and power source.

  7. beygX32acCUWZqRh
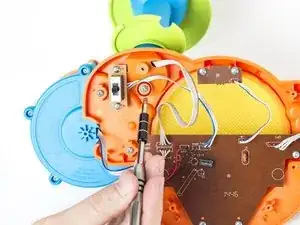
    • Use Phillips #2 screwdriver to loosen and remove the single 16 mm screw.

  8. UIhhJuqqsseoA2jI
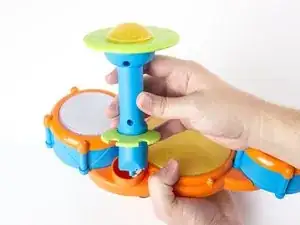
    • Using your hands, remove the blue cymbal stand from the orange base.

  9. FXhsJOAbFAMwIRTf
    • Loosen and remove the two 14 mm screws using a Phillips #2 screwdriver.

  10. 36wHmVh4ruKLTl2C
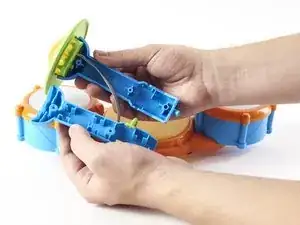
    • Using your hands, separate the two halves of the blue cymbal stand.

  11. YXiuP1dTqQHL2iDp
    • Using your hands, separate the green cymbal from the blue cymbal base.

  12. Pk6iE2RBuRfWn5WJ
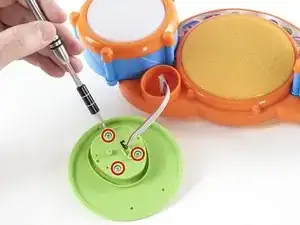
    • Using a Phillips #00 screwdriver, loosen and remove the three 12 mm screws located on the bottom of the green cymbal.

  13. WxBOqqrTL6dyCP4p
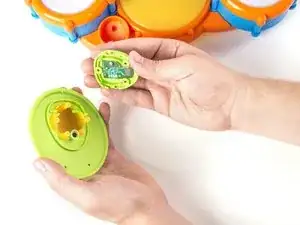
    • Using your hands, separate the green cymbal from the green cymbal base.

  14. N4taNXoD1YoY1XOy
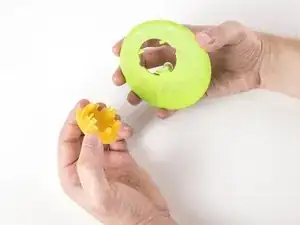
    • Using your hands, pull apart the green cymbal from the yellow light casing.

Conclusion

To reassemble your device, follow these instructions in reverse order.
Aaron Klementowski

Member since: 10/02/16

820 Reputation

0 comments