Introduction

  1. mtudHFdcwvZFL1wl
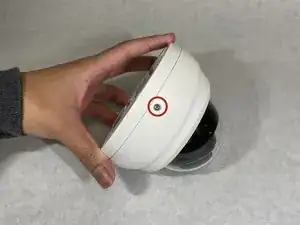
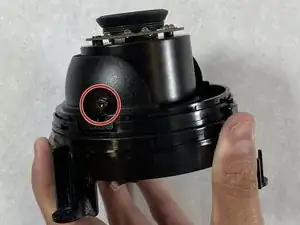
    • Loosen the outside screw.

  2. fPAquDoGD5YBXNyR
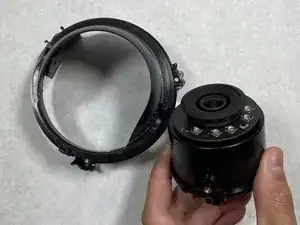
    • Press down on the side button, and lift up the top dome.

  3. aJEiM1gONiUDZDnD
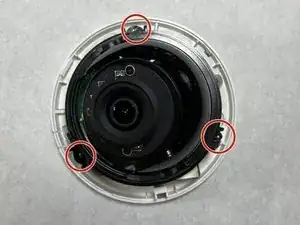
    • Remove three screws that connect the camera base to the motherboard using a Phillips #1 screwdriver.

  4. 4QiBjefUAtDwtQkr
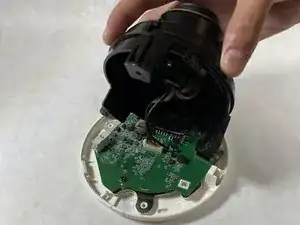
    • Lift off the camera base from the motherboard.

  5. bcJSkEeoyDZGtwKk
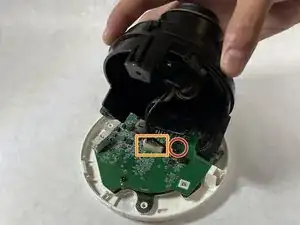
    • Unscrew the cord from the motherboard.

    • Unplug the remaining connection.

  6. kgXCnYtBtWc33GYV
    • Unscrew the camera from the camera base with a hex screwdriver on both sides.

  7. FrEI6MgtoMpWtTHi
    • Pull the camera out from the camera base.

  8. tSbESlPH2XmI5ThV
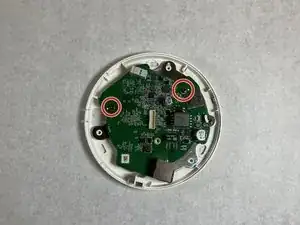
    • Once the camera module is removed, unscrew the two remaining screws which attach the motherboard to the backplate.

  9. tmMSIvRJlMCPCkCT
    • Once the screws are gone, lift the faulty motherboard and replace with a new one.

Conclusion

To reassemble your device, follow these instructions in reverse order.
Artem Dudko

Member since: 19/10/21

135 Reputation

0 comments