Introduction
The speaker is an important aspect for the VTech Write and Learn Creative Center because the audio is one of the interactive ways to engage children to learn. The following repair guide addresses properly replacing a speaker which will require soldering and the use of a screwdriver.
Tools
-
-
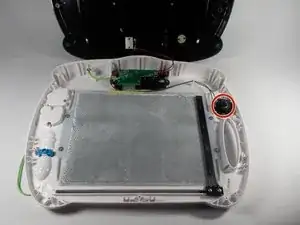
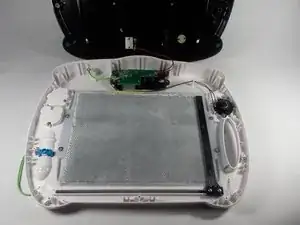
In order to remove the speaker, you must desolder the two wires connecting it to the circuit board.
-
When you desolder, apply the tip of the soldering iron to the soldered joint for approximately 5 - 10 seconds.
-
The soldered joint will turn to a liquid consistency. At this moment, remove the wire and soldering iron.
-
Repeat each of the following steps for the second soldered joint.
-
-
-
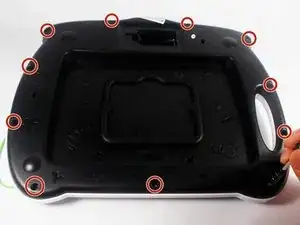
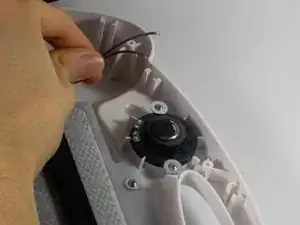
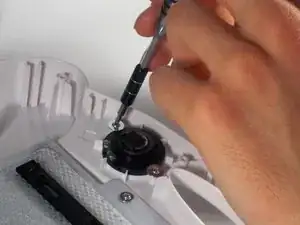
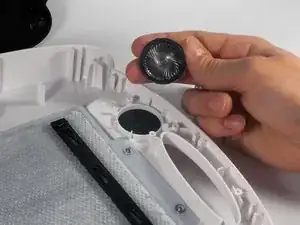
Remove the 2 5mm PH 0 Phillips screws with 10 mm heads that secure the speaker to the front of the case.
-
To reassemble your device, follow these instructions in reverse order.
