Introduction

This guide show users how they can replace the buttons of the device.

  1. P4tgNGNP5KAfotOW
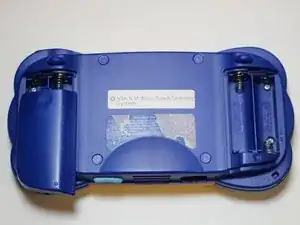
    • Remove the battery covers and the four batteries.

  2. ENhAVcTxAv2CpMSJ
    ENhAVcTxAv2CpMSJ
    POiVIGRsECMtGcLg
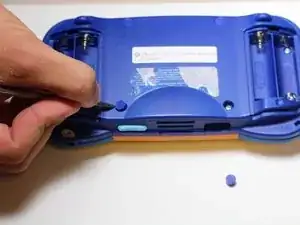
    • Remove the four plastic caps with a metal spudger to expose the 6.0 mm Philips JIS #0 case screws.

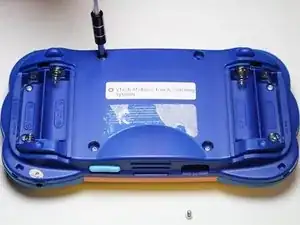
    • Remove the eight 6.0 mm JIS #0 case screws.

  3. RNsQPuKGIAPYJmVo
    RNsQPuKGIAPYJmVo
    mSPdBwJUoIkeHpHB
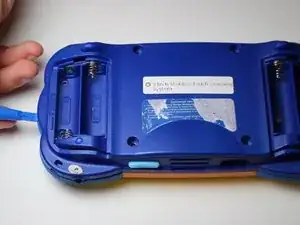
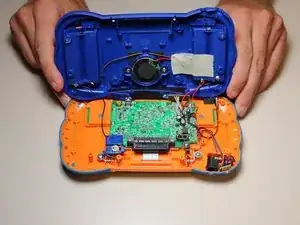
    • Using a plastic opening tool, separate the two pieces of the case carefully.

  4. eIPAxYyVEp1TThhl
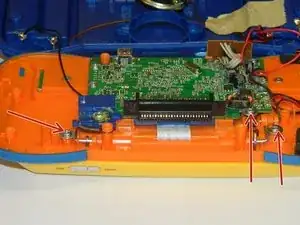
    • Remove the three 4.0 mm Philips J0 screws holding the "L" shaped brackets in place.

  5. NM4gBn1Co2pb3SPu
    • Remove the three "L" shaped brackets and the spring.

  6. VUXfqUXmqV1AY1oZ
    • Flip the device over and remove the three 4.0 mm Philips J0 case screws.

  7. fnDCA6BqincRdnQJ
    • Separate the front and back of the case.

    • Use a plastic opening tool if necessary.

  8. FZlUAZPLAVvMXnVX
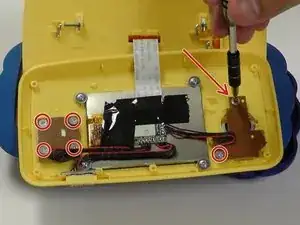
    • Remove 6 (3.8 mm Philips J0) screws holding the buttons in.

  9. PLnSvI1IEkCQUMsS
    PLnSvI1IEkCQUMsS
    UwJVsQ2neML1VnrY
    • From here you can remove and replace the buttons.

Conclusion

To reassemble your device, follow these instructions in reverse order.
Daniel Kresge

Member since: 01/09/15

385 Reputation

0 comments