Introduction

  1. ceSaGXs3KMpVtuHK
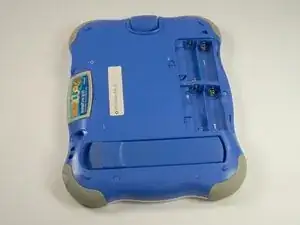
    • Turn your device to where the back panel is facing you.

  2. JDPmHGo1AO5iqF6b
    JDPmHGo1AO5iqF6b
    YABqkQDpfsYKtvq1
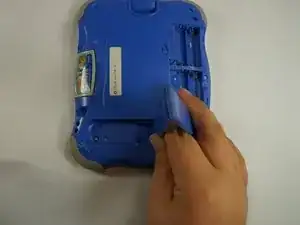
    • Lift the Leg all the way up and twist the bottom to remove.

    • Once the bottom part pops out the whole leg should just come off.

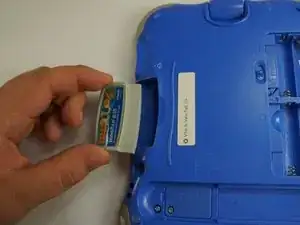
    • Remove any game cartridge from the device.

  3. aWkYmKBc1neJlrbY
    aWkYmKBc1neJlrbY
    jPfUQxXLKAXybFue
    xvPLKwlktJphOsCH
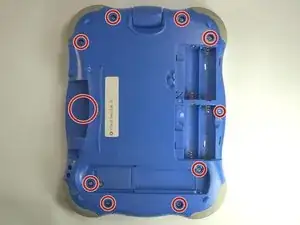
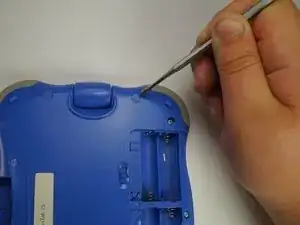
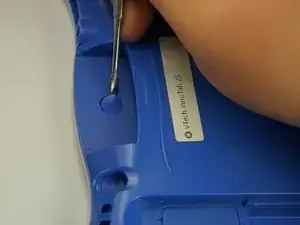
    • Remove all of the plastic tabs on the device. These are covering screws that will need to be removed.

    • These covers are made of hard plastic so they may be difficult to remove.

    • There is a special tab in the cartridge cover that is made of rubber, make sure to not break this tab.

  4. atibnGGIi3OXaBqL
    atibnGGIi3OXaBqL
    PY52jYMJwfCD2pNI
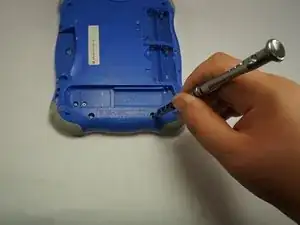
    • Remove all nine screws from the back of the device using a J0 bit.

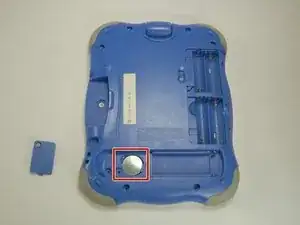
    • Remove the small battery.

  5. CiBJIODGAsnvX6D3
    CiBJIODGAsnvX6D3
    tlIfKTGHkHEZqouN
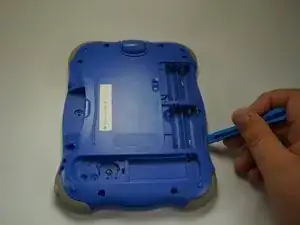
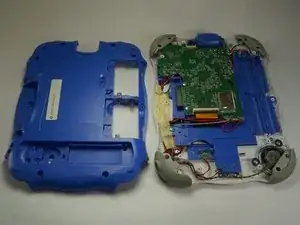
    • Using a plastic opening tool, detach the backplate from the front piece.

    • Do not use excessive force. Double check that you removed all the screws if the panel is not coming off easily.

    • Once the backplate has been removed, you will have access to the circuit board.

Conclusion

To reassemble your device, follow these instructions in reverse order.
Ricardo Espinosa

Member since: 06/10/16

221 Reputation

0 comments