Introduction

Tired of taking pictures with poor quality on your VTech InnoTab 2. Then follow our quick guide to walk you through replacing a faulty camera on your VTech InnoTab 2.

  1. mdB3C5aOUVtD2DY5
    mdB3C5aOUVtD2DY5
    AMETR5aYq2kYuWGG
    LQjVpgPuiNGIBUee
    • Apply slight pressure and slide the button above the battery cabinet to the right to open.

    • Remove battery cabinet cover by sliding away from the center of device.

    • This device requires 4AA batteries to function without the AC adaptor.

  2. QPPu1ckejP1dcuse
    QPPu1ckejP1dcuse
    hVCr5cjZE4LbKrsd
    OV3SCELOwINWmIU5
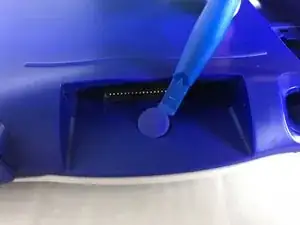
    • Remove all nine plastic caps from the back of the device using the plastic opening tool.

    • These covers are made of hard plastic so they may be difficult to remove.

  3. NqA1XCSnOtJ53uMM
    NqA1XCSnOtJ53uMM
    qDHUHFJC3nLpEDMv
    QtOCZ1AXedbikuAo
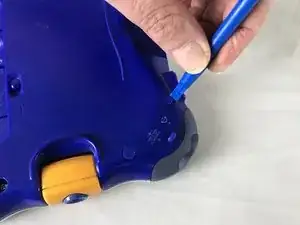
    • Remove the hard rubber tab located by the cartridge slot using the plastic opening tool.

    • Be careful not to apply excessive force.

    • Once the rubber tab is removed unscrew the single 7 mm screw using a J0 screwdriver.

  4. qOA515sf22CJckEO
    qOA515sf22CJckEO
    ku2al1gu1IQdlwjP
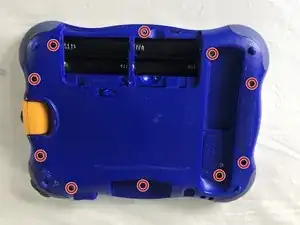
    • Remove all ten 7mm screws from the back panel of the device using a JO bit screwdriver.

    • Do not use excessive force while removing the screws to prevent damaging the plastic case.

  5. roFZaPf4FaH3Um4I
    roFZaPf4FaH3Um4I
    mIIV3UQcMa2yN6E2
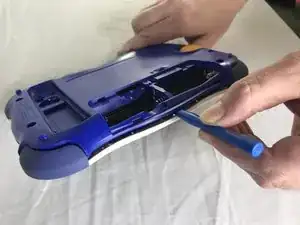
    • Using the plastic opening tool, detach the back plate from the front piece.

    • Do not use excessive force. If the back plate does not gently come on double check that all screws were removed.

    • Once the back panel is removed, you will be able to see the motherboard and other components within the device.

  6. 2TVTm5MXXGugEXY2
    2TVTm5MXXGugEXY2
    ZbXCWOAkCDGgF33g
    XpM2uPDrESKoXHTS
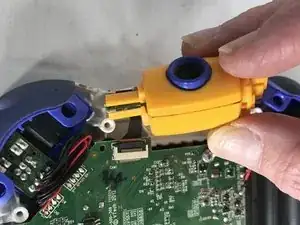
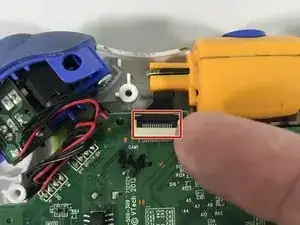
    • Using the tip of your finger, carefully pull the clip upwards to release the camera connection from the motherboard.

    • The connection to the camera is located on top side of the devices motherboard.

    • Pulling the camera while the connection to the motherboard is still intact can cause damage to the circuit board.

    • Attach the replacement camera and lower the latch until a click sound can be heard.

Conclusion

To reassemble your device, follow these instructions in reverse order.
Roberto Valdes

Member since: 18/10/17

302 Reputation

0 comments