Introduction
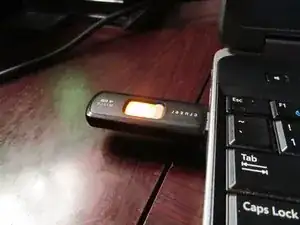
If you are unsure how to write an ISO to a USB flash drive, this guide will show you how to use Rufus. Many modern systems do not include an internal optical drive and require a USB flash drive to boot unless you use a USB optical drive. This is especially common on modern laptops and some desktops where it is an option and not standard. Using a USB drive is often a more practical workaround for these systems.
Unless your application REQUIRES a DVD, a 16-32GB* USB flash drive is generally the better choice.
*An older drive such as an 8GB USB drive may work, but you will be limited in extra storage space for files, drivers, and NF firmware for components like Intel wireless cards or nVidia graphics. Single packed 8GB drives are generally no longer sold today; but may sometimes be sold in bulk where the drive is intended to be "disposable"; these will be no-name products. When purchasing a drive, I recommend purchasing one that has a 32GB capacity when possible due to the price difference between 16GB and 32GB (~1-2) being so negligible.
READ: Important note about legacy operating systems.
Important: OSes without USB boot support are not guaranteed to work. While the risk of a problem is low, results outside of Linux and modern Windows releases are NOT GUARANTEED.
This guide was initially written exclusively around Linux. However, it can be used with any operating system that supports USB boot and is not tied to one specific operating system in practice. Since these operating systems can create unforeseen issues, I cannot quickly figure out how to fix them. You will be on your own for OSes other than Linux.
Guide notes
- If you have a used USB drive, format it outside Rufus before use.
- This guide is on Revision 3. If you are using Rufus 2.x, refer to Revision 2.
Tools
-
-
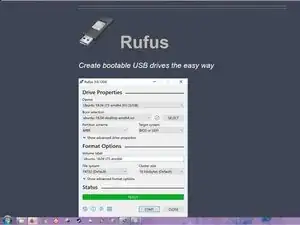
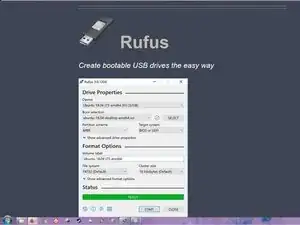
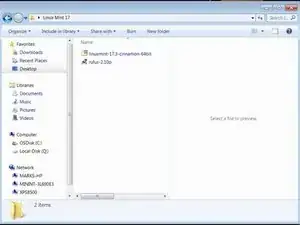
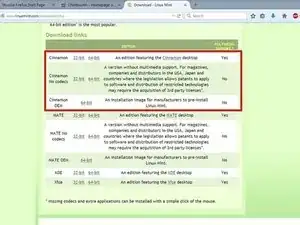
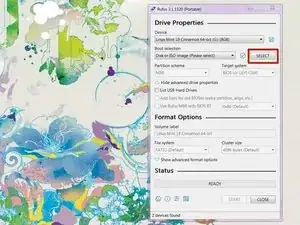
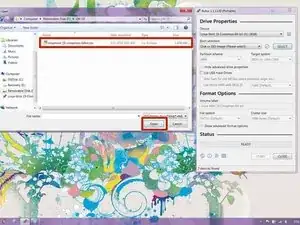
Open Rufus and click SELECT. Find the ISO and click Open.
-
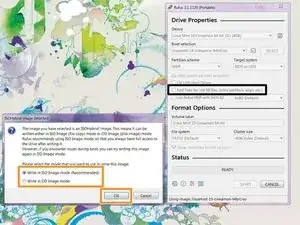
Rufus will ask you to choose ISO or DD mode. If unsure, choose ISO mode.
-
After configuring the writing process, click start. Click OK on the formatting warning.
-
2 comments
Unetbootin does not work anymore and is considered unstable to use when installing any Linux OS, also 4GB USB drives are more than big enough to get the job done
My reasoning for saying 8GB is because 4GB sticks are all but nonexistent (8GB is more popular now), but if you already own the 4GB stick then it'll work. I even use one from 2006 in the guide, to show that reuse is possible.
Oh really? I always thought it was still a usable option - thanks for letting me know that I was wrong.
Nick -
