Introduction

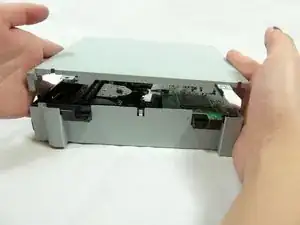
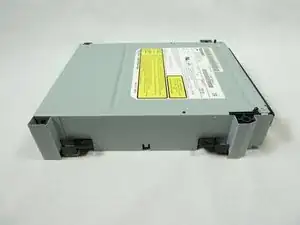
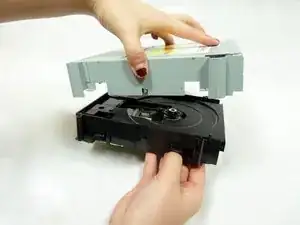
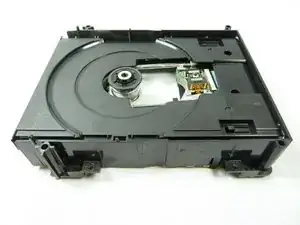
If you find that your disc isn't reading despite no scratches, use this guide to remove and replace the optical lens.

  1. lgCPQ5DTfS1EjXRo
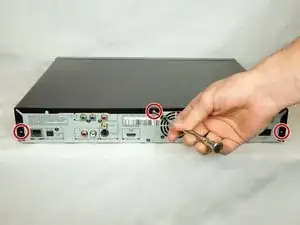
    • Remove the three 6mm Phillips head screws on the back of the DVD player with a Phillips #1 screwdriver.

  2. Z3VVuyLqMyDTyUQS
    Z3VVuyLqMyDTyUQS
    LiqCpyG3BevCN6i6
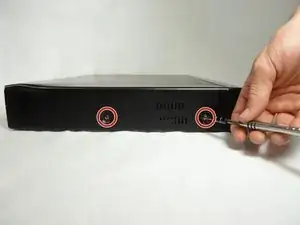
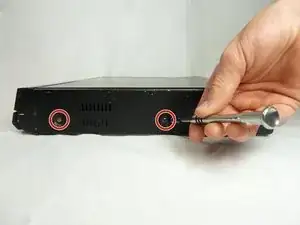
    • Remove the two 3mm Phillips screws on each side of the DVD player using the Phillips #1 screwdriver.

  3. WvneBWdksIL1eYaj
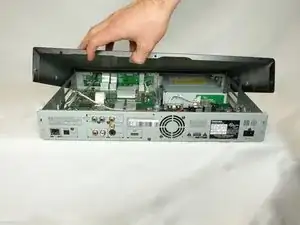
    • Using your hand, gently lift the black top panel and safely place it off to the side.

  4. 1KDtReJKllsJae6N
    1KDtReJKllsJae6N
    HSNBmF6m4ISQRMQm
    ImRRSbYbPuiKuTjy
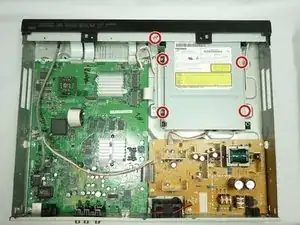
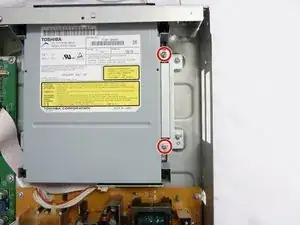
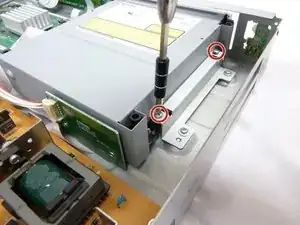
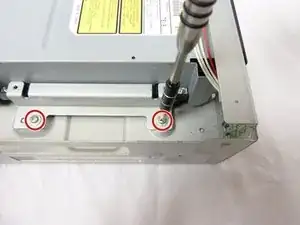
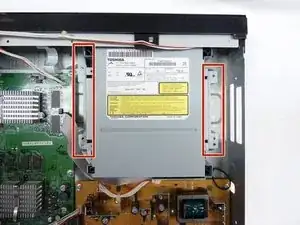
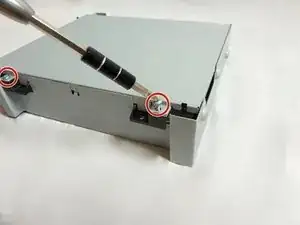
    • Remove five 6mm Phillips screws with a Phillips #2 screwdriver.

    • The 2 screws on the right of the cartridge are better shown in the second and third photos.

  5. ihcAfFWDXmuUQsyr
    ihcAfFWDXmuUQsyr
    OtKiupNApOfVxNAL
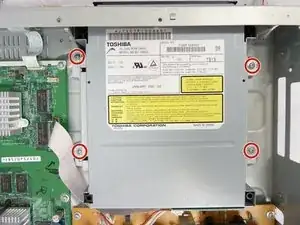
    • Remove the remaining four 6mm Phillips screws.

  6. r35MdFP4TvFEceuq
    r35MdFP4TvFEceuq
    QPO2vrboCfTa6ohl
    CPNcPAYYdLqvFAki
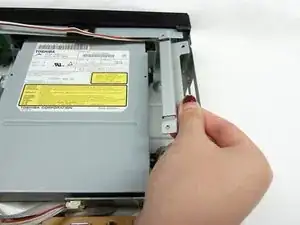
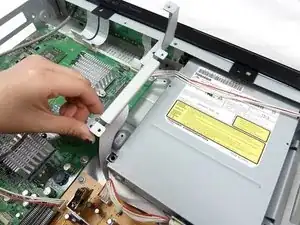
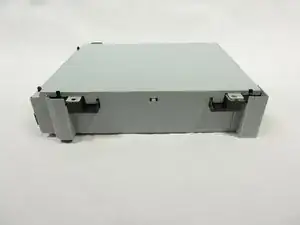
    • Using your fingers, gently remove the metal pieces on each side of the cartridge and carefully place them aside.

  7. I5vO6FtriLoVdVBQ
    I5vO6FtriLoVdVBQ
    FEPENK6woXUDegPA
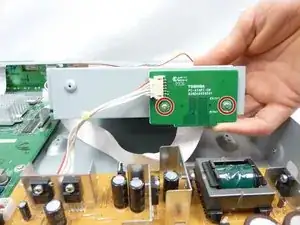
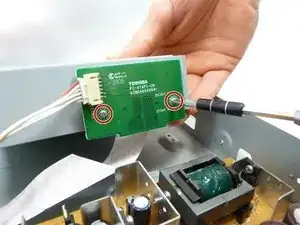
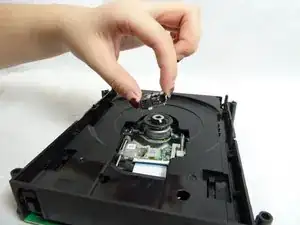
    • Gently lift the cartridge. Remove two 4mm Phillips screws from the green circuit board.

  8. NmUPpHZiNmobXZf5
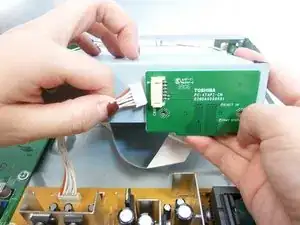
    • Using your fingers, gently pull off the wires.

  9. 3Gx2YJ3QqdWYsiNL
    3Gx2YJ3QqdWYsiNL
    TlxwSkxLlWVEYFlZ
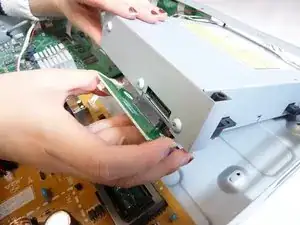
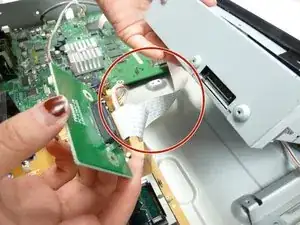
    • Using your fingers, pull off the green circuit board from the cartridge and carefully place it down.

    • Be careful not to rip the tape attaching the green circuit boards together.

  10. 666BjjCADFe3XNxm
    666BjjCADFe3XNxm
    rMLQjKLyTjIxgFgU
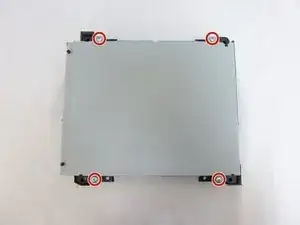
    • Flip the cartridge over to the bare side with no stickers. Remove four 10mm Phillips screws from each corner.

  11. IDGldxZelsdnOSI4
    IDGldxZelsdnOSI4
    L5rGlxRHKFyynTh5
    • Using your hands, gently lift the lid and carefully place it aside.

  12. fBjBnGXkLVjWWiam
    fBjBnGXkLVjWWiam
    YqhNSRYEShhhQFkq
    rRrIIiVKlZXJaeUm
    • Flip over the cartridge. Using your hands, gently lift the rest of the silver case.

  13. oOhex3RV6QodmM2k
    • The optical lens will be resting aside the small green circuit board.

  14. LINLXJoSDUyDvLf2
    LINLXJoSDUyDvLf2
    MXWFZuOstL1gvS4h
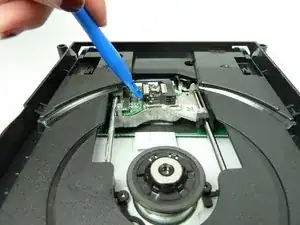
    • Using a prying tool, wedge the edge of the tool underneath the end of the optical lens closest to the green circuit board. Gently push down to pop off the optical lens.

Conclusion

To reassemble your device, follow these instructions in reverse order.
Nouriyah Saleh

Member since: 23/10/18

800 Reputation

0 comments