Introduction

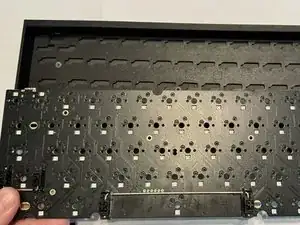
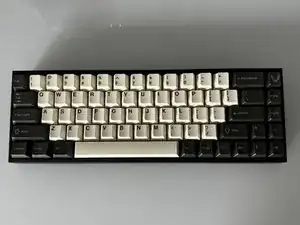
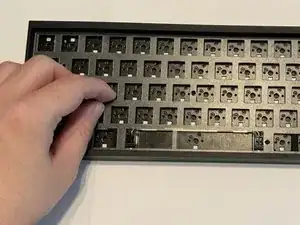
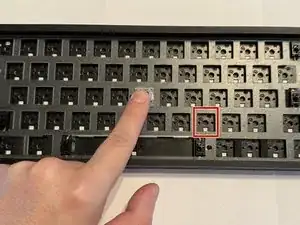
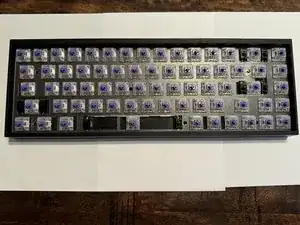
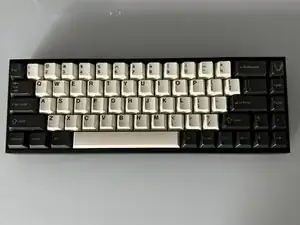
This guide demonstrates how to replace a malfunctioning keyboard PCB from a Tofu65 keyboard with a new hot-swap PCB. The PCB is the backbone of the keyboard and ensures connection or communication between the keyboard and other the components in the keyboard. It is essential to have in good condition so you don't have to replace the entire device. No prior experience is required.

Before you begin the repair, disconnect the power cord.

  1. Fv2hOVVHSwdQ3BqS
    • Unplug the power cord.

  2. mWdxWQvF2ZSJiEQR
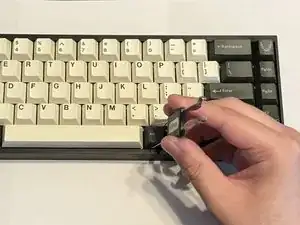
    • Use a keycap puller to remove the keycaps from the keyboard.

    • Be sure to pull straight up when removing the keycaps to avoid damaging the key switches.

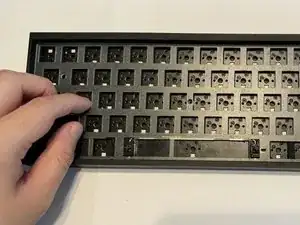
  3. ZYXy1nDdEPvGSJtI
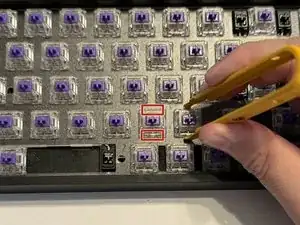
    • Use the switch puller to pinch the switch on the two pins to release the switch from the PCB.

    • Pull straight up when removing the switch. It should not take much force to pull them out.

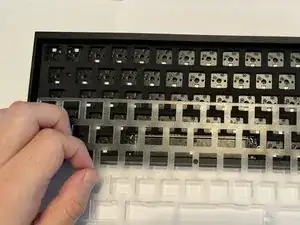
  4. 4rtnkLC4MtIB2OVo
    4rtnkLC4MtIB2OVo
    QCsaCQeQwi2lW4tR
    • Remove the plastic cover that protects the PCB.

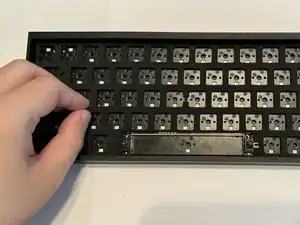
  5. ajSVRMrfIMJTFRR2
    ajSVRMrfIMJTFRR2
    SYq1uATdVE6FWDfs
    • Gently remove the foam layer protecting the PCB.

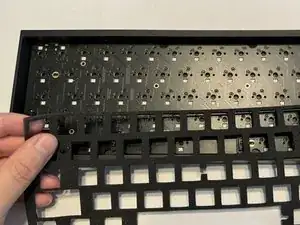
  6. KvhOrLXR5ParBvdJ
    KvhOrLXR5ParBvdJ
    wJYlYqLIbNkGZo6G
    OJLUuy3vhIRrBvPh
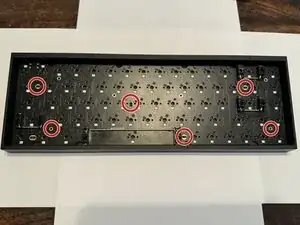
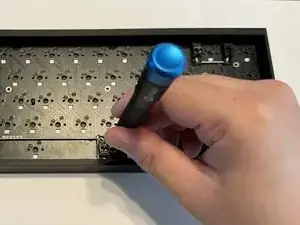
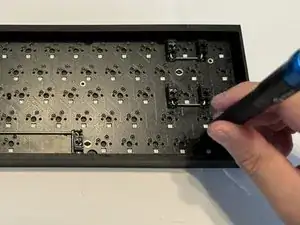
    • Use a Phillips #000 screwdriver to remove the six 5 mm screws keeping the PCB in place.

  7. cxG2geEYVtyIMpSk
    cxG2geEYVtyIMpSk
    StBsMqXJ1YeyAcMf
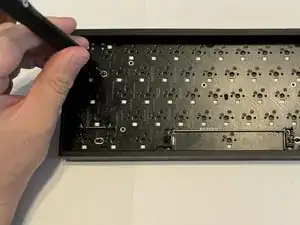
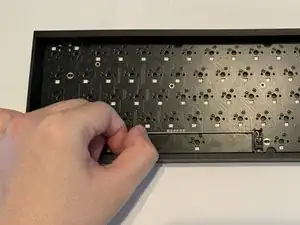
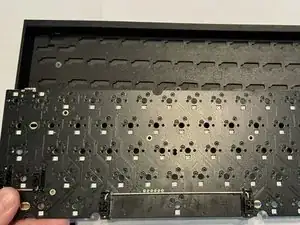
    • Remove the old PCB from the bottom case.

  8. E6HtSvlmnVRgpvZi
    E6HtSvlmnVRgpvZi
    LhAfxCCFUXtAlWSW
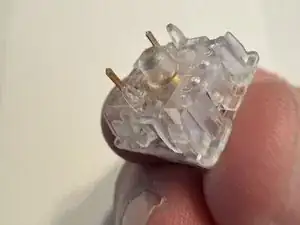
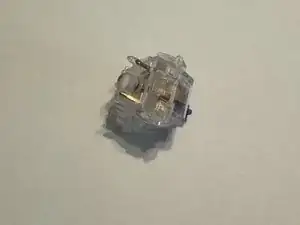
    • Ensure your keyboard switches are in good condition and the golden pins are not bent.

    • If the pins are bent, carefully bend them so they are straight or replace them with new switches.

  9. oag1tDIDLOLq5RSF
    oag1tDIDLOLq5RSF
    eh5TmtOELZMv4nBW
    Gcxq3ugXq5Qfgk2Y
    • Replace your PCB.

    • Place the foam and plastic plate cover back.

    • Line up the key switch pins with the sockets on the PCB before installing them.

    • Install the keyboard switches and apply a small amount of force to ensure they make contact with the PCB.

  10. GTw4PMani6XHY4Sv
    GTw4PMani6XHY4Sv
    jqLtbdSeZxQZtKQZ
    • Replace each keycaps onto the appropriate switch.

    • Press down firmly on each to ensure they are making contact.

Daniel Payan

Member since: 05/03/24

202 Reputation

0 comments