Introduction

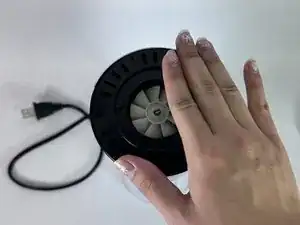
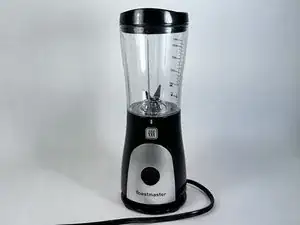
The Toastmaster blender is operated by pressing down on the blend button, in which the blender will blend its contents until the button is released. Because plastic buttons are prone to deforming and slipping out of position, a blender's buttons may become loose due to repeated use causing the button to reposition in a way that will make the appliance malfunction. Small blenders are safe and repairing the button is not a difficult procedure. In general, repairing the button requires taking the blender apart, finding the correct position of the button, and putting it back in place.

Fixing broken or jammed devices is a commonly needed repair that can extend the life of the appliance. This can prevent unnecessary disposal of appliances that are still fixable and usable. This can not only save users in terms of costs, but it is also sustainable to prevent throwing appliances and devices out when they can still be fixed and used.

  1. nF2fjgvxZqA3nQlf
    nF2fjgvxZqA3nQlf
    RvBF56cxNoRsaEnl
    XKZMjBFTTZspueaC
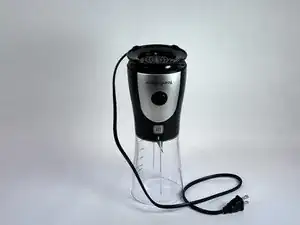
    • Unplug the plug if connected to any outlets.

    • Take off the cap from the blender and turn the appliance upside down.

    • The blender should be standing upward stably.

  2. PlaZMG4TmHwJqS2D
    PlaZMG4TmHwJqS2D
    OpAruFMhqmWFaTRi
    gAMlhjwAWWytZITs
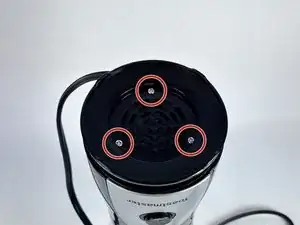
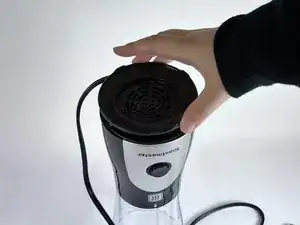
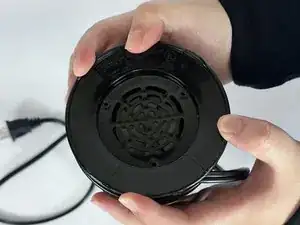
    • Use an allen wrench to remove the three screws from the bottom cover.

  3. 64FVpaMh1ClwdI3X
    64FVpaMh1ClwdI3X
    waTVKXTRj1gMoNNv
    AiXuAGHAKG4VqOVV
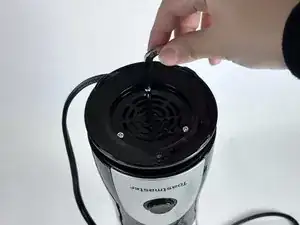
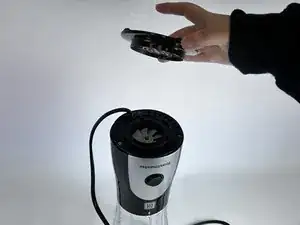
    • Take off the black blender stand.

    • Take off three silver screws.

    • Put the screws safely aside.

  4. yvwLJVHqAgNPHPNj
    yvwLJVHqAgNPHPNj
    UNAdtlC4LlXGEDgE
    3ao5FiORlLhwPWsK
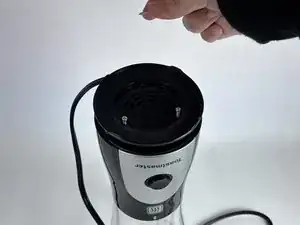
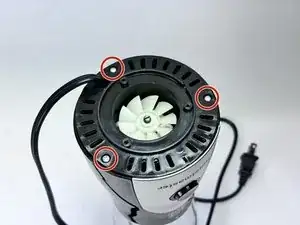
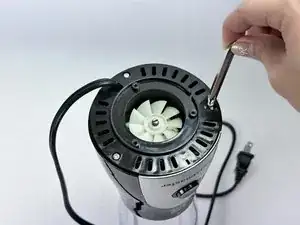
    • Use the Allen wrench to remove the three silver screws on the next level of the blender.

  5. pJZhZnkHZOGTIivG
    pJZhZnkHZOGTIivG
    krW6hx3NWEFOIAQq
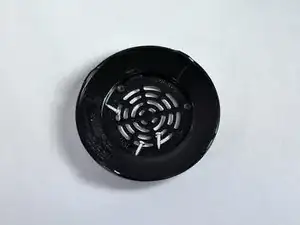
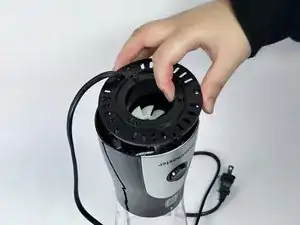
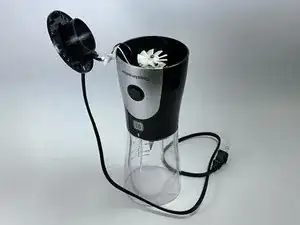
    • Remove the black cap by lifting it upwards and gently placing it aside.

    • Do not pull hard on the wire as this may cause it to break

  6. nbLNsD3s6QIUmGql
    nbLNsD3s6QIUmGql
    fUEsUoZv5XqUBSlq
    PmIIdhMglgwsSIKF
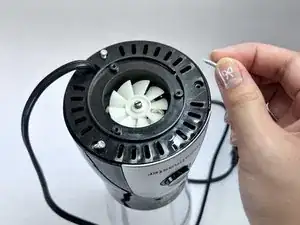
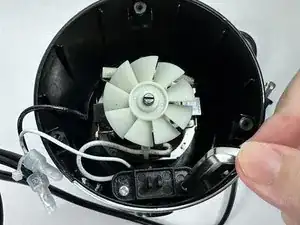
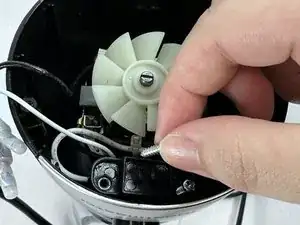
    • Looking into the internal part of the blender, identify the two silver screws near the button and unscrew them with the screwdriver.

    • Carefully remove two silver screws.

  7. LpisMDrmnaWWhtq5
    LpisMDrmnaWWhtq5
    klNwBQaO6M1r2N6O
    VvHeRpJHcXfPkI3k
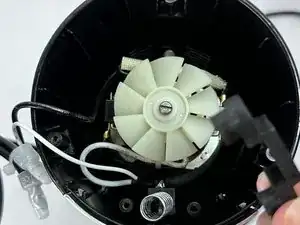
    • Take out the black piece that was attached with the screws and safely place it aside.

  8. DektDLQS1dVy4SPg
    DektDLQS1dVy4SPg
    sX6nn35AfBk6YPRO
    G6STiRTobNc4v1sJ
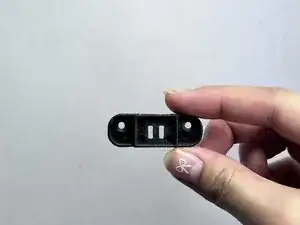
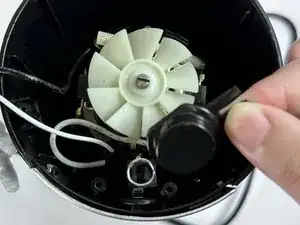
    • Take out the button from the blender.

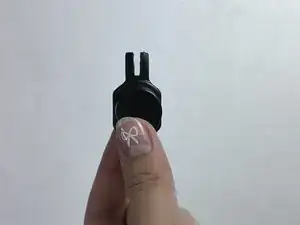
    • This is the plastic button for Toast Master Blender. If you have a spare button, you can replace it.

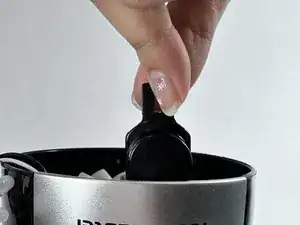
    • Make sure that side is facing up and place it back into the original position.

    • The button should have a pointier side that resembles a bunny’s head.

  9. nC3GjtmUfdZuCh6c
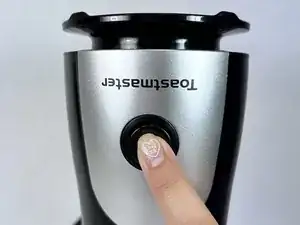
    • Press the button and make sure it has a “click” sound.

    • If the button is still loose, go back to the previous step and recheck that the button is in the correct position.

  10. r1KZSfmfKkjxNvLW
    r1KZSfmfKkjxNvLW
    yRhLAkX4gZKQHm5o
    oebAnXXGVAuBNCmO
    • Reassemble all the parts back, and screw all the screws back to its original place.

    • All the silver screws are the same size.

    • Make sure the black cap separates rotating paddles and wires.

    • There should be no wires wrapped around the rotating blades.

Conclusion

To reassemble your device, follow these instructions in reverse order.

Jessica Li

Member since: 02/02/24

181 Reputation

0 comments