Introduction
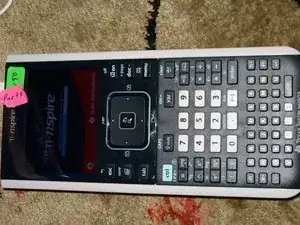
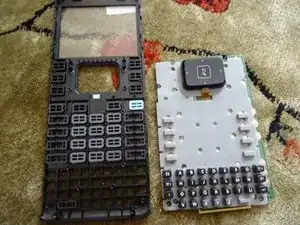
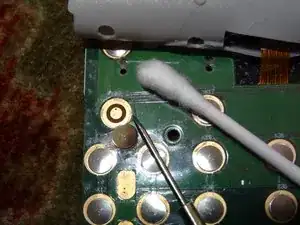
Sometimes corrosion can form inside the buttons of a TI-Nspire CX calculator, causing them to stop working correctly. This guide will show you how to disassemble the calculator and clean the problematic buttons, which should help solve the problem.
Tools
-
-
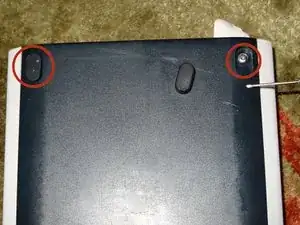
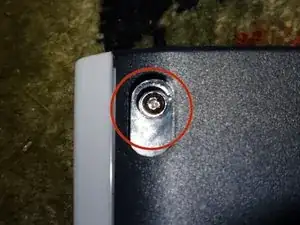
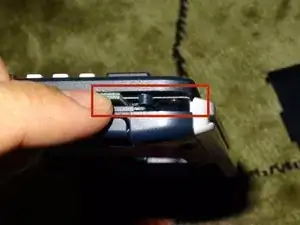
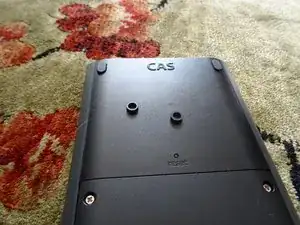
Remove the feet from the top of the calculator to reveal the top clutch screws.
-
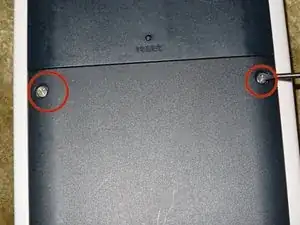
Unscrew the clutch screws, the torx bottom screws, and the battery drawer screws.
-
-
-
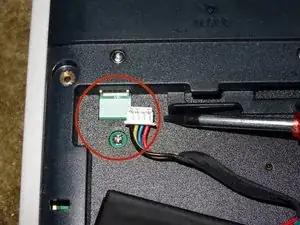
Disconnect the power cable in the battery case.
-
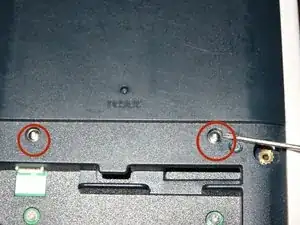
Unscrew the two clutch screws above the battery case, using the 1mm flathead screwdriver.
-
-
-
Remove the front panel by loosening all around the edges, then carefully pulling the panel loose.
-
-
-
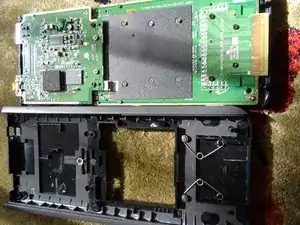
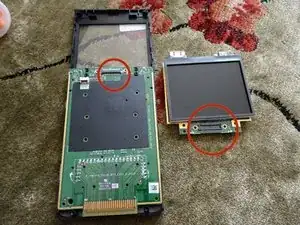
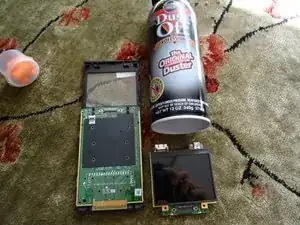
Pull the top circuit board and the screen off. You should not need much force to undo the connector between them.
-
-
-
Take the keyboard off. The buttons will fall out now, so take care to put them somewhere safe.
-
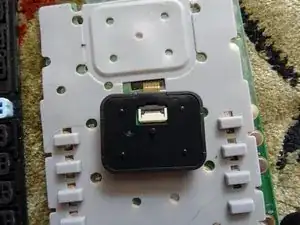
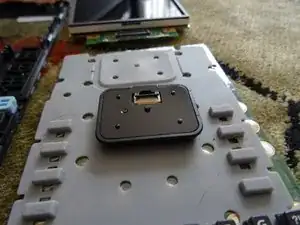
Take the mouse flex cable off, otherwise it will dangle. Flip up the tab.
-
-
-
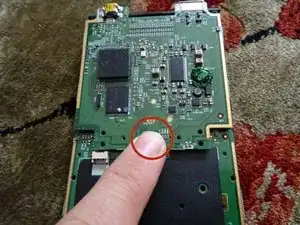
Put the circuit board and the screen back together. Then press the connector into place.
-
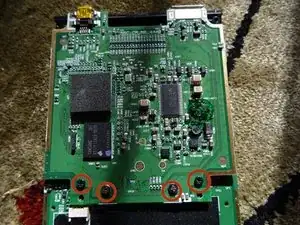
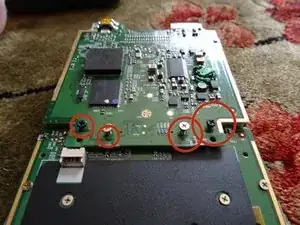
Set the four screws that were near the connector back in their holes.
-
-
-
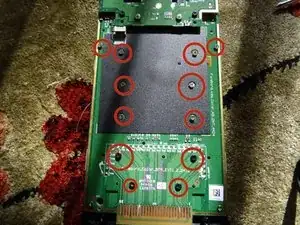
Drop the other twelve circuit board screws in their holes. Once all sixteen are in place, tighten them carefully.
-
Reassemble the remaining components.
-
To reassemble your device, follow these instructions in reverse order.
13 comments
How does this fix the buttons, I do't want to damage my calculator
Watch for the little clear plastic piece when you put it back together. I think it goes to the inside of the hole for the power connector.
Casey I -
Thanks for this.
The black circular spacers shown at step 6 go on the mounting brackets for the two outermost screws holding the screen onto the mainboard. On the first picture for step 5, if you numbered the circled screws from left to right, those would be screws 1 and 4.
I didn’t have a screwdriver for the clutch screws of the back cover, but a thin, pointed knife tip did the job.
