Introduction
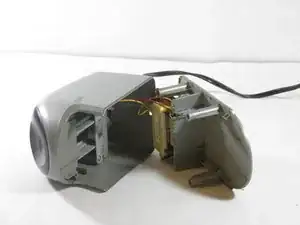
If your pencil sharpener will not power on, there may be an issue with the power cord. See our troubleshooting guide for more information on this problem. If your power cord turns out to be the problem, then follow these steps to replace it.
Tools
-
-
Using a Phillips00 screwdriver, remove the two front 11.6mm screws.
-
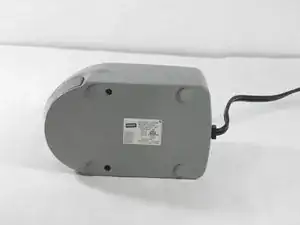
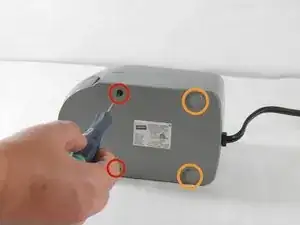
Using the plastic opening tool, remove the back plastic feet.
-
After removing the back plastic feet, using a Phillips 00 screwdriver, remove the two back 11.6mm screws.
-
-
-
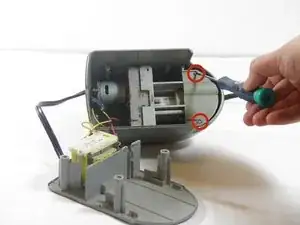
Using a Phillips00 screwdriver, remove two 8.9mm flat edge screws from the top section of the top panel.
-
-
-
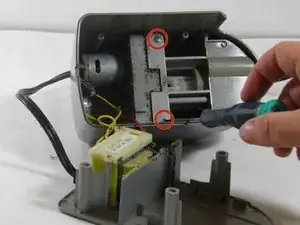
Using a Phillips00 screwdriver, remove two 10.3mm screws from the middle section of the top panel.
-
-
-
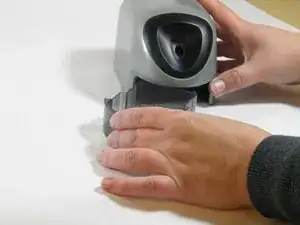
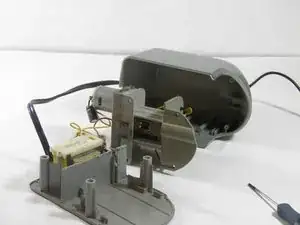
Orient the panel with the power cord so that it is facing you.
-
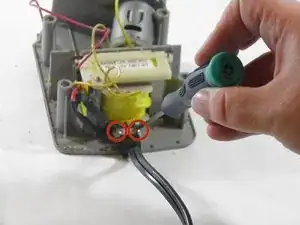
Using a Phillips00 screwdriver, remove the two flat head 8.95mm screws securing the cord.
-
-
-
Using a Phillips00 screwdriver, remove the two 10.42mm screws on the plastic frame securing the power component.
-
-
-
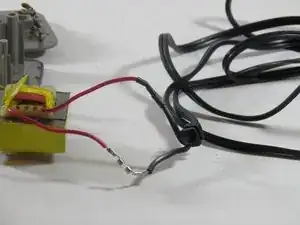
Use a utility knife to cut the black insulation tape from the wire.
-
Cut the power cord from the wires to remove it.
-
To reassemble your device, follow these instructions in reverse order.
