Introduction
This guide demonstrates how to replace a standard spigot's vacuum breaker that's leaking, preventing water waste and/or contaminated water from entering into your home's water system. The adapter used in this guide is a Spigot Master SM1.125 Vacuum Breaker Adapter with a VACBFPZ4B Vacuum Breaker Hose Bib Back-flow Preventer, 3/4 Inch (any brand will also work).
This repair is relatively simple, requiring only a few household tools and less than an hour of your time.
Tools
Parts
-
-
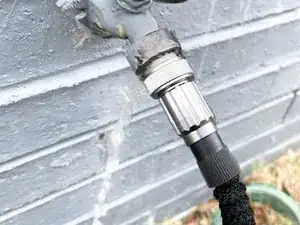
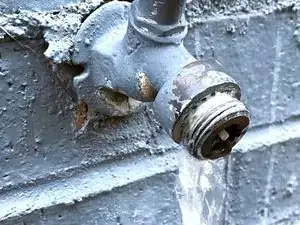
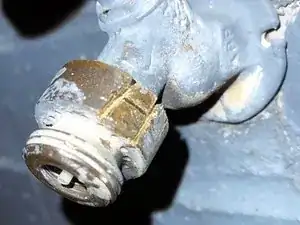
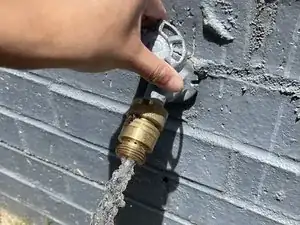
Confirm that the spigot is leaking from the vacuum breaker, and not a different component. Look specifically between the hose and vacuum breaker connection.
-
Disconnect the hose and ensure the spigot is turned off.
-
-
-
Use a pipe wrench to support the spigot and another to unscrew the vacuum breaker. If it unscrews, remove the breaker and skip to Step 7.
-
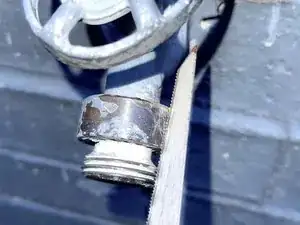
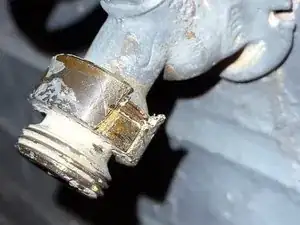
If the vacuum breaker is rusted on, or otherwise will not budge, use a compact handsaw with a metal-cutting blade to make a relief cut on the breaker.
-
-
-
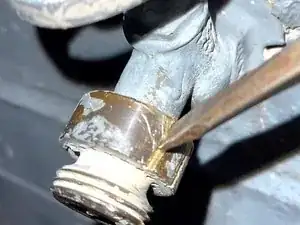
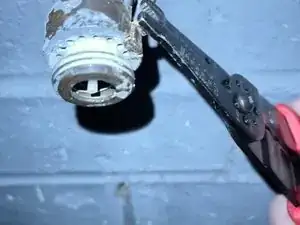
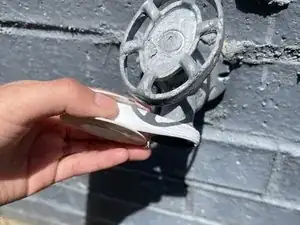
When possible, use a metal prying tool, or a flathead screwdriver you don't mind damaging, to pry the edges of the cut apart. If necessary, use pliers.
-
-
-
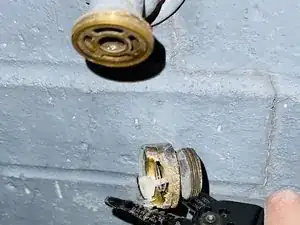
If necessary, saw more relief cuts near the first. Continue to pry at the edges in order to expose the washer inside.
-
-
-
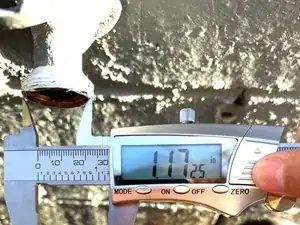
Use a ruler or caliper to measure the diameter of the spigot threads as accurate as possible; this measurement is crucial as it will determine the size of the part needed.
-
-
-
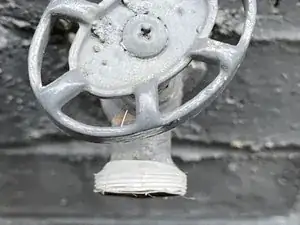
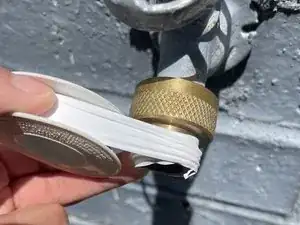
Wrap plumber's tape around the spigot threads.
-
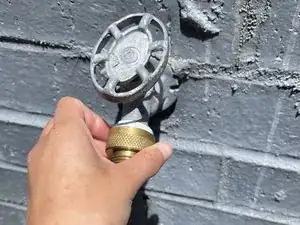
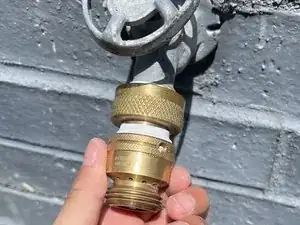
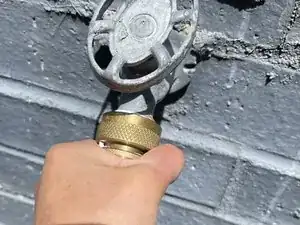
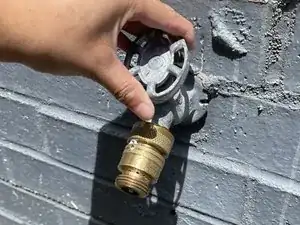
Screw on the adapter or vacuum breaker.
-
The adapter/breaker should screw on with relative ease; if it requires much force, it's probably cross-threaded.
-
Enjoy your leak-free spigot!
