Introduction
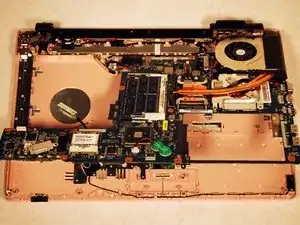
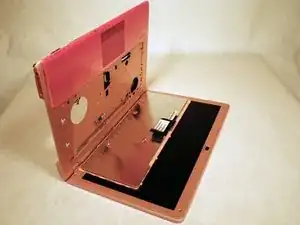
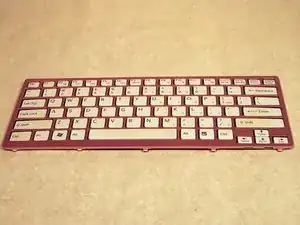
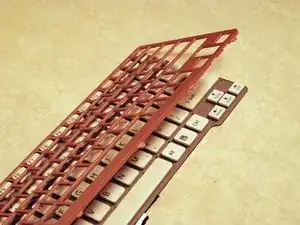
If you can not use your keyboard to type or it is not responsive to you typing, you might need to replace it. This guide will show you step by step how to do so.
Tools
-
-
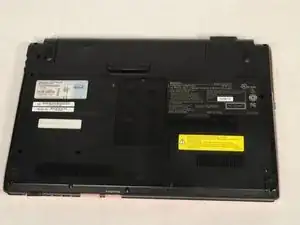
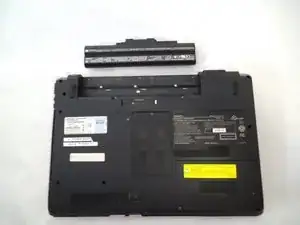
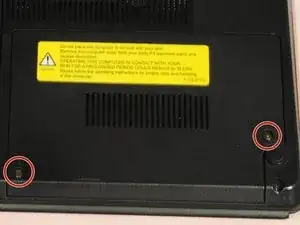
Place your device upside down with the bottom panel facing upwards.
-
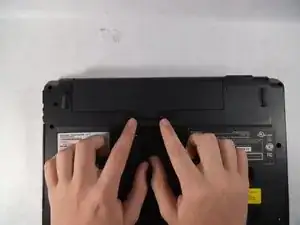
Orient the device so the battery is away from you as shown
-
-
-
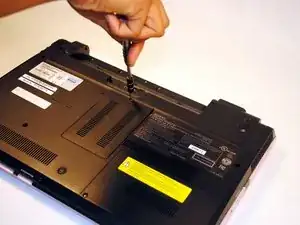
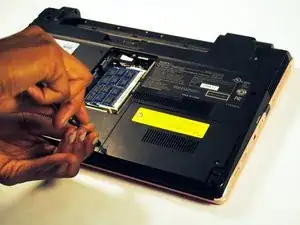
Unlock the battery by sliding the lock switch to the right.
-
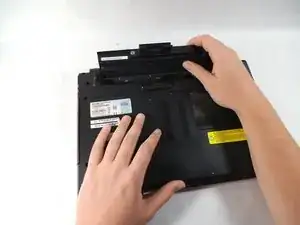
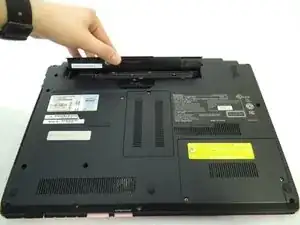
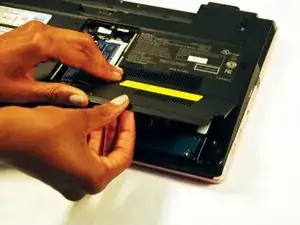
Locate the release latch. Slide the latch to the left to remove the battery from your laptop.
-
-
-
Place the laptop upside down with the bottom panel facing upwards.
-
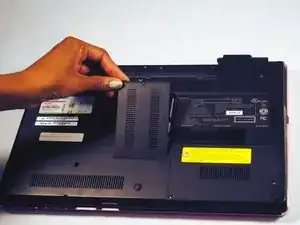
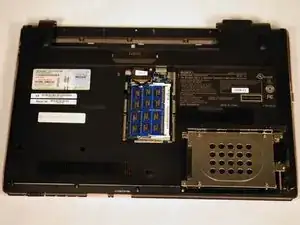
Locate the screw that holds the small panel covering your laptop's Ram. This panel should be in the dead center of your laptop.
-
Unscrew the screw and remove the panel.
-
-
-
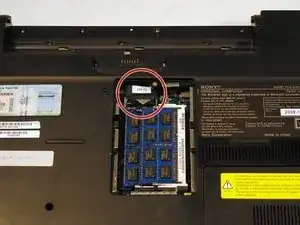
Before you move away from where your RAM is located, be sure to unplug the wire labeled To MB. If you do not unplug this, the back panel you are trying to remove will not come off.
-
-
-
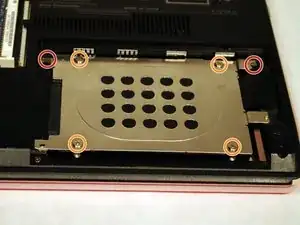
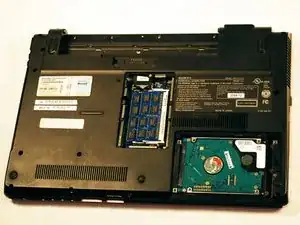
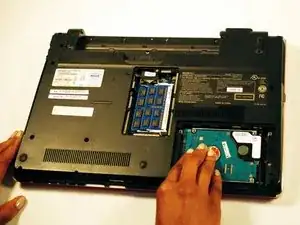
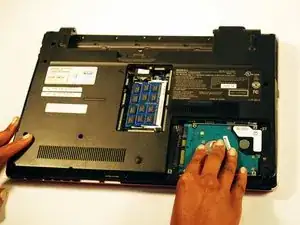
Next, locate the panel covering your laptop's hard drive. This panel should be located on the lower right hand side of your laptop.
-
Unscrew the cover on the hard drive.
-
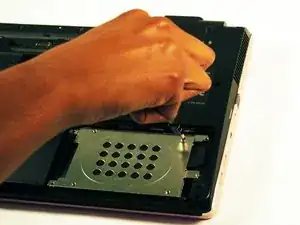
Remove the hard drive cover.
-
-
-
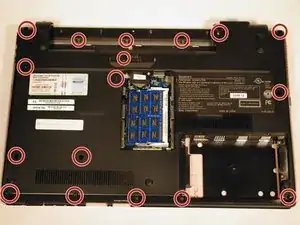
Remove the screws holding the rest of the outside panel down.
-
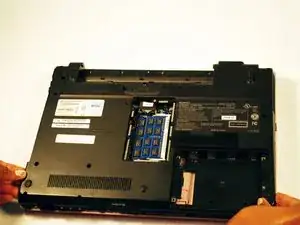
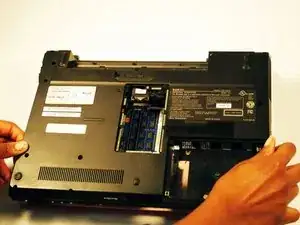
Gently lift the panel up to remove it once all the screws have been removed.
-
-
-
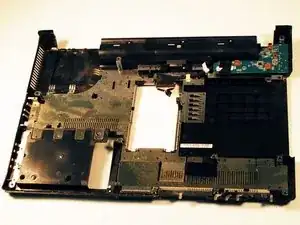
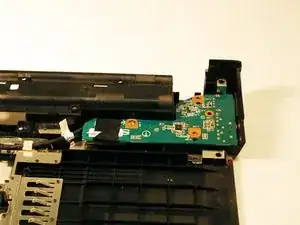
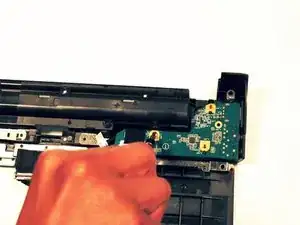
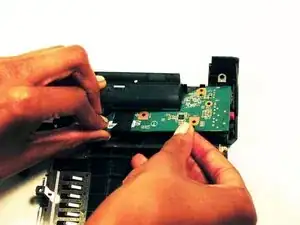
Locate the headphone jack, which will be in the top right hand corner of the panel. The headphone jack board is a bright green, you can't miss it.
-
-
-
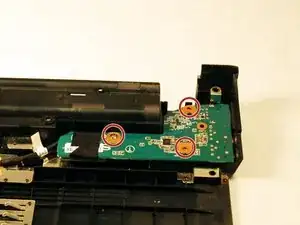
Remove screws.
-
Slide the small silver panel to the right to expose the wire underneath.
-
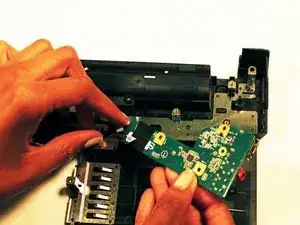
Gently pull on the small green board where the wire is connected to disconnect it.
-
-
-
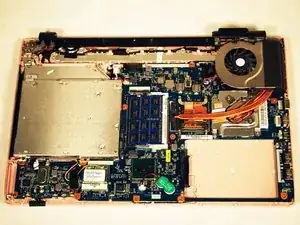
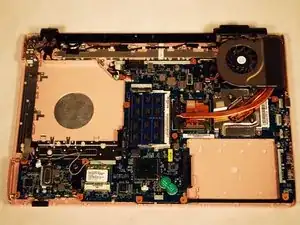
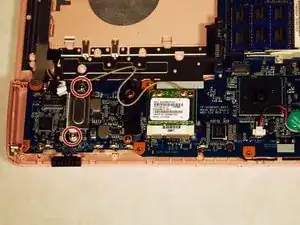
Remove these two screws near the fan.
-
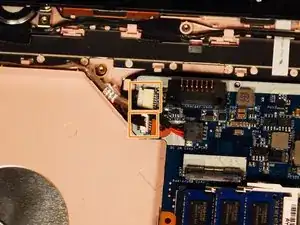
Disconnect the two wires connecting the motherboard to the charging port, these are located above the space where your CD drive was.
-
-
-
Lift up the motherboard.
-
Gently disconnect the large green wire underneath the motherboard that is connected to the keyboard.
-
-
-
With the laptop open, gently push on the silver circle shown. This is the back side of the keyboard and will cause the keyboard to pop out.
-
To reassemble your device, follow these instructions in reverse order.

