Introduction
In order to remove the webcam safely, be sure to take out the battery first. The webcam is located under the plastic screen cover of the laptop.
Tools
-
-
Use your fingernail or a plastic tool to lift the battery. Rotate the battery up and away to remove from the laptop.
-
-
-
Remove the four rubber circles using the spudger located on each corner of the laptop.
-
Remove the four screws (Length: 7.7 mm) using the Phillips #0 screwdriver that are located under each rubber circle.
-
-
-
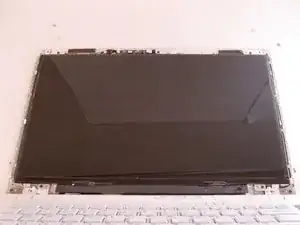
Slowly peel off the plastic covering around the screen.
-
Place it to the side once it is completely disconnected.
-
-
-
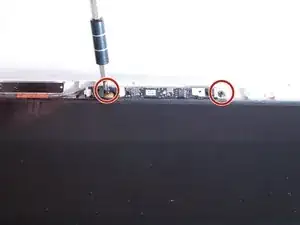
Remove the two screws (Length: 7.7 mm) using the Phillips #0 screwdriver that hold the Webcam in place.
-
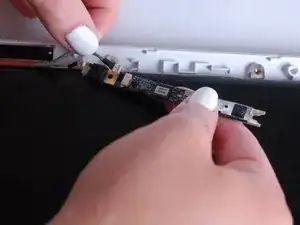
Gently pull the webcam away from the laptop.
-
Slowly disconnect the two ribbon cable connectors by sliding them towards the wire to disconnect the webcam from the laptop.
-
To reassemble your device, follow these instructions in reverse order.


