Introduction
Is the keyboard or speaker on your Sony Vaio PCG-981L laptop not working correctly? Are the keys sticking or not computing when you press them? Are your speakers crackling or sounding fuzzy?
In this guide, you will learn how to replace both the keyboard and speakers on your Sony Vaio PCG-981L laptop to give you a better, quality experience. This will save you from spending a fortune by having someone else fix it for you or having to buy a new laptop altogether.
Tools
-
-
Turn the laptop off and unplug it.
-
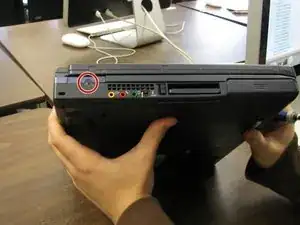
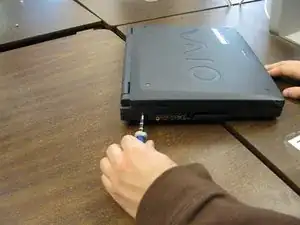
Remove the screw on the left-hand side of the computer towards the back using a small Phillips #0 screwdriver.
-
-
-
Open the laptop with the screen facing you.
-
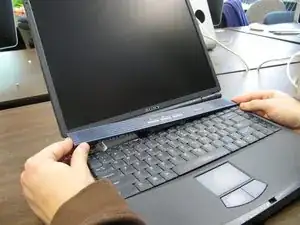
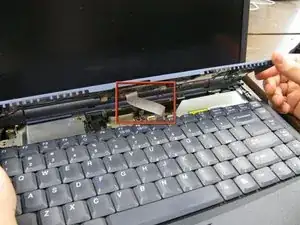
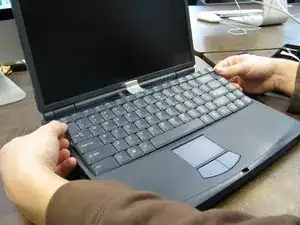
Carefully lift the left side of the panel and unhook the right side. Do not pull beyond the length of the ribbon cable that secures it to the motherboard.
-
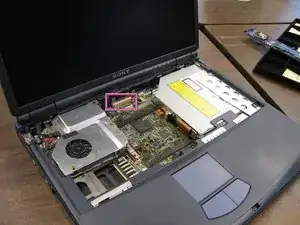
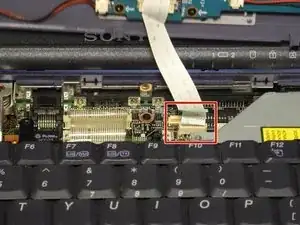
To separate the ribbon cable from the motherboard, grip it near the base and gently pull.
-
-
-
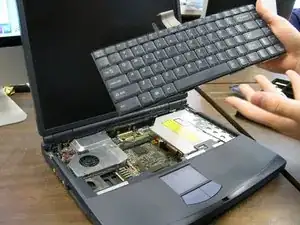
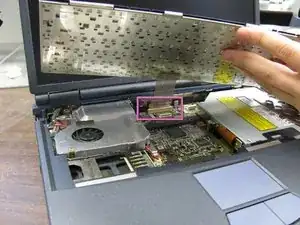
To remove the keyboard, lift it a few inches from the computer, taking care not to pull beyond the length of the ribbon cable that secures it to the motherboard.
-
Separate the ribbon cable from the motherboard by placing your fingers at the base and pulling gently.
-
-
-
Attach the new keyboard’s ribbon cable to the motherboard by carefully inserting it into the white plastic outlet located at the top center of the motherboard.
-
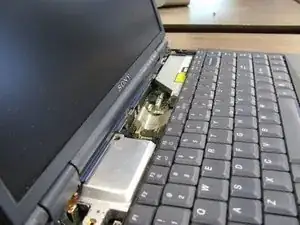
Set the keyboard in place.
-
-
-
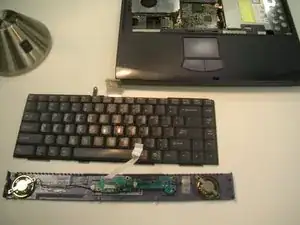
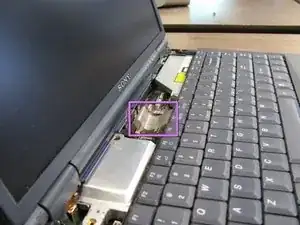
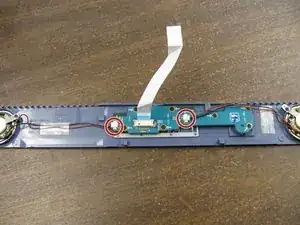
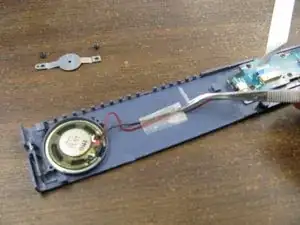
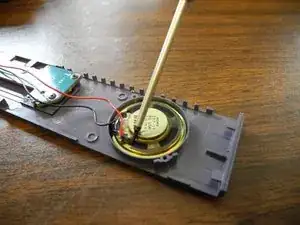
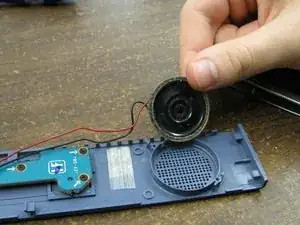
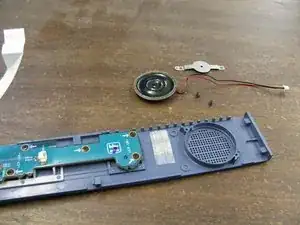
There are two speakers on the underside of the speaker panel, one on each end. Unplug both sets of the black and red wires from the circuit board by gently pulling at the base.
-
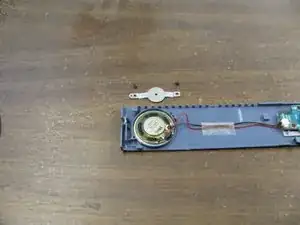
Remove the screws (two per speaker) with the Phillips #0 screwdriver. Then remove the metal brackets holding the speakers in place.
-
Remove the adhesive tape securing the speaker wires to the panel.
-
