Introduction
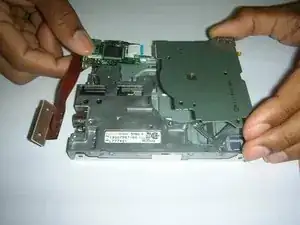
If for any reason the floppy drive isn't working, the simplest solution is to replace the entire drive. But, if you're not able to acquire a new drive you may be able at least find the source of the failure through disassembling the drive.
Tools
-
-
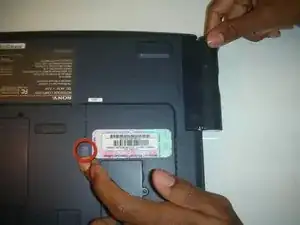
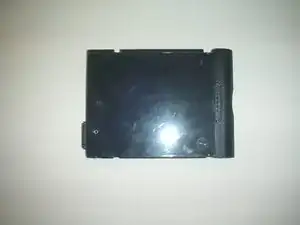
Turn the device over so that its underside is facing up. Then, slide the blue floppy drive release button down and pull the floppy drive out of the laptop.
-
-
-
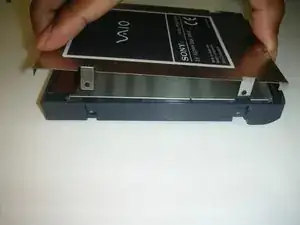
There are two screws on each side of the floppy drive (four screws total). Remove these screws.
-
-
-
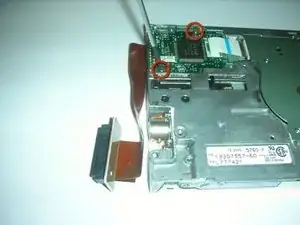
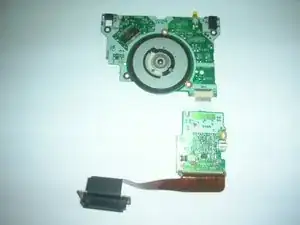
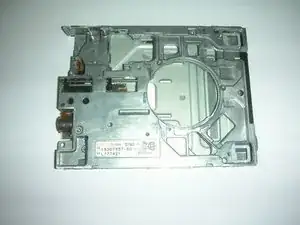
Here is an isolated image of the core hardware of the floppy drive. This is where the floppy "magic" happens. Check for any connection failures or shortages. You may need to resolder some of the connections.
-
To reassemble your device, follow these instructions in reverse order.
