Introduction
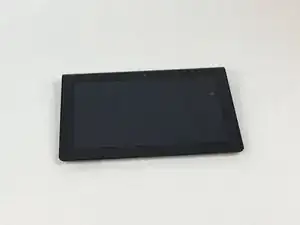
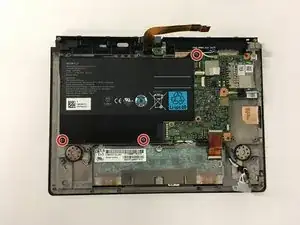
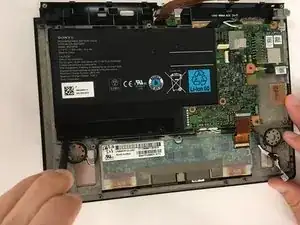
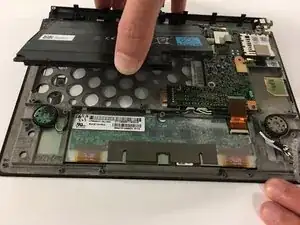
This guide will help users replace the battery on their Sony Tablet S. This requires a Phillips #0 and #000 screw driver, as well as a spudger and some plastic opening tools.
Tools
-
-
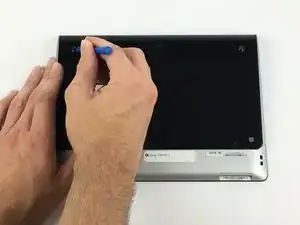
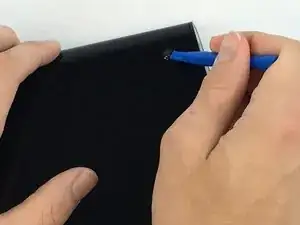
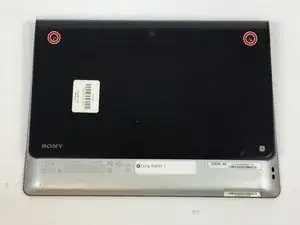
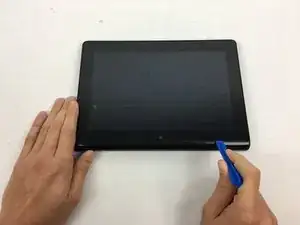
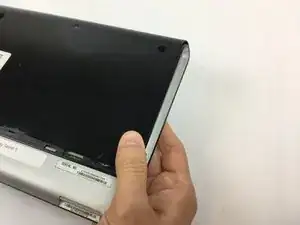
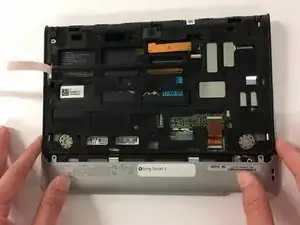
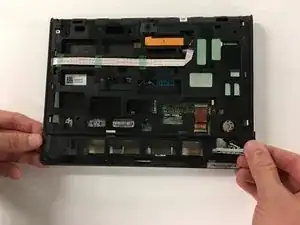
Flip the tablet over and use a plastic opening tool to pry the casing away from the top of the screen. Push the back cover off.
-
-
-
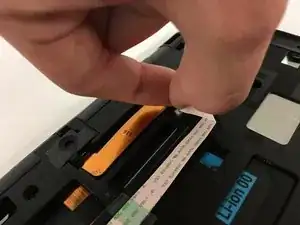
Remove the white ribbon cable by pulling the blue tab straight up out of the socket and then peeling up the tape securing it to the tablet.
-
-
-
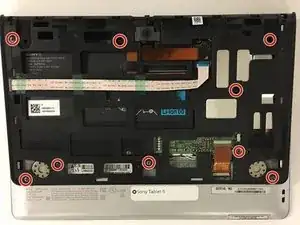
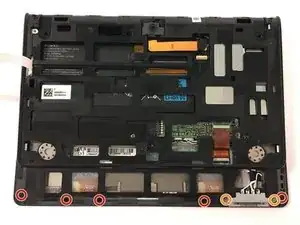
Remove the five 4mm Phillips #000 screws.
-
Remove the two 5mm Phillips #000 screws holding the charger in place.
-
-
-
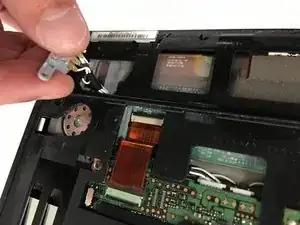
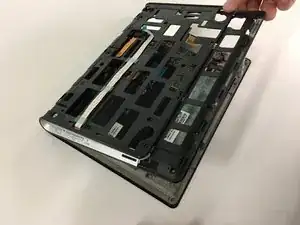
Position the charging port at an angle so you can thread it through the opening as you remove the black plastic cover from the back of the tablet.
-
-
-
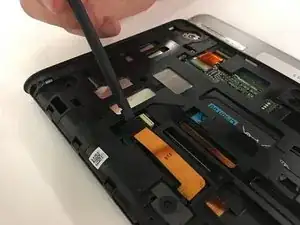
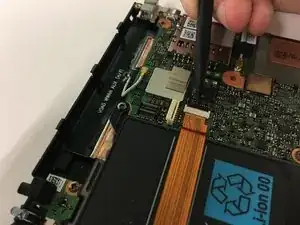
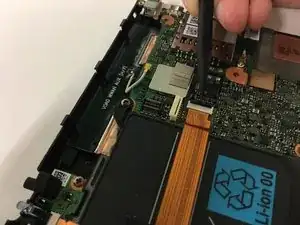
Use a spudger to lift the zero insertion force connector latch for the long ribbon cable to the right of the battery, then pull the cable loose from its socket.
-
To reassemble your device, follow these instructions in reverse order.
